

Mały skaner dla precyzyjnych siatek 3D i wielkich pomysłów
Kompaktowy, mobilny i wszechstronny
GOM Scan 1 otwiera nowe możliwości w branży metrologicznej. Przemysłowe standardy takie jak technologia projekcji prążków oraz Blue Light Technology stanowią podstawę dla szczegółowych i dokładnych siatek 3D. Zintegrowane oprogramowanie ZEISS INSPECT wspiera użytkownika w przygotowaniu siatki do dowolnego projektu: druku 3D, inżynierii odwrotnej czy inspekcji części. Zacznij korzystać już teraz i stwórz coś wielkiego.

Potężny skaner 3D
GOM Scan 1 to kompaktowy skaner o solidnej konstrukcji, który działa w oparciu o zaawansowane technologie. Od Blue Light Technology po technikę stereoskopową – stworzony, by dostarczać dane 3D z wysoką precyzją.

Mały, mobilny i prosty w użyciu
Dzięki łatwej obsłudze i niskiej wadze skaner pozwala na intuicyjne przechwytywanie danych 3D. GOM Scan 1 upraszcza i przyspiesza pomiary małych oraz średniej wielkości części nawet w ograniczonych przestrzeniach.

Szybki i precyzyjny
GOM Scan 1 z preinstalowanym oprogramowaniem ZEISS INSPECT przenosi proces akwizycji i przetwarzania danych na kolejny poziom. Dostarczane dane są wysokiej jakości, generowane siatki są precyzyjne, a cała procedura jest łatwa i szybka.

Oprogramowanie, które prowadzi użytkownika
GOM Scan 1 współpracuje z oprogramowaniem ZEISS INSPECT, które spełnia kryteria najwyższych standardów metrologii 3D. Potężna funkcjonalność edycji siatki jest idealnym narzędziem dla druku 3D czy inżynierii odwrotnej. Oprogramowanie upraszcza wykonywanie prostych oraz złożonych zadań podczas procesu inspekcji. ZEISS INSPECT przyspiesza i ułatwia przeprowadzanie poszczególnych procedur.
Funkcjonalności

Samomonitorujący się system do zróżnicowanych zadań

Precyzja w każdych warunkach oświetlenia:
Blue Light Technology
Jednostka projekcyjna skanera GOM Scan 1 bazuje na Blue Light Technology. Wąskopasmowe niebieskie światło umożliwia odfiltrowanie zakłócającego światła otoczenia podczas akwizycji obrazu. Dzięki silnemu źródłu światła dane są dostarczane w krótkim czasie pomiaru.

Przygotowanie do druku 3D dzięki funkcjonalności inteligentnej edycji siatki
Oprogramowanie ZEISS INSPECT oferuje funkcje wygładzania, rozrzedzania i zagęszczania siatki wielokątów oraz wypełniania otworów czy wyodrębniania linii krzywizn umożliwiając uzyskanie bardzo dokładnych siatek, które można zapisać w wielu popularnych formatach. Największym atutem jest nasza funkcjonalność inteligentnej poligonizacji. Umożliwia ona tworzenie siatek z najwyższą dokładnością, jednocześnie zachowując łatwy w zarządzaniu rozmiar danych.

Wybierz swoją objętość pomiarową

Szybki przepływ pracy dzięki projekcji prążków

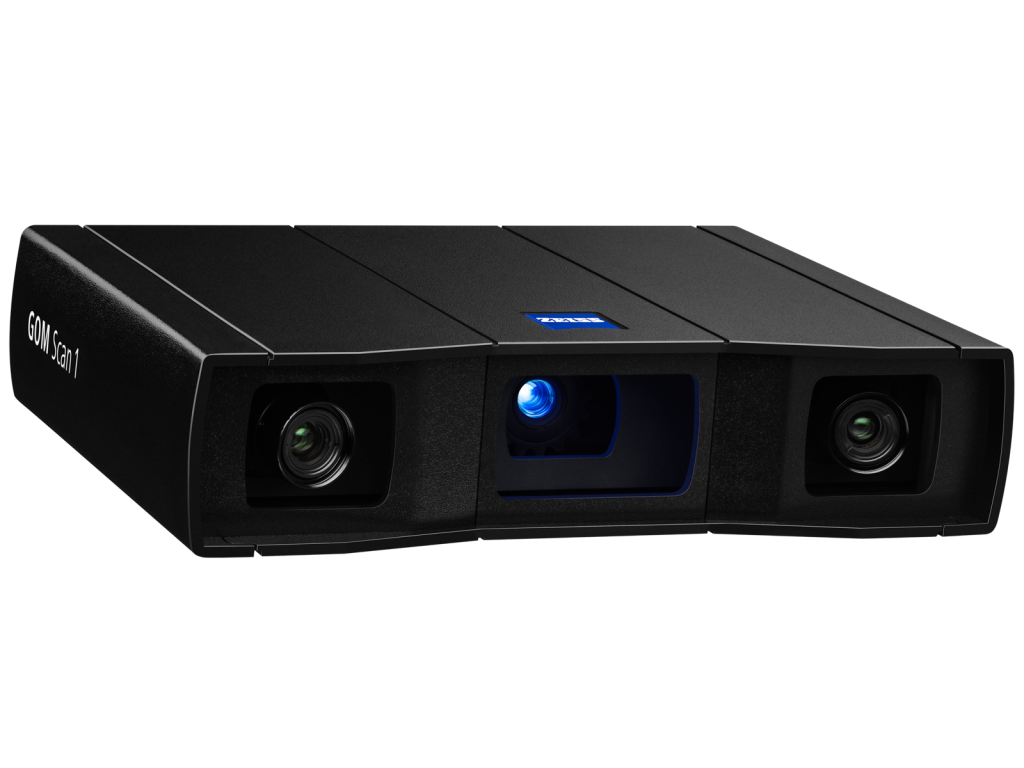
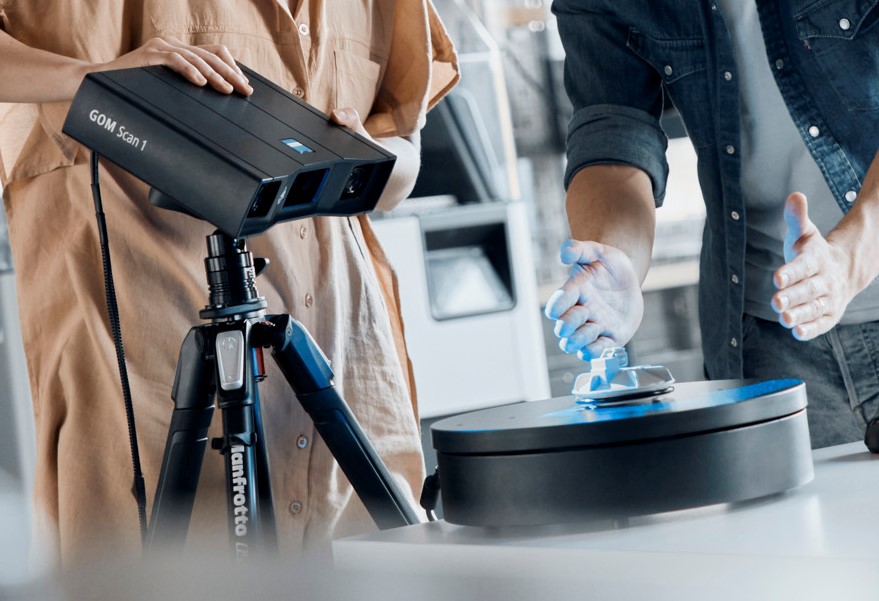
Uchwyć swoje pomysły
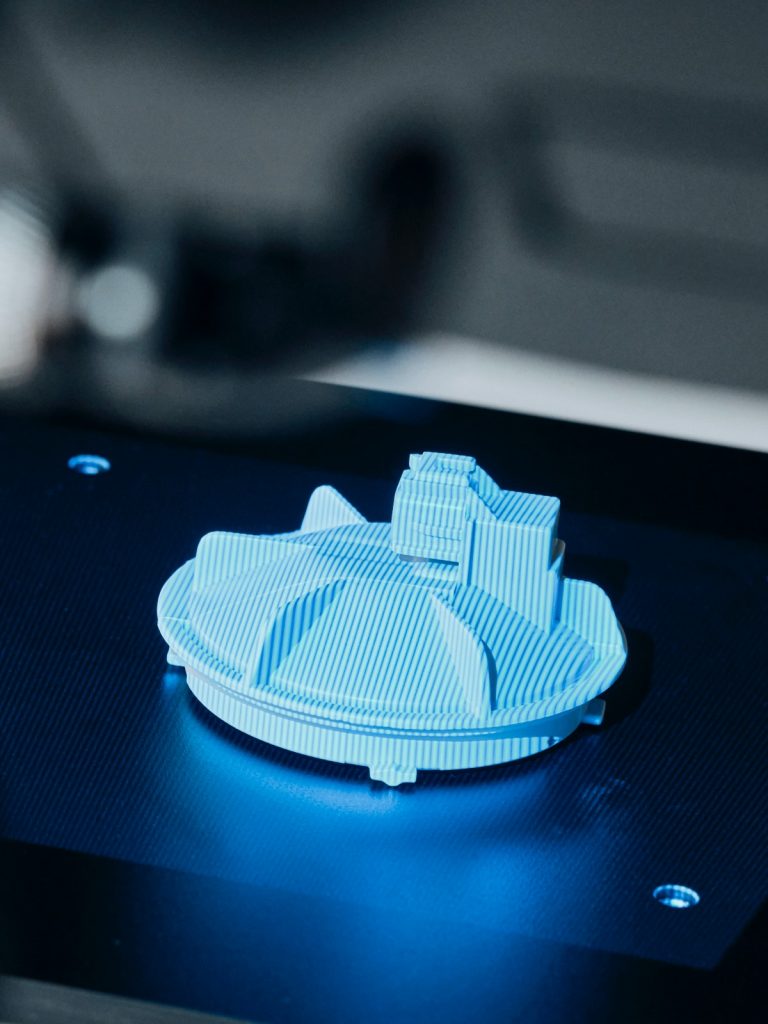
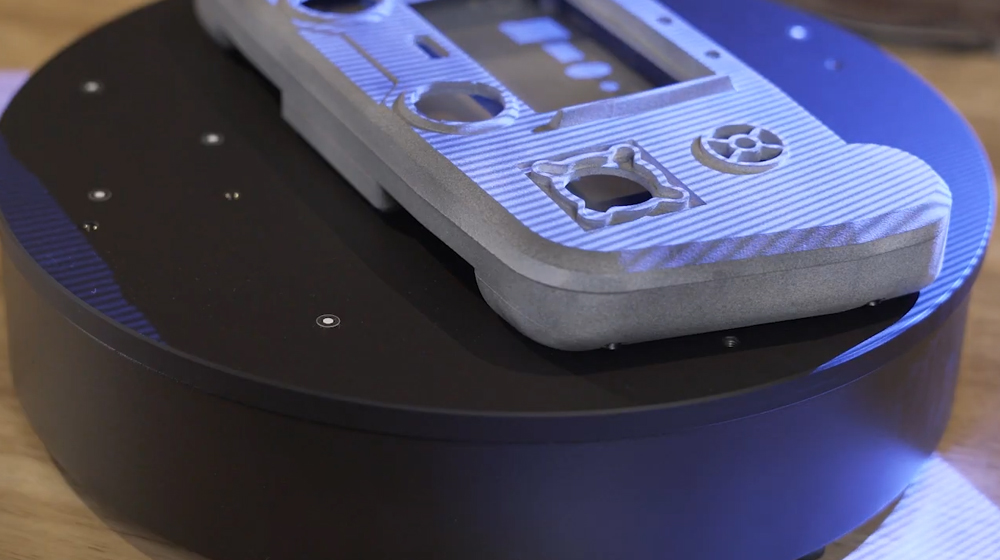
GOM Scan 1 wraz z ZEISS INSPECT wspiera wykonywanie zadań w zakresie druku 3D, modeli 3D części, czy inżynierii odwrotnej. Wysokiej jakości dane są przechwytywane w krótkim czasie, natomiast potężna funkcjonalność edycji siatki upraszcza wymianę części, tworzenie precyzyjnych modeli 3D oraz rozwój nowych produktów. Niezależnie od pomysłu - GOM Scan 1 spełnia najwyższe kryteria przemysłowych standardów.

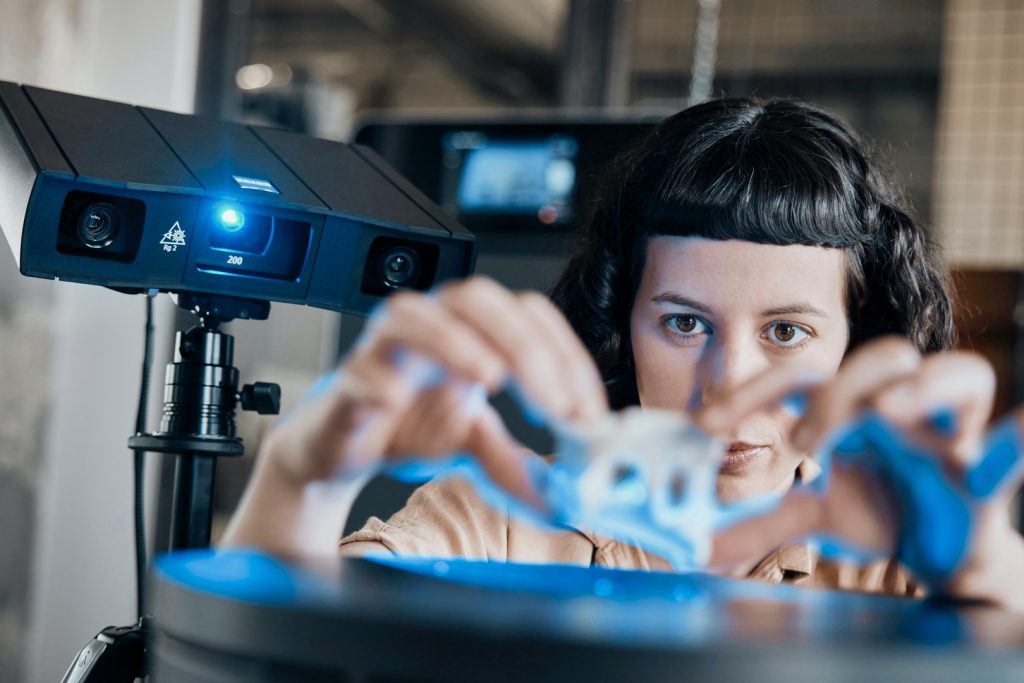
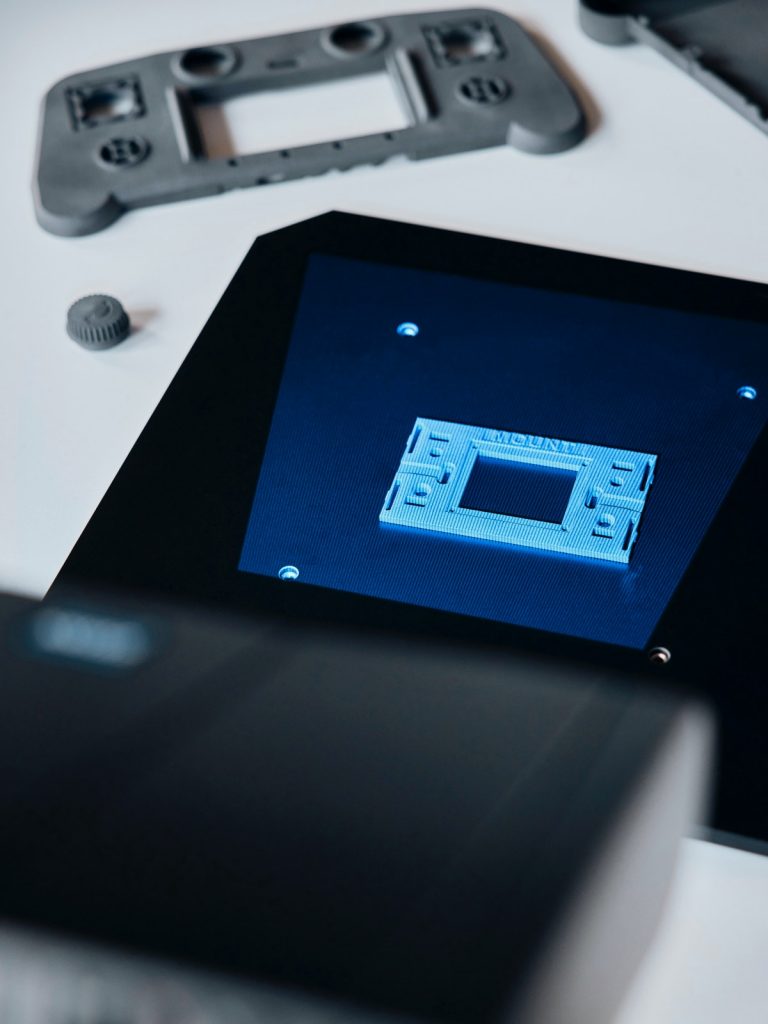
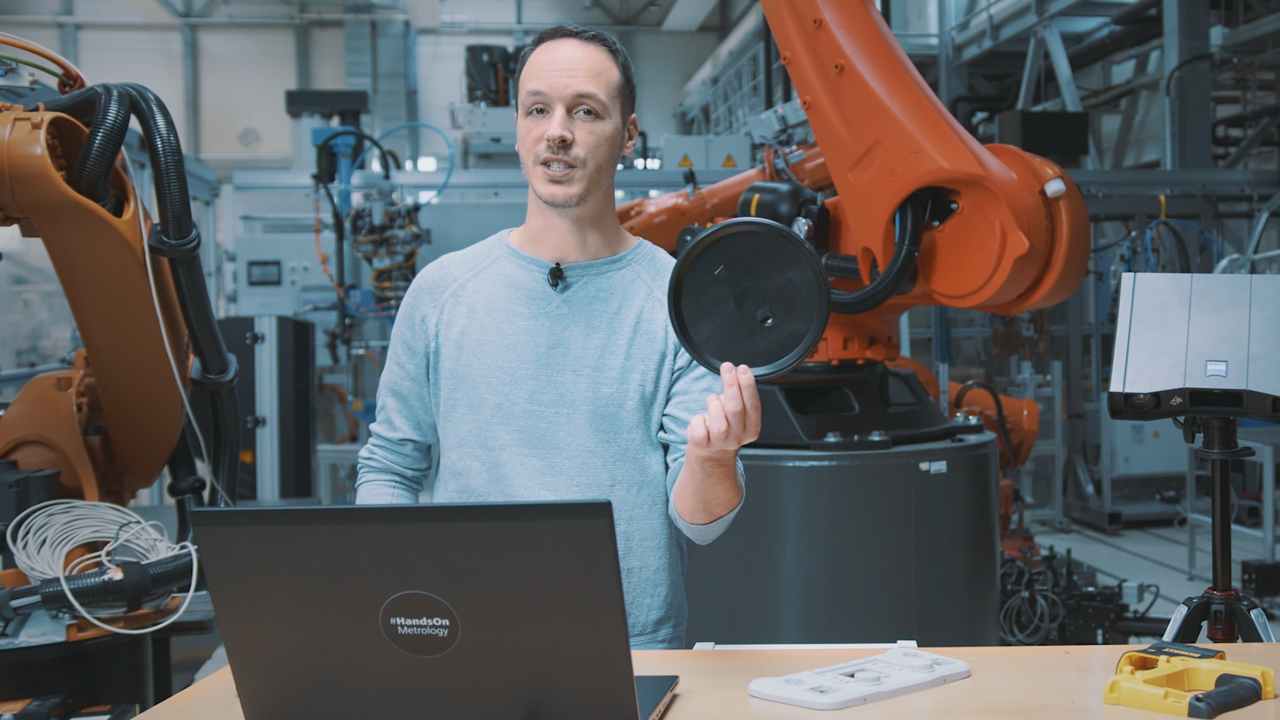
Pomiary i inspekcje Twoich produktów
GOM Scan 1 wraz z ZEISS INSPECT tworzy system, który wspiera cały proces. Dostarczane wyniki pomiaru są dokładne i kompletne, a procedura uproszczona. Importuj i wykonuj bazowania plików CAD i siatek, twórz porównania powierzchni, przekroje inspekcyjne oraz generuj raporty - z łatwością i efektywnie.

Wykorzystaj GOM Scan 1 w
• druku 3D
• inżynierii odwrotnej i procesach wytwarzania
• wizualizacji cyfrowej lub modeli 3D
• badaniach i edukacji
• branży sztuki i dziedzictwa kulturowego
• projektowaniu
• przemyśle medycznym
Akcesoria
Narzędzia wspierające użytkownika
Wraz z GOM Scan 1 dostarczane są dodatkowe akcesoria, które wspierają codzienne zadania. ROT 350 to zautomatyzowany stół obrotowy ułatwiający proces skanowania. Do zamocowania skanera można użyć statywu trójnożnego lub biurkowego. Wszystkie narzędzia mieszczą się w walizce, która ułatwia ich transport w dowolne miejsce.

Dane techniczne
Chcesz dowiedzieć się więcej?
Skontaktuj się z lokalnym partnerem #HandsOnMetrology.
Dowiedz się więcej
i
Please select the topic you seek more information about
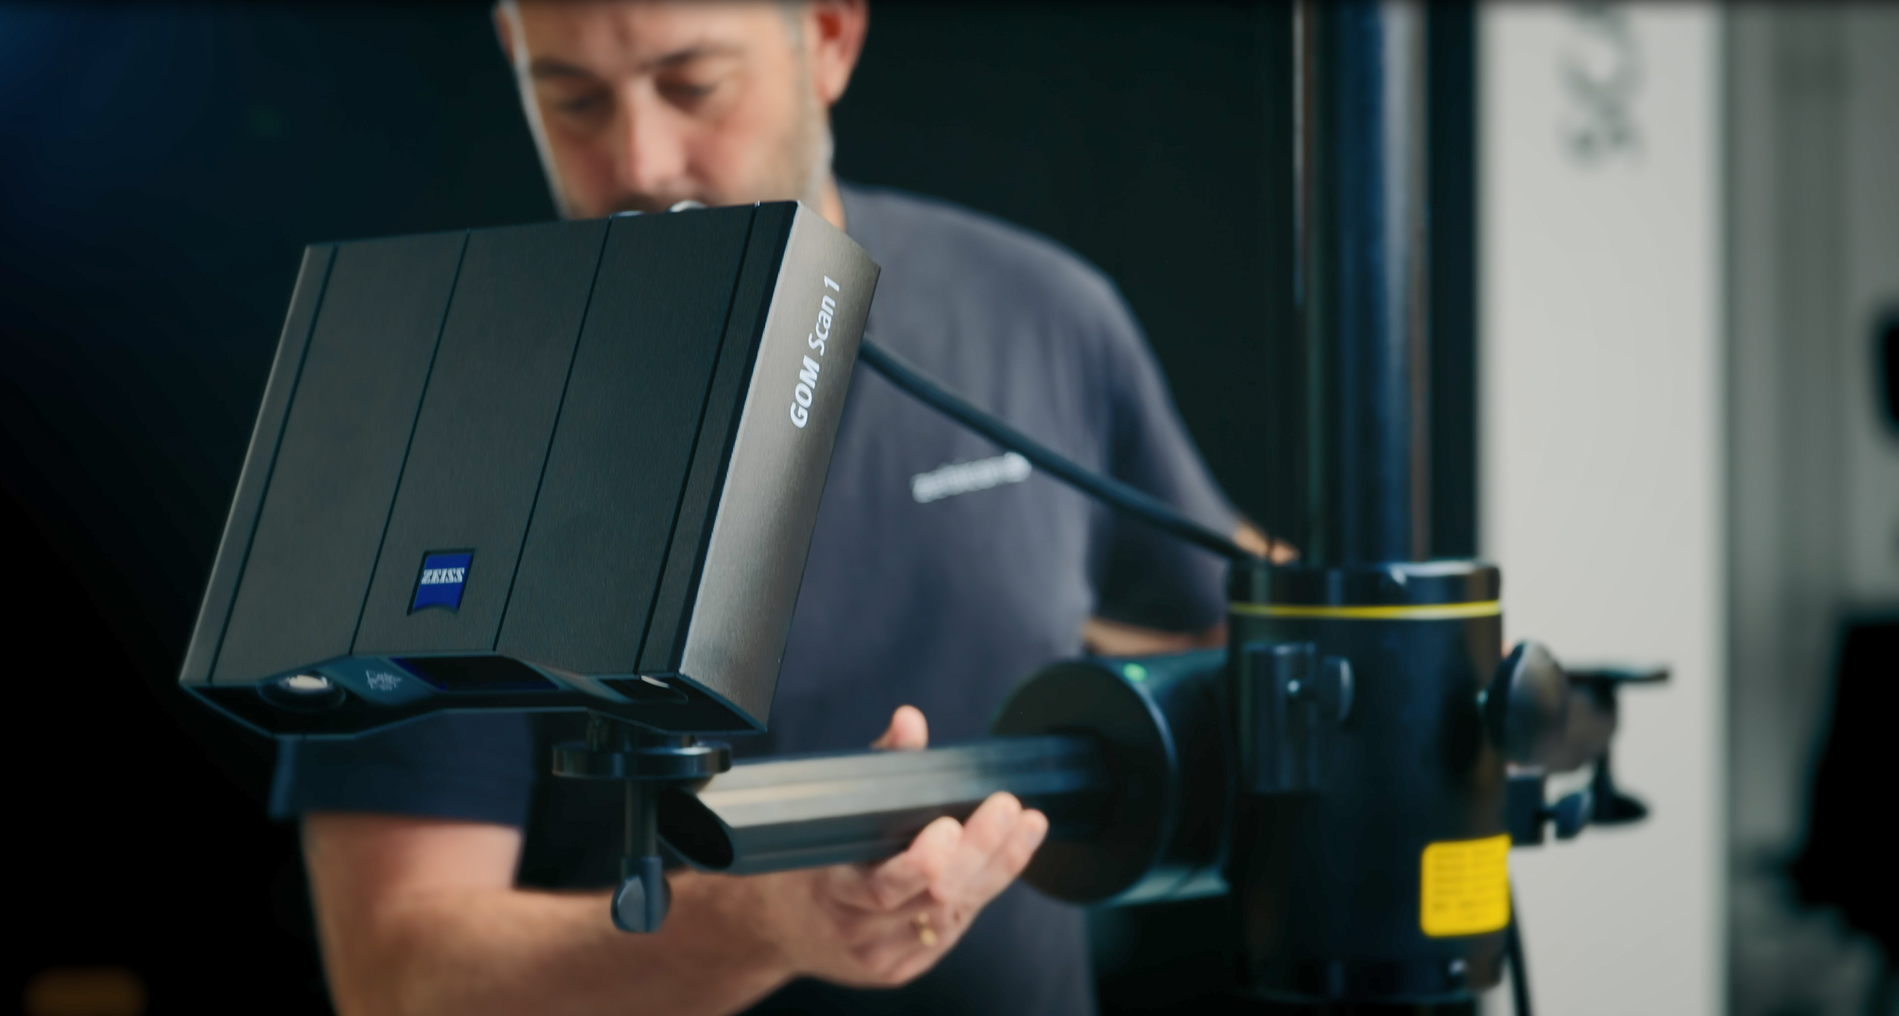
How to 3D scan with the right distance to object
How to 3D scan different materials
How to find your perfect exposure time with ZEISS INSPECT
Let Norman show you how to find the perfect exposure time for your part. The live camera image in ZEISS INSPECT offers multiple options of automatic exposure times: automatic by matrix computes up to three different exposure times for the entire field of view – making it a good choice for parts that combine light and dark surfaces. Other options: automatic by spot, automatic for reference points and interactive. Take a pick and start scanning!
All functions shown are available in the current software version.
Got any questions on 3D scanning? Contact us via support@HandsOnMetrology.com
How to scan and reprint broken parts
Discover how to repair a broken part by simply 3D scanning and 3D printing it. Step 1: do a scan of the part with the new GOM Scan 1. Step 2: use GOM Inspect to repair the part digitally and create a working file for your 3D printer. All of it in roughly two minutes!
How to inspect your 3D print with metrology
Watch Cornelius do a super easy inspection of a freshly printed prototype using the new GOM Scan 1. Is the part within tolerance of the original CAD reference? The results can be shared with the team: They’re a good foundation for creating the next CAD file version.
GOM Scan 1: Unboxing
Watch Miles unbox the GOM Scan 1. What’s included: the sensor, a sensor cable, a power adapter and a measuring plate, a calibration object holder, a calibration panel and a useful accessories box. For those who travel a lot: a sturdy travel case is also available, with perfectly sized, padded compartments for all GOM Scan 1 elements, a tripod and an automatic rotation table.
GOM Scan 1: The setup
Discover how to scan a part with the new GOM Scan 1 using a manual measuring plate. The distance radar makes finding the correct stand-off distance super easy. Scanning can be done with or without reference points – either way, you get a precise mesh of the part.
GOM Scan 1: Calibration
Calibrating your GOM Scan 1 is easy! Let Miles show you how it’s done. The GOM Scan 1 comes with all the accessories necessary for calibration – the software GOM Inspect guides you through the process and takes care of the rest. The best part: The sensor detects automatically, when it has to be recalibrated and informs you about it.
GOM Scan 1: Select the right sensor for your application
Let Miles show you how to select the GOM Scan 1 sensor with the perfect field of view for your scan job: Choose the 400 MV version for large parts with few details, 200 MV for smaller parts with greater detail or 100 MV for tiny parts with high levels of detail.
GOM Scan 1: Introduction to part inspection
Join Miles for a quick demonstration of how to do 3D part inspections with the new GOM Scan 1. In this video, he takes you through every step of the inspection process: from setting up to scanning and reporting – it’s a fast, smooth workflow.
GOM Scan 1: Scanning Multiple Parts
Let Miles show you how to scan multiple identical parts simultaneously using the GOM Scan 1 400 and the rotation table GOM Rot 350. Simply choose the workflow assistant for scanning multiple parts and follow the software as it guides you through the scanning process. Since the rotation table is marked with reference points, you can start scanning straight away. Partitioning the parts and aligning top and bottom scans is done with just a few clicks.
GOM Scan 1 for reverse engineering and 3D printing
Get a quick overview of the reverse engineering workflow using the new GOM Scan 1. Miles talks you through the key aspects: the selection of the right field of view, the scanning process, the 3D mesh creation and editing, the mesh alignment and data export.
GOM Scan 1: Scan a part with high levels of detail
Discover how to capture the highest possible detail with the GOM Scan 1, using a sensor with a 100 mm field of view. When scanning a small part, best results are achieved with a desk stand. The result: a detailed mesh that’s ready for 3D printing or reverse engineering.
GOM Scan 1: Measure both sides of an object
Capturing all sides of an object has never been easier. Let Miles show you how to measure a part from the top and from the bottom using a rotary table and the new GOM Scan 1. The result: a highly detailed mesh and perfect digital twin of the object you’ve scanned.
GOM Scan 1: Measure with a rotation table
Learn how easy and fast it is to scan a part with the new GOM Scan 1 using an automatic rotation table. Just choose the right template, define the number of rotations and start scanning – you can watch the data building up on the screen as you go along.
GOM Scan 1: Measure with a measuring plate
Discover how to scan a part with the new GOM Scan 1 using a manual measuring plate. The distance radar makes finding the correct stand-off distance super easy. Scanning can be done with or without reference points – either way, you get a precise mesh of the part.
GOM Scan 1: Your first use of ZEISS INSPECT
Let Miles guide you through your first use of ZEISS INSPECT with your new GOM Scan 1. It’s so easy to navigate the start screen and choose the correct workspace. Select the digitize workspace to can start scanning straight away – and get fast, precise results.
All functions shown are available in the current software version.
Got any questions on 3D scanning? Contact us via email: support@HandsOnMetrology.com
Zobacz nasze najnowsze sesje wideo
Wydarzenia
Media społecznościowe
Subskrybuj nasz newsletter
- Polityka prywatności
- Metryczka
- ©2025. Polityka prywatności
Media społecznościowe
Rozwiązania
Digital Events
Subskrybuj nasz newsletter
- Polityka prywatności
- Metryczka
- © 2025. Wszelkie prawa zastrzeżone