


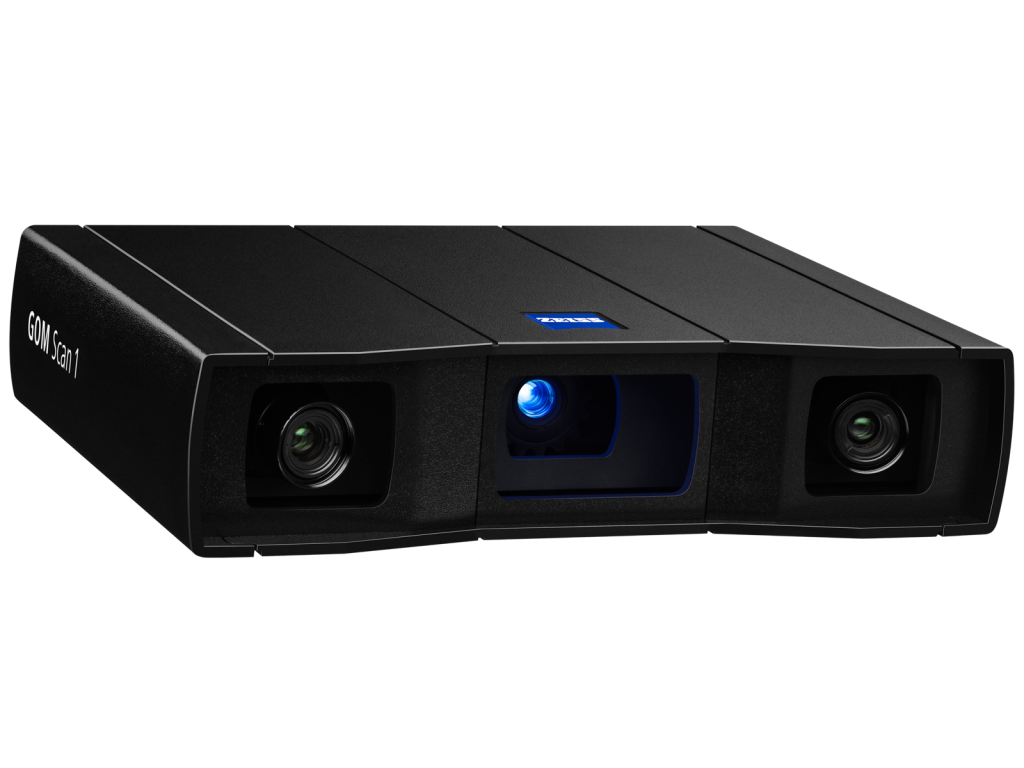


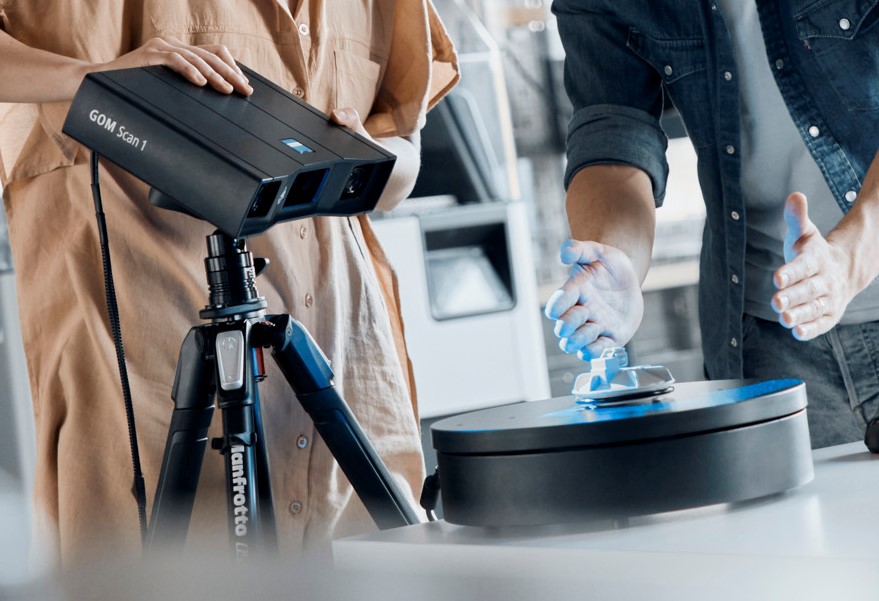
Capture and create your ideas
GOM Scan 1 with ZEISS INSPECT supports tasks such as 3D printing, 3D models of a part and reverse engineering. It captures high quality data in a short amount of time while the powerful mesh editing functions make it easy to replace parts, produce precise 3D models or develop new products. Whatever your idea, GOM Scan 1 meets professional and industrial standards to make it happen.

Measure and inspect your products
GOM Scan 1 with ZEISS INSPECT is a system to support your entire workflow. It helps you to get accurate and comprehensive measurement results and makes part inspection effortless. Import and align CAD and mesh files, create surface comparisons and inspection sections and generate reports – easily and efficiently.

Use GOM Scan 1 for
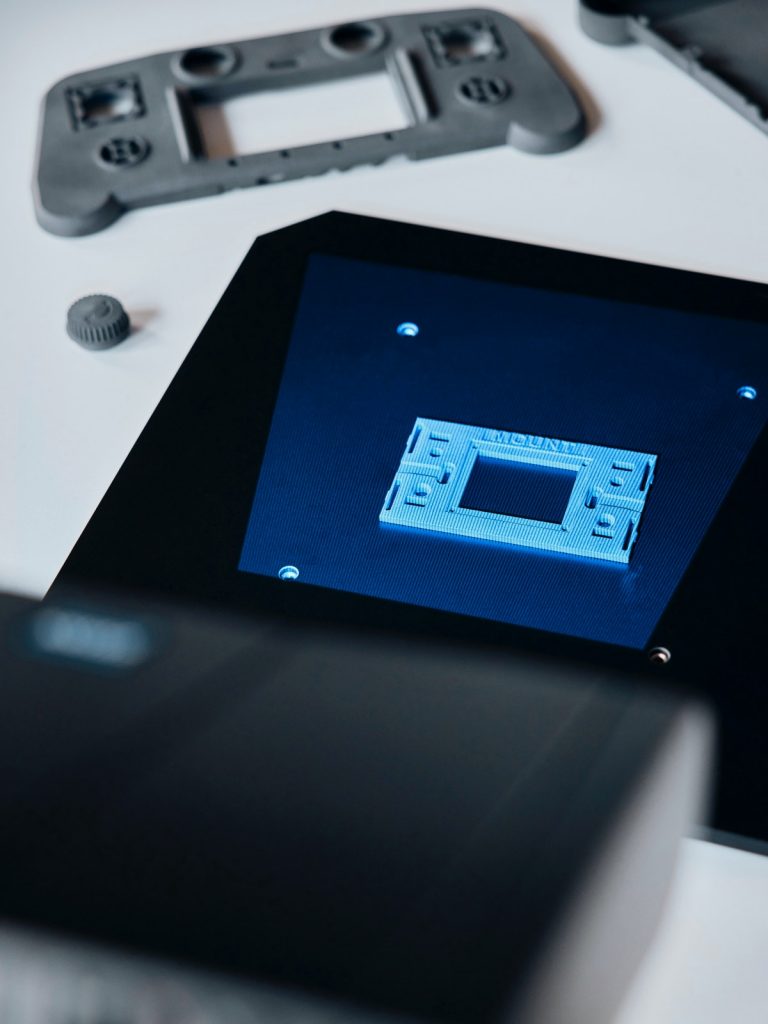
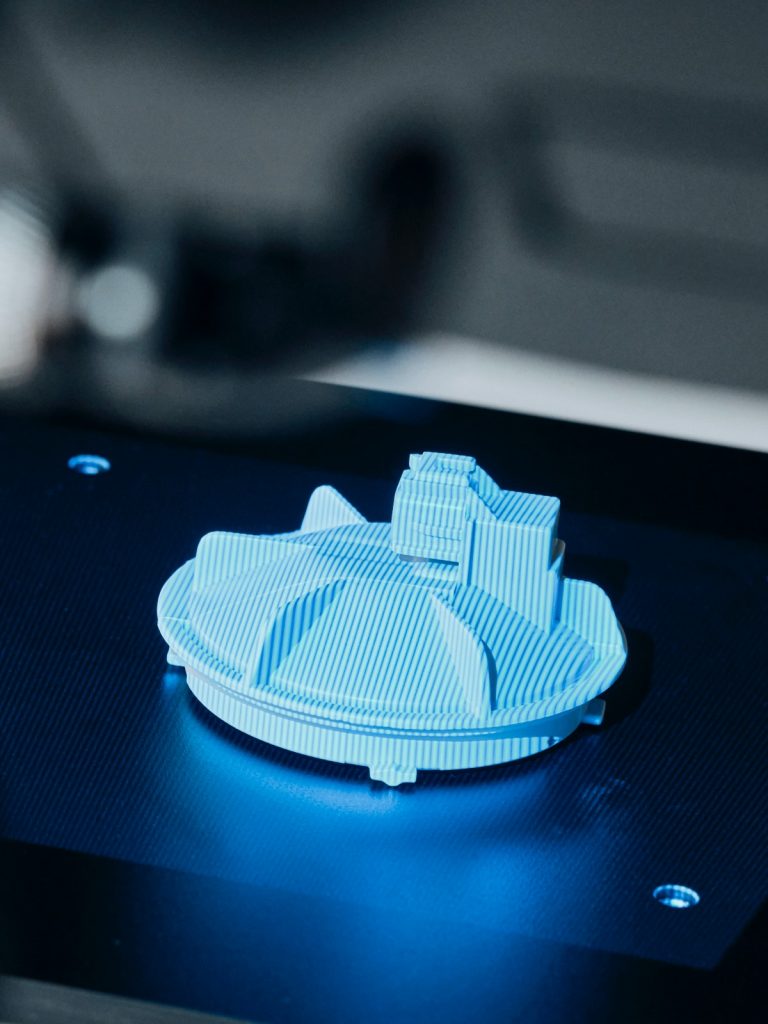
• 3D printing
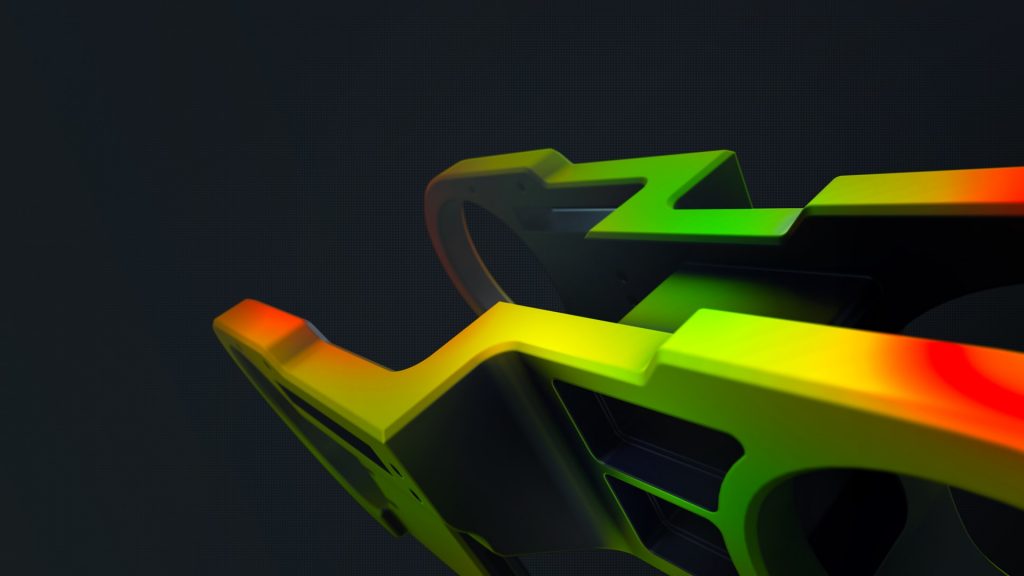
• Reverse engineering & manufacturing
• Virtual display or 3D models
• Research and education
• Art and heritage
• Design
• Healthcare
i
Please select the topic you seek more information about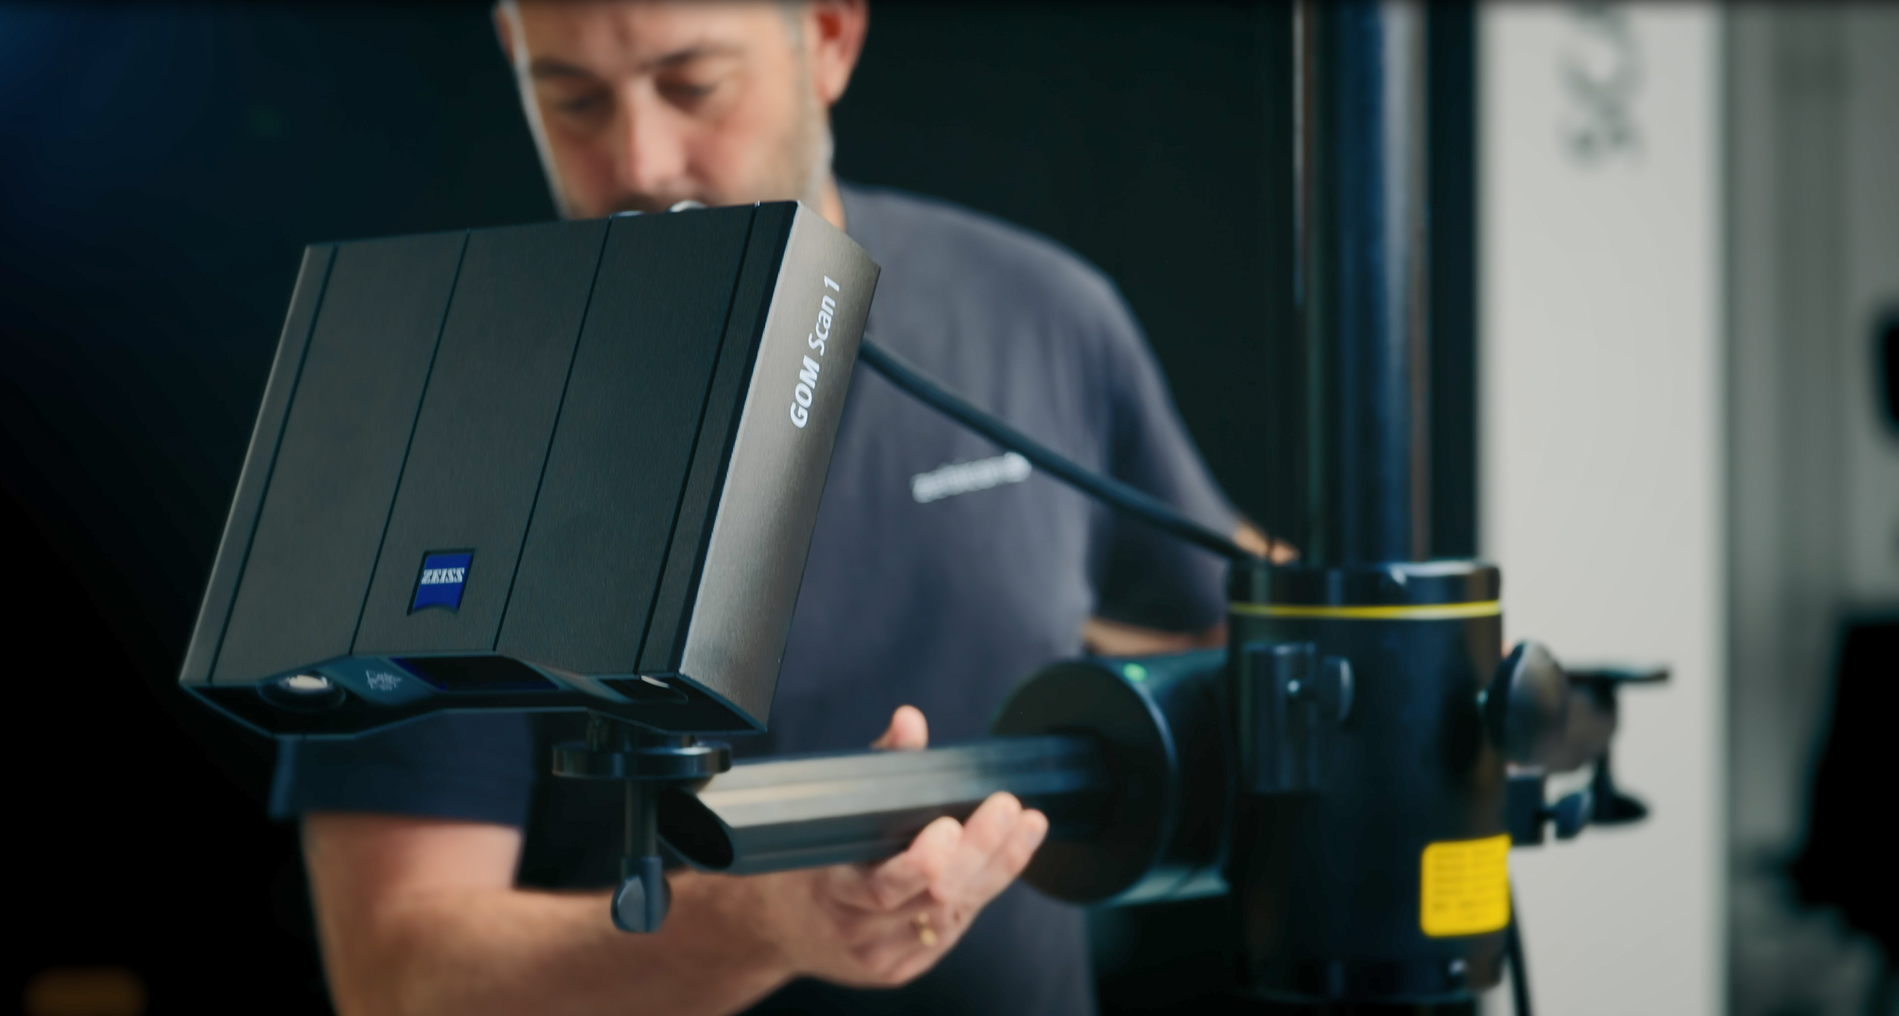
How to
How to 3D scan with the right distance to object

How to
How to 3D scan different materials
How to
How to find your perfect exposure time with ZEISS INSPECT

How to
How to scan and reprint broken parts

How to
How to inspect your 3D print with metrology

Getting Started – Basics
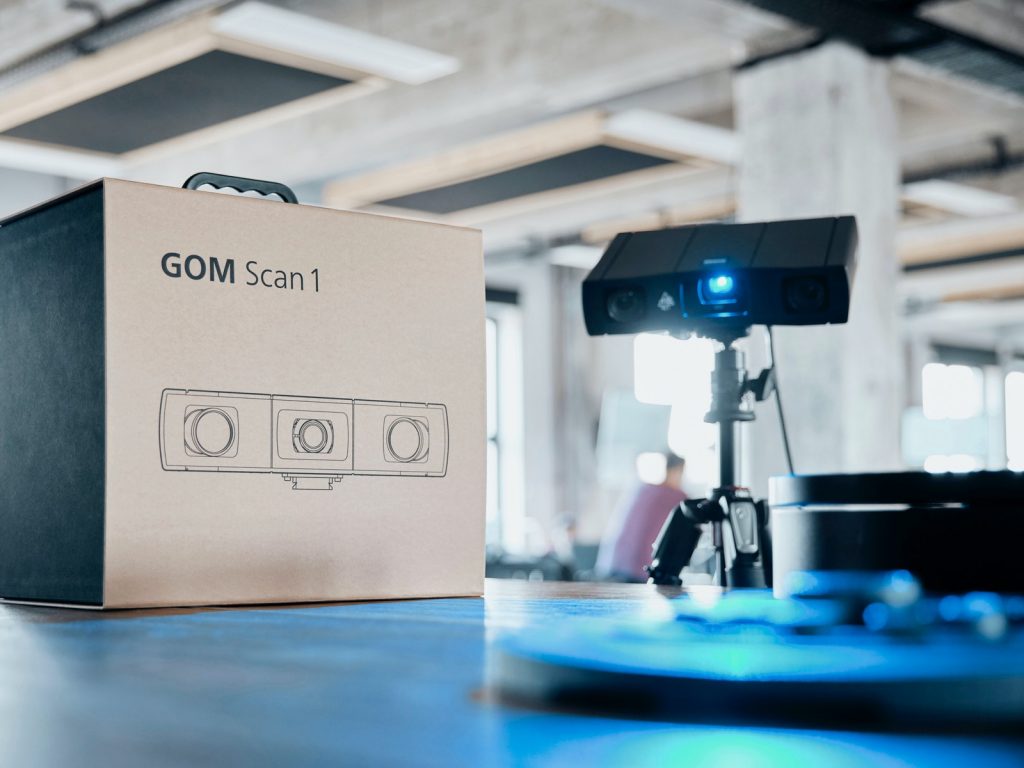
GOM Scan 1: Unboxing

Getting Started – Basics
GOM Scan 1: The setup

Getting Started – Basics
GOM Scan 1: Calibration

Getting Started – Basics
GOM Scan 1: Select the right sensor for your application

Getting Started – Next Steps
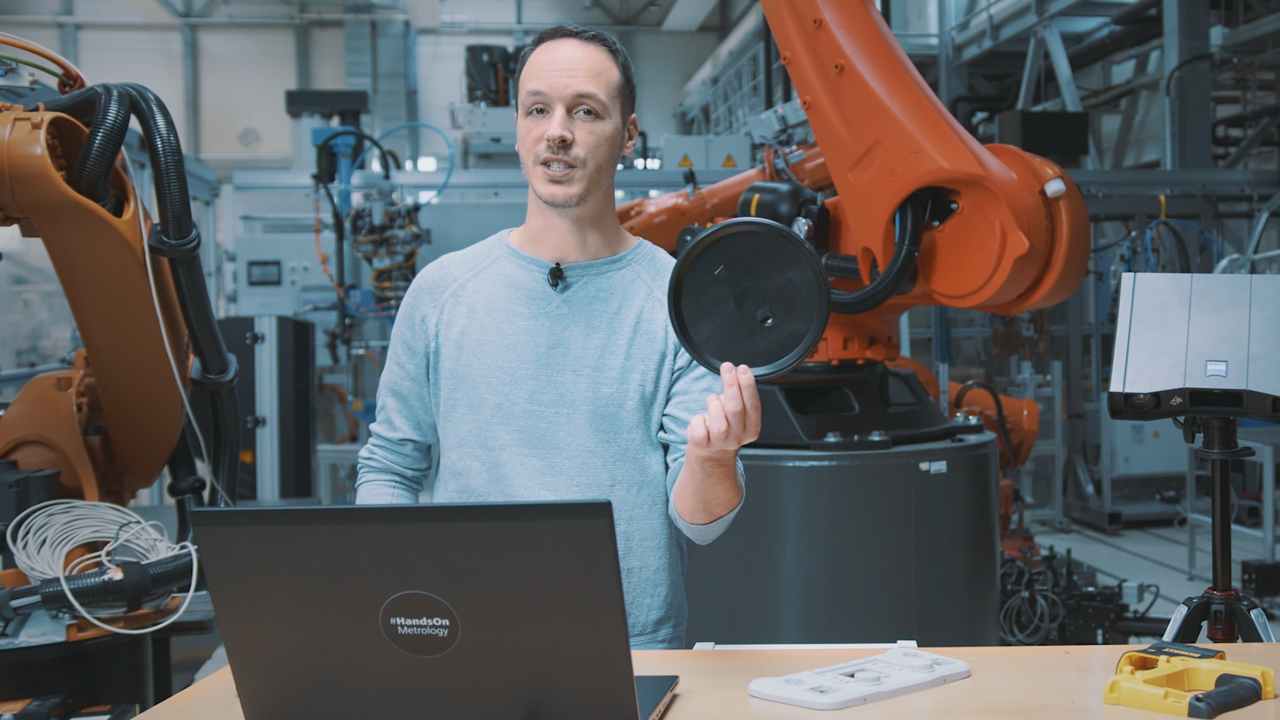
GOM Scan 1: Introduction to part inspection

Getting Started – Next Steps
GOM Scan 1: Scanning multiple parts

Getting Started – Next Steps
GOM Scan 1 for reverse engineering and 3D printing

Getting Started – Next Steps
GOM Scan 1: Scan a part with high levels of detail

Getting Started – Next Steps
GOM Scan 1: Measure both sides of an object
Getting Started – Next Steps
GOM Scan 1: Measure with a rotation table

Getting Started – Next Steps
GOM Scan 1: Measure with a measuring plate

Getting Started – Basics