


i
Please select the topic you seek more information about
ハウツー
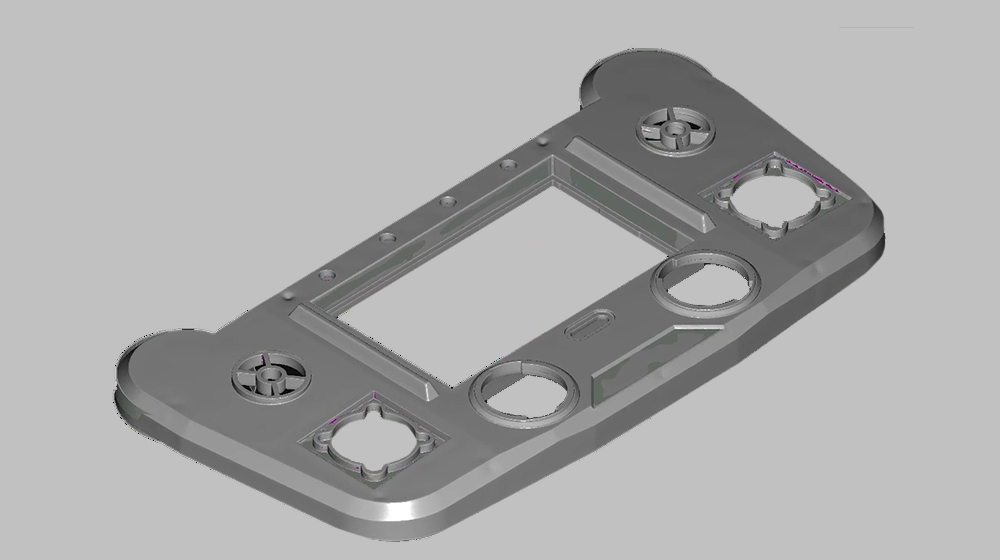
New Sketching function in ZEISS REVERSE ENGINEERING
ハウツー
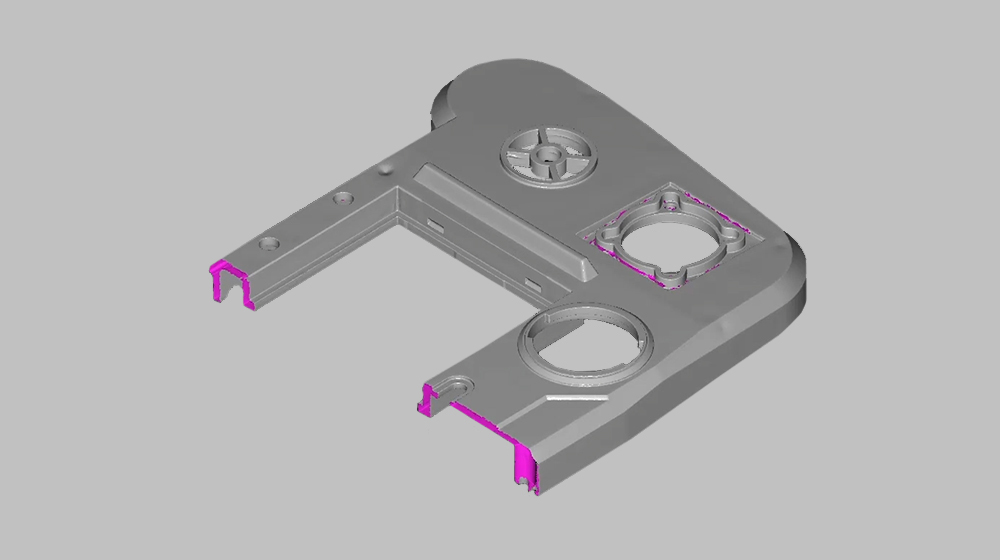
How to create a CAD file out of manually modelled parts
入門セッション – Next Steps
ZEISS REVERSE ENGINEERING: Importing data

入門セッション – Next Steps
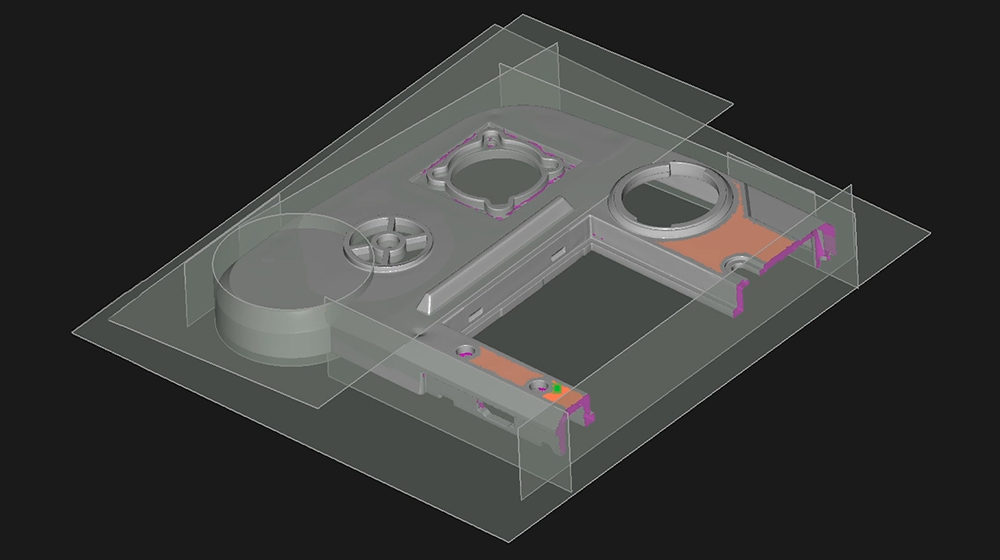
ZEISS REVERSE ENGINEERING: Edit and align meshes

入門セッション – Next Steps
ZEISS REVERSE ENGINEERING: Tips and tricks
入門セッション – Basics
ZEISS REVERSE ENGINEERING: Software user interface
入門セッション – Basics
ZEISS REVERSE ENGINEERING: Most common functions

ハウツー