アルケオロジーと3Dスキャンの出会い
あなたの原動力を発見する
Precupa: よりサステナブルな未来を見据えて
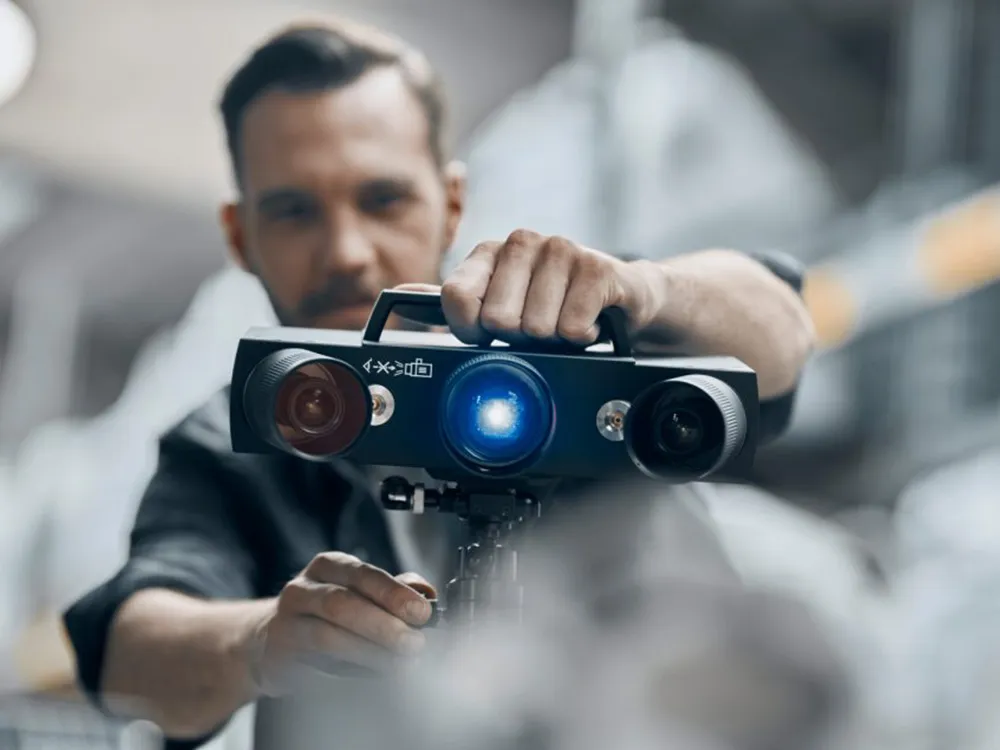
Museum of Research Schöningen: Archeology meets 3D Scan-Technology
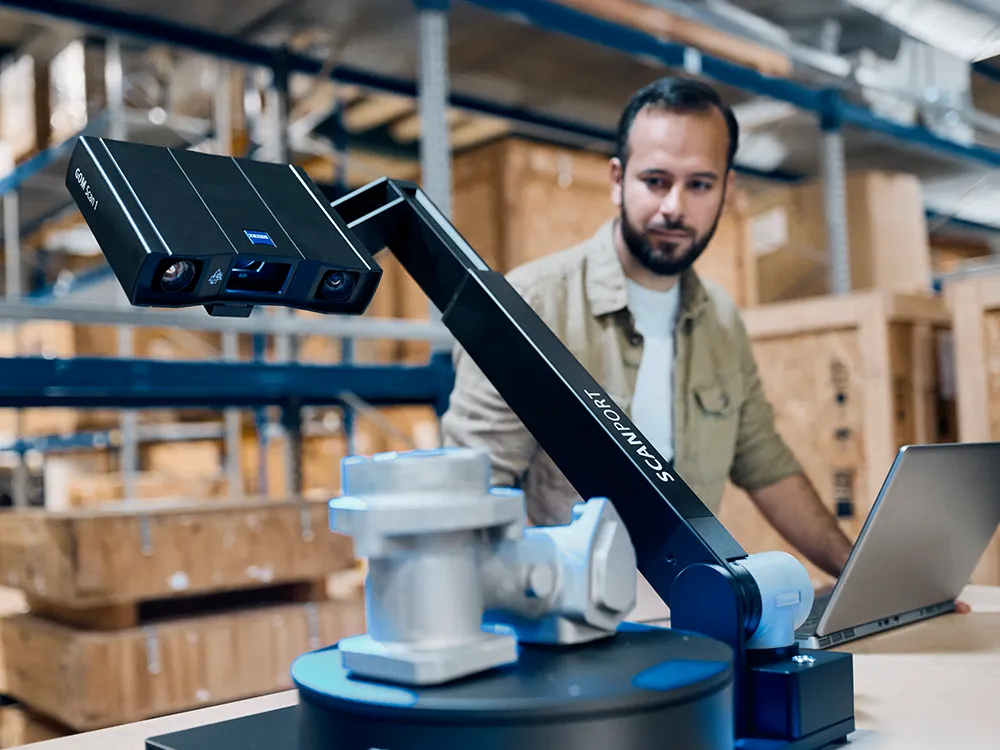
300.000 years of history are archived at the Museum of Research in Schöningen. 3D metrology solutions help to collect detailed information about the findings. Whether the reconstruction of parts or precise surface inspection: Thus the GOM Scan 1 and the software solution allow an insight into the past, which is accessible to everyone. Learn more about the Museum: https://forschungsmuseum-schoeningen.de/home
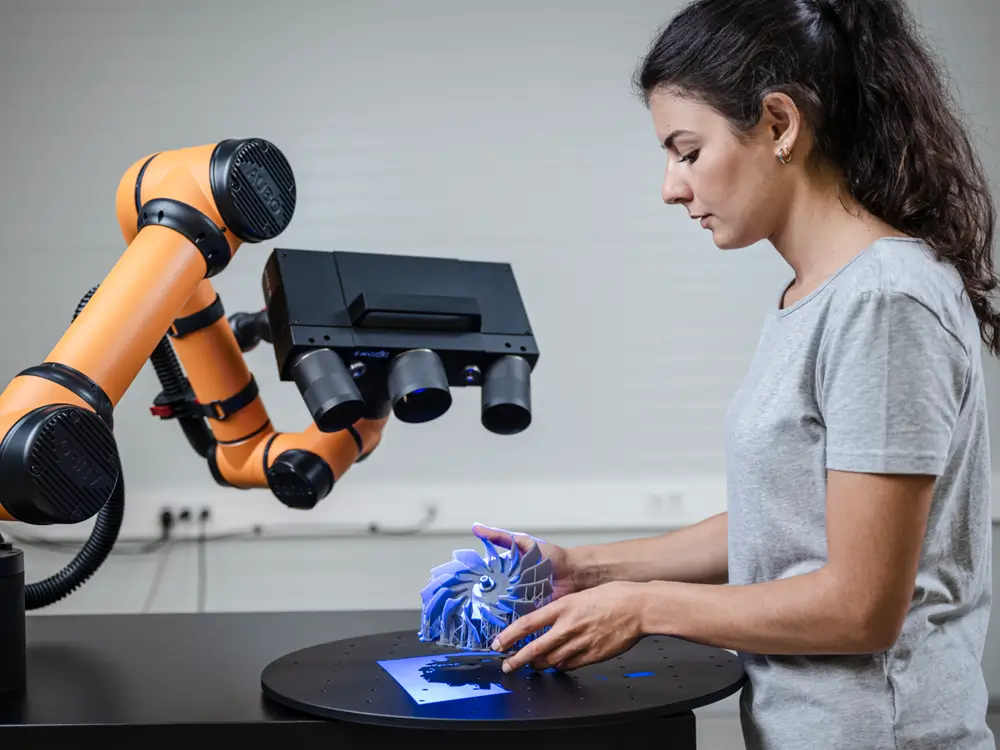
HandsOnMetrology: Dedicated to 3D metrology
Welcome to HandsOnMetrology. We are dedicated to 3D scanning and 3D inspection. We want to excite you about 3D metrology. We want to share knowledge. We want to entertain you with stories about makers. All to support your story. Be part of it.
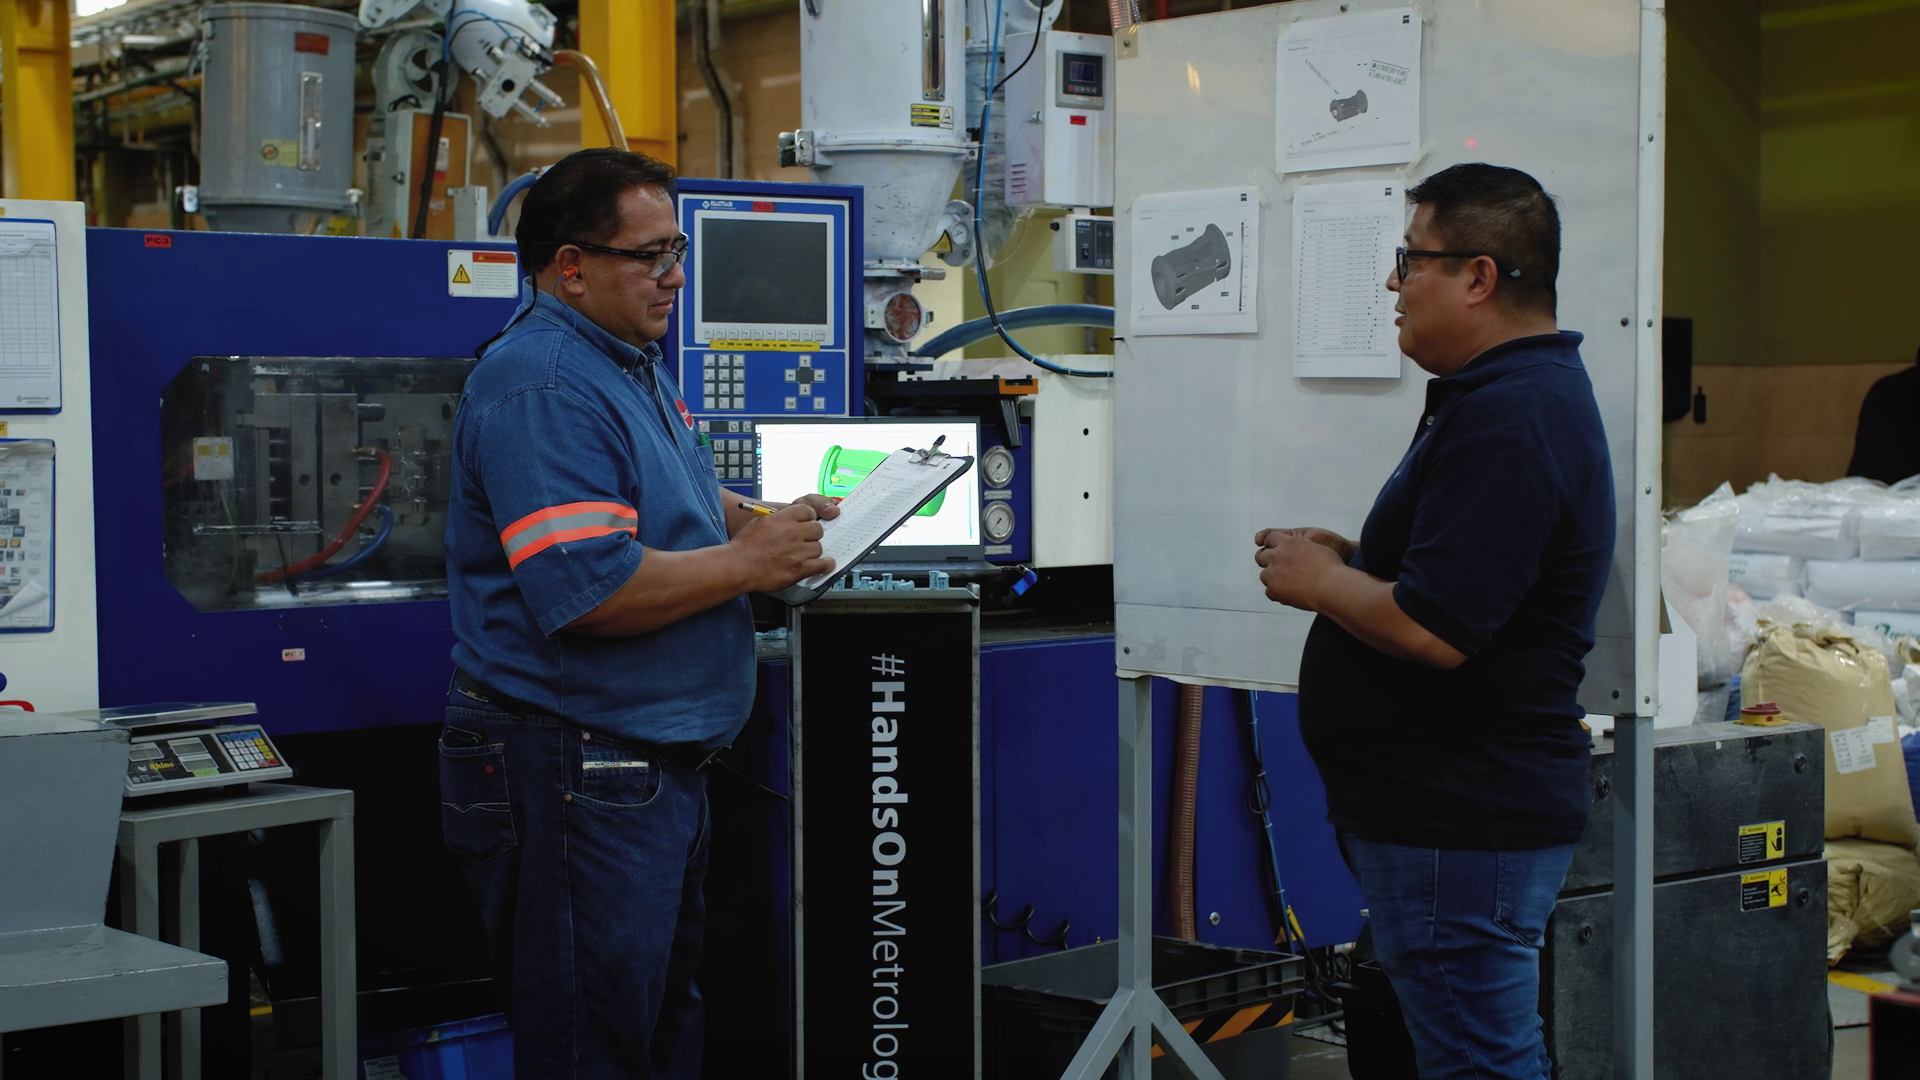
Precupa: Looking to a more sustainable future
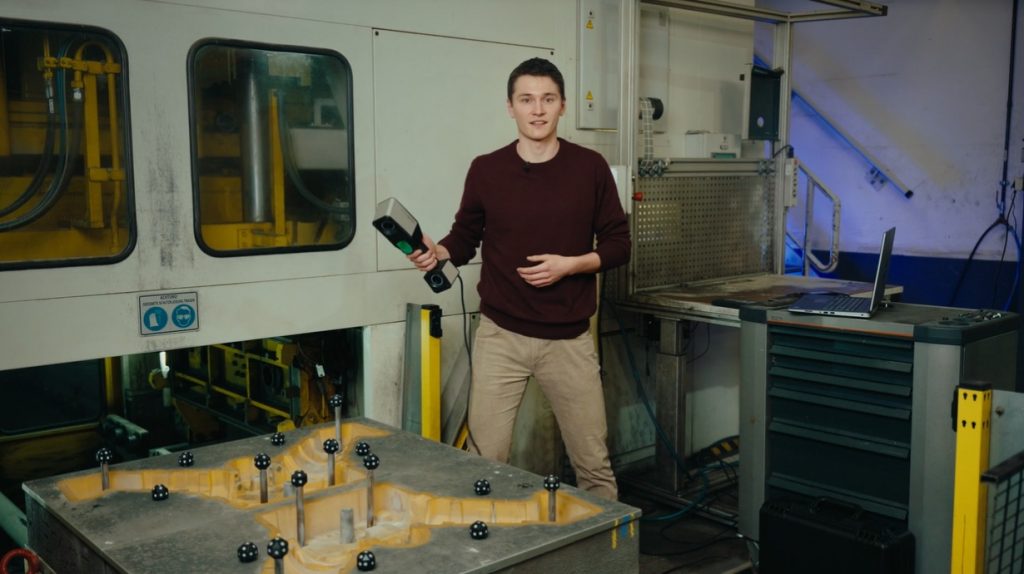
Operating for over 40 years at the foot of the Alps, Bavarian firm Precupa builds injection molds for the plastic industry. Together with his team, managing director Thomas März is constantly looking for ways to incorporate innovative and sustainable new technologies, such as Zeiss Reverse Engineering, into Precupa’s workflow. Our Maker Portraits are behind-the-scenes looks at some of the most exciting manufacturing, maintenance and repair service workshops.
Want to learn more about Precupa? Visit www.precupa.de
ようこそ
HandsOnMetrologyでは、3Dスキャン測定と3D検査に関する新しい価値を提供します。
最新のセッション
Stork: MRO with portable 3D scanner
MRO processes with the portable ZEISS T-SCAN hawk 2 are the way to go for the company Stork.The flexibility of the scanner is ideal for the indiviudal quality control and reverse engineering tasks of their customers. Have a look at the daily work at Stork company in our new Maker Story.
T-SCAN hawk 2: All features of the remote control buttons
Let Aysel show you the different possibilities of the control buttons on the back of the T-SCAN hawk 2. It makes starting the remote workflow, zooming in and out, opening the menu and more as easy as a push of the button. Have you got any questions on 3D scanning? Contact us via support@HandsOnMetrology.com
T-SCAN hawk 2: How does satellite mode work and why do you need it
Scanning larger parts can be challenging. We simplified the the process with the new satellite mode of the handheld laser scanner T-SCAN hawk 2. It does without coded markers thus preparations are easy and fast. Learn more about the advanced way of photogrammetry here. Got any questions? Contact us via support@HandsOnMetrology.com.
Huck Cycles: Quality control of electric motorcycles
At Huck Cycles it’s all about developing and designing electric motorcycles. The hand-held ZEISS T-SCAN hawk 2 comes into use when exact and fast quality control is needed. With the scanner, controlling each and every single component via a quick scan and CAD comparison is possible – saving the company time and energy, while maintaining high quality motorized vehicles.
Want to learn more about Huck Cycles? Visit www.huckcycles.com
Find the best position for your reference points
Let Benjamin show you how to distribute your reference point markers to get the best 3D scanning result. Don’t make extra work for yourself by sticking on too many markers! The perfect reference point distribution is: extensive and random.
Got any questions about 3D scanning? Contact us via email: support@HandsOnMetrology.com
Precupa: Looking to a more sustainable future
Operating for over 40 years at the foot of the Alps, Bavarian firm Precupa builds injection molds for the plastic industry. Together with his team, managing director Thomas März is constantly looking for ways to incorporate innovative and sustainable new technologies, such as Zeiss Reverse Engineering, into Precupa’s workflow. Our Maker Portraits are behind-the-scenes looks at some of the most exciting manufacturing, maintenance and repair service workshops.
Want to learn more about Precupa? Visit www.precupa.de
New videos: One-Minute Insight
How to use GOM Inspect as a presentation viewer
Get an insight from Victoria, a Software Developer at GOM, and learn why she prefers to use GOM Inspect as a viewer whenever she has to present the results of an inspection job to a client or the team.
All functions shown are available in the current software version.
Have you got any questions about GOM Inspect? Then contact us via email: support@HandsOnMetrology.com
Find the best position for your reference points
Let Benjamin show you how to distribute your reference point markers to get the best 3D scanning result. Don’t make extra work for yourself by sticking on too many markers! The perfect reference point distribution is: extensive and random.
Got any questions about 3D scanning? Contact us via email: support@HandsOnMetrology.com
Use the Clipping Cube function to get a perfect view
Need to look at a project with a lot of details and obstructed parts? Nanno from GOM shows you a trick to get a clear view of just the details you are interested in – by using the Clipping Cube function in GOM Inspect.
All functions shown are available in the current software version.
Have you got any questions about GOM Inspect? Then contact us via email: support@HandsOnMetrology.com
3Dスキャンの新たな世界へようこそ
HandsOnMetrologyは、3Dスキャンに関するあらゆる知識や情報を提供する新しいプラットフォームです。 ステップバイステップの設定説明から、より高度なチュートリアルや専門家のハックまで。このプラットフォームは、学習のために作られています。 様々な学習リソースをご利用いただけます。 また、優れた3Dスキャンを提供するために必要なサポートを見つけることもできます。 お客様を第一に考えた学習プラットフォームを、ぜひご活用ください。

注目トピック:厳しい測定環境にも対応

製造現場におけるポータブ
ル3Dスキャナー
の使い方
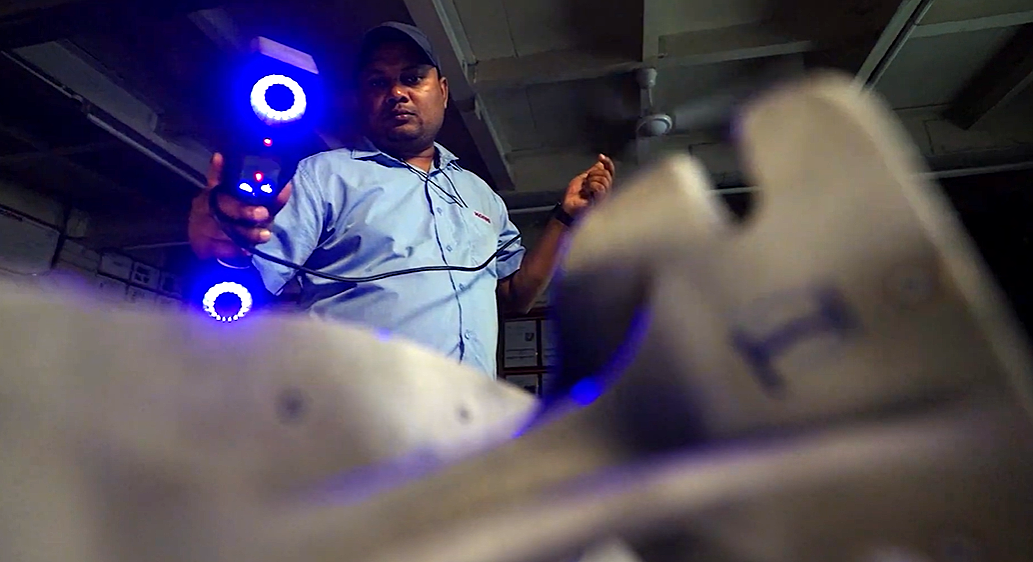
T-SCAN hawk 2: How to measure in production
Small and portable: the T-SCAN hawk 2 is made for the use in production. See here how it supports your complete process chain from data collection for reverse engineering, different inspection tasks to the digital assembly of produced parts.
Do you want to find out more about the portable 3D laser scanner T-SCAN hawk 2? Visit HandsOnMetrology.com/sessions
他のセッションを見る
T-SCAN hawk 2: All features of the remote control buttons
Let Aysel show you the different possibilities of the control buttons on the back of the T-SCAN hawk 2. It makes starting the remote workflow, zooming in and out, opening the menu and more as easy as a push of the button. Have you got any questions on 3D scanning? Contact us via support@HandsOnMetrology.com
T-SCAN hawk 2: How to use a 3D scanner for dent detection
Looking for a way to speed up and refine your aircraft MRO? Let Roel show you how the T-SCAN hawk 2 and the Inspect Software aid in various inspection tasks, like GD&T, CAD comparisons or defect maps. Got any questions on 3D scanning? Contact us via support@HandsOnMetrology.com
T-SCAN hawk 2: How does satellite mode work and why do you need it
Scanning larger parts can be challenging. We simplified the the process with the new satellite mode of the handheld laser scanner T-SCAN hawk 2. It does without coded markers thus preparations are easy and fast. Learn more about the advanced way of photogrammetry here. Got any questions? Contact us via support@HandsOnMetrology.com.
GOM Inspect:3D検査について
ATOS Q:GOM Inspectによる迅速な検査
T-SCAN:レーザースキャナーシステム購入後の開封手順
ニュースレター登録
HandsOnMetrologyの最新情報をいち早くお届けいたします
お客様に最適な3Dスキャンソリューションをご提案します。
3Dスキャンソリュー ションをお探しです か?

ZEISS T-SCAN
GOM Inspect
品質を視覚化
シンプルで直観的な操作性と包括的な検査機能を備えた、
3D測定データ用検査ソフトウェアです。業界標準としての地位を確立したソフトウェアを、無料でダウンロードし
ていただけます。