HA Group: il futuro della fonderia
MMG: Meet the world’s largest ship propellers
Meet MMG and their impressive ship propellers. Although huge, the parts are planned to the detail before months of development culminate in about ten minutes of casting time. To ensure quality and functionality, 3D measurement plays an import role in the process. Be ready for a big story.
Our Maker Portraits are behind-the-scenes looks at some of the most exciting manufacturing, maintenance and repair service workshops. Do you want to learn more about MMG? Visit www.xxl-metalworking.com
Ultime sessioni
Precupa: Looking to a more sustainable future
Operating for over 40 years at the foot of the Alps, Bavarian firm Precupa builds injection molds for the plastic industry. Together with his team, managing director Thomas März is constantly looking for ways to incorporate innovative and sustainable new technologies, such as Zeiss Reverse Engineering, into Precupa’s workflow. Our Maker Portraits are behind-the-scenes looks at some of the most exciting manufacturing, maintenance and repair service workshops.
Want to learn more about Precupa? Visit www.precupa.de
Find the best position for your reference points
Let Benjamin show you how to distribute your reference point markers to get the best 3D scanning result. Don’t make extra work for yourself by sticking on too many markers! The perfect reference point distribution is: extensive and random.
Got any questions about 3D scanning? Contact us via email: support@HandsOnMetrology.com
Fraunhofer IWU: Unique solutions for unique tasks
At the Fraunhofer Intitute for Machine Tolls and Forming Technology, there is no “normal business”. Instead, it’s all about unique clients with unique tasks seeking unique solutions. Whether it’s in the automotive, medical or robotics industry: 3D scanning makes it possible to step into the future – every day.
Le più note
ZEISS Reverse Engineering: Tips and tricks
In this video, Josh lets you in on some handy tips and tricks to help you get started even faster with ZEISS Reverse Engineering. Learn how to bookmark your favorite functions. Discover how the transparency tool can help you get a better look at specific elements. Learn about how the snapshot tool makes it easy for you to create images for reports. Start using the “fit to screen” icon to get a better view of your part. And minimize clicks by looking at the shortcut list in the user guide.
GOM Inspect: Introduction to 3D mesh editing
How does photogrammetry work and why do you need it?
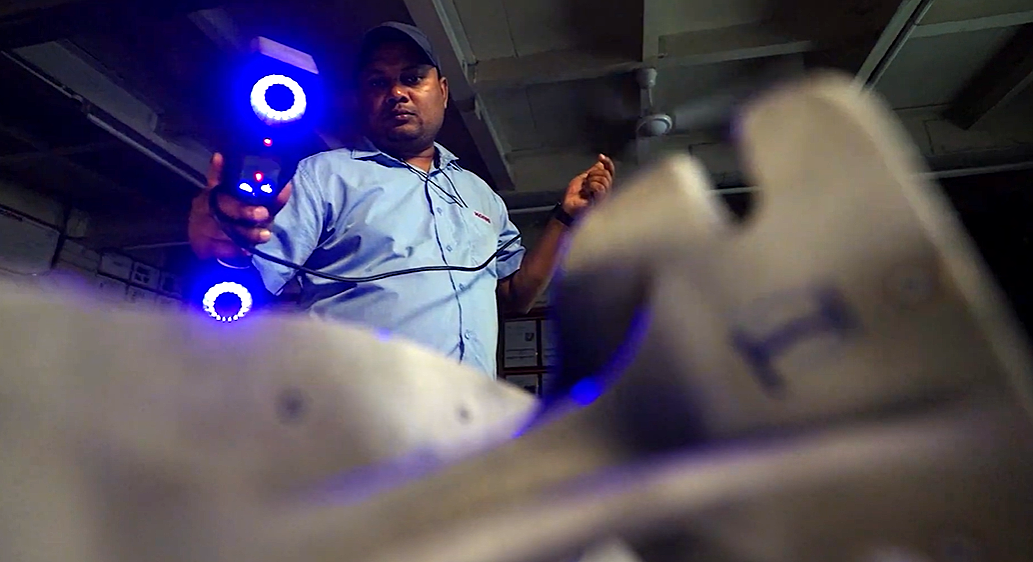
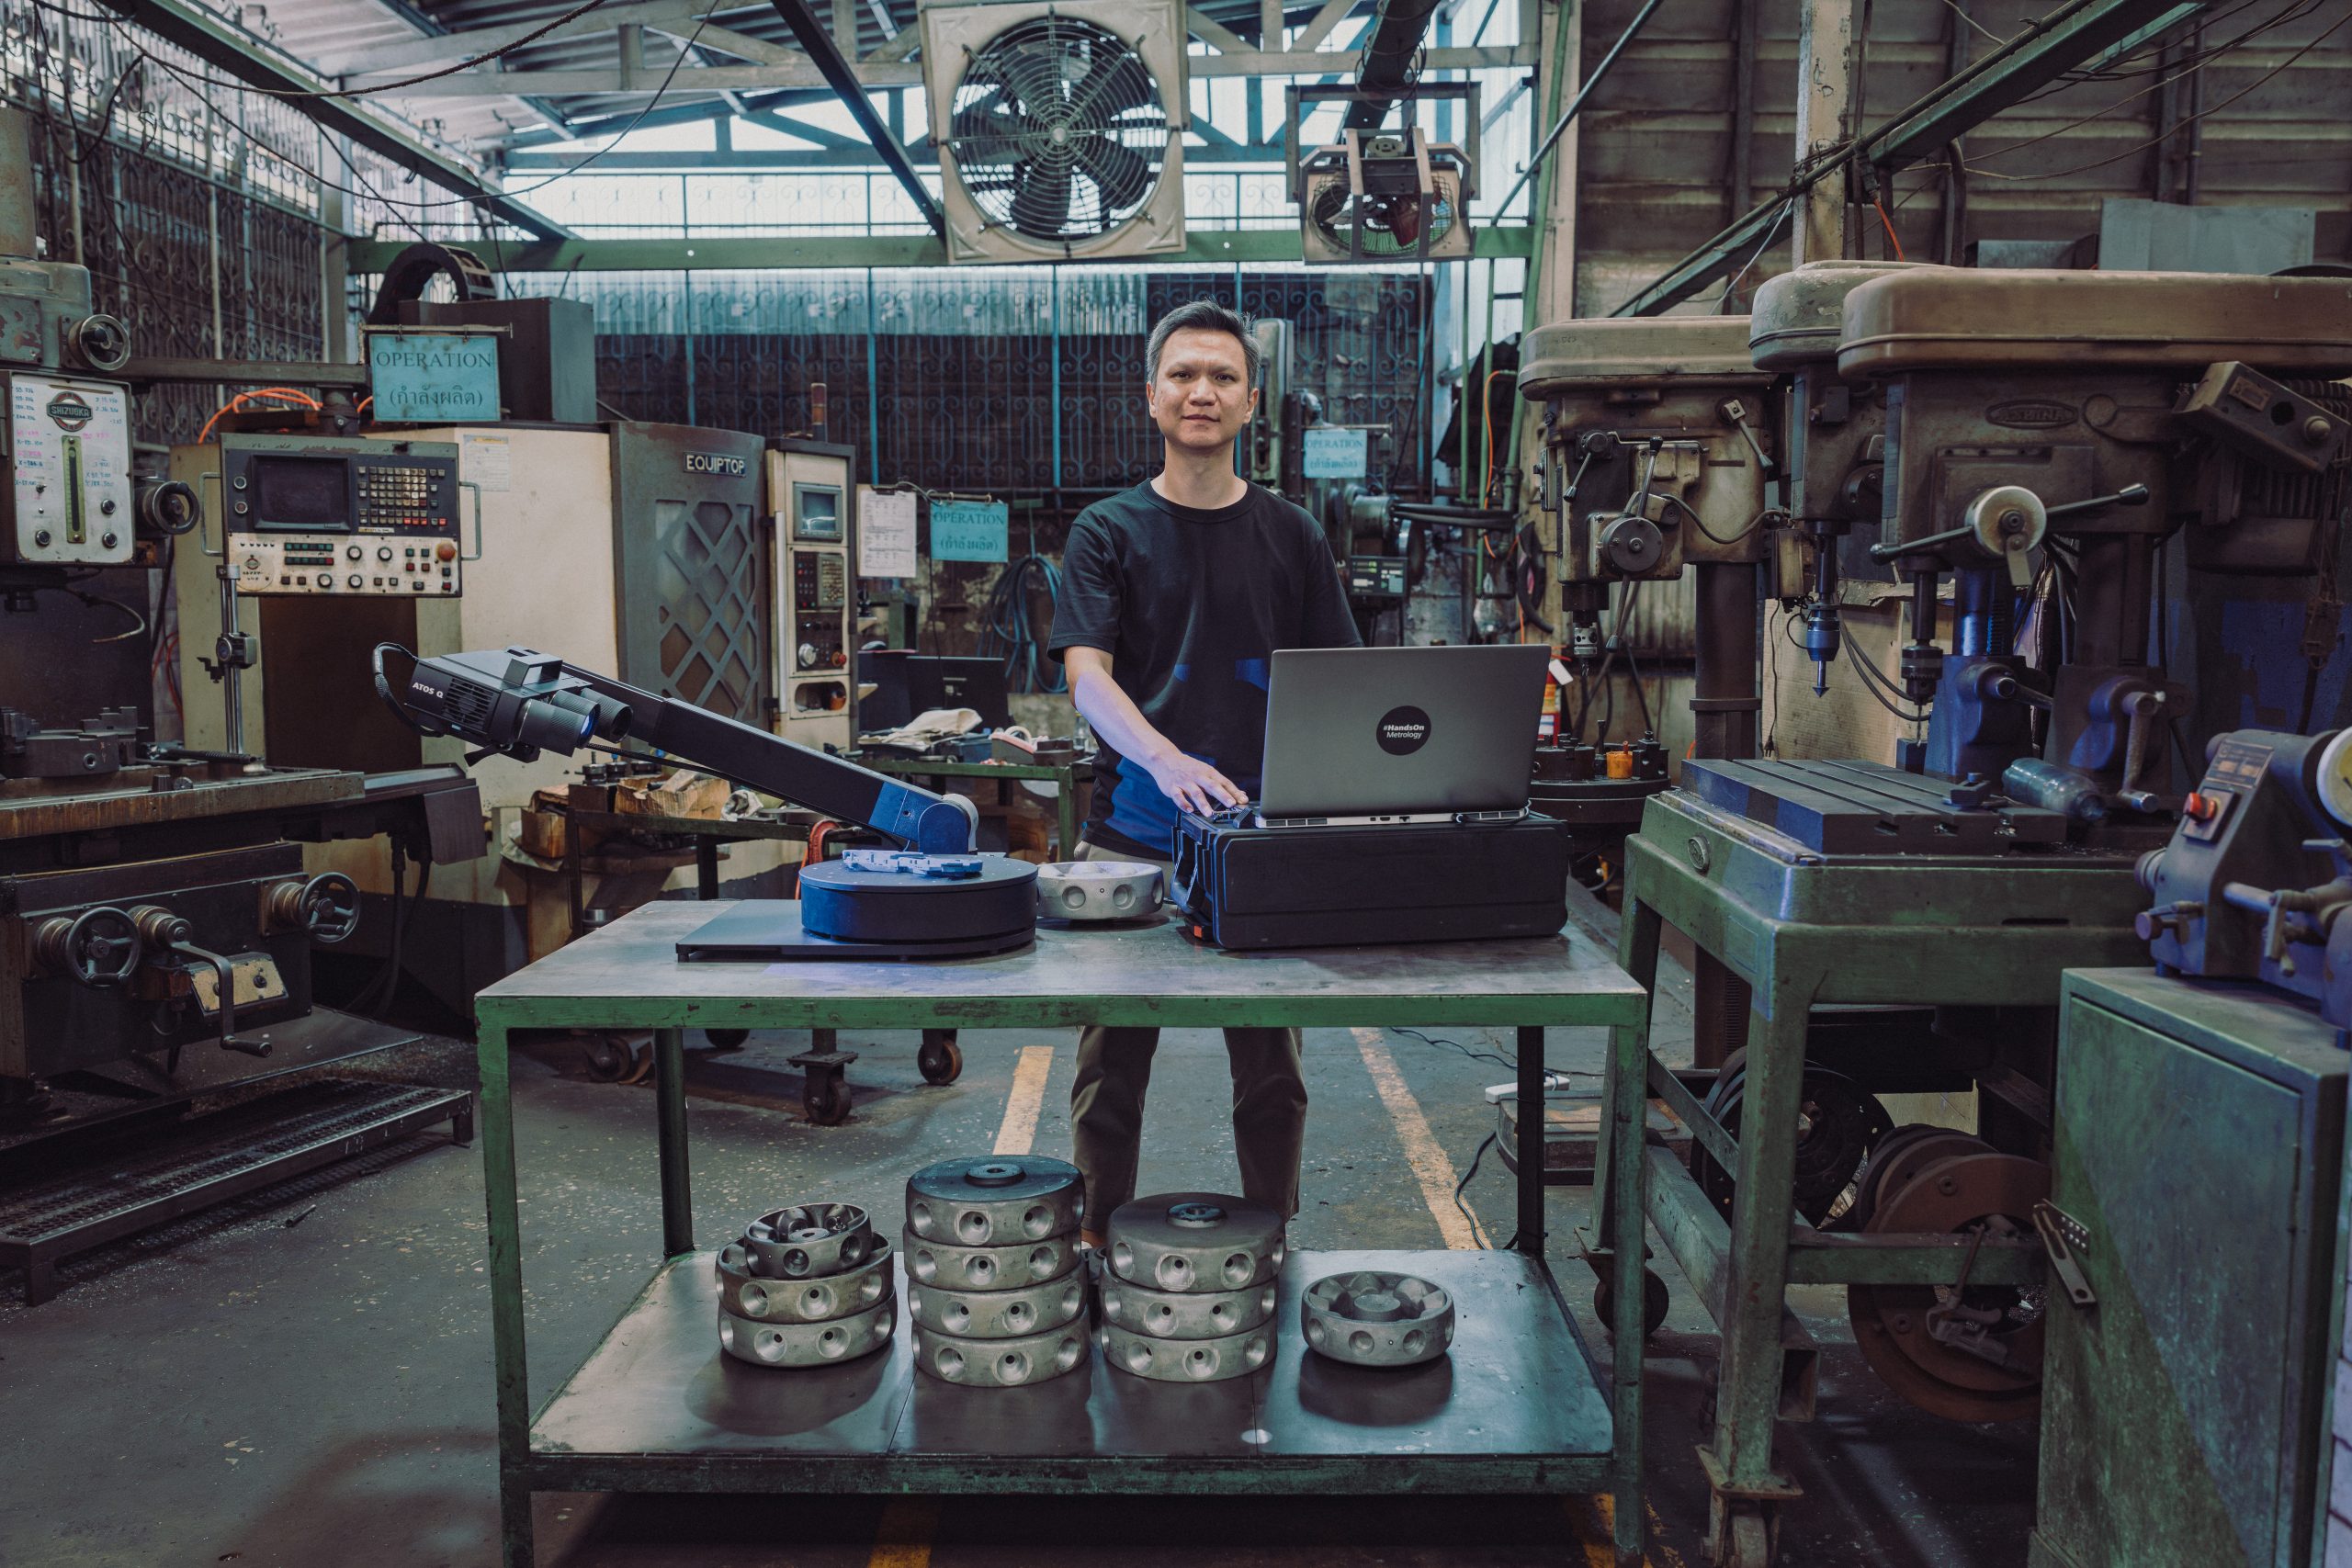
HA Group: The future of foundry
T-SCAN hawk: All features of the remote control buttons
Toon teaches you how to work with the remote control buttons: Learn how to start the 3D scanner, zoom in and out, change scanning modes and exposure time. Especially useful: The M-button allows you to control the software and workflow directly from the portable scanner.
Chapters
00:34 The play/pause-button
01:13 The M-button
02:06 Remote scanning workflow
T-SCAN hawk: Scan fine details
Find out how to scan fine details with T-SCAN hawk: If you want to scan small details on a larger part, watch Toon add local resolution to specific areas. For detailed objects, set a high resolution and immediately use the scan details function in GOM Inspect Suite.
Chapters
00:24 Two scenarios
01:29 Scenario 1: Large part with local detail
03:09 Scenario 2: A whole part with fine details
Video dietro le quinte
Precupa: Looking to a more sustainable future
Operating for over 40 years at the foot of the Alps, Bavarian firm Precupa builds injection molds for the plastic industry. Together with his team, managing director Thomas März is constantly looking for ways to incorporate innovative and sustainable new technologies, such as Zeiss Reverse Engineering, into Precupa’s workflow. Our Maker Portraits are behind-the-scenes looks at some of the most exciting manufacturing, maintenance and repair service workshops.
Want to learn more about Precupa? Visit www.precupa.de
Fraunhofer IWU: Unique solutions for unique tasks
At the Fraunhofer Intitute for Machine Tolls and Forming Technology, there is no “normal business”. Instead, it’s all about unique clients with unique tasks seeking unique solutions. Whether it’s in the automotive, medical or robotics industry: 3D scanning makes it possible to step into the future – every day.
Atka: The plastics specialists
At Atka, it’s all about plastics. And about machines that attach non-manipulable plastic caps to beer kegs and are delivered to breweries all over the world. 3D scanning enables this family-run business to stay ahead of the game at all times.
HA Group: The future of foundry
RLL Racing: Technology wins races
Take a look behind the scenes at Rahal Letterman Lanigan Racing as they are getting their cars ready between races at the IndyCar Series. 3D scanning helps the team to modify their cars’ bodyparts in order to maximize downforce, minimize drag and improve performance.
Formlabs: 3D printing the future
Their goal: to enable anyone to make anything. Meet Sebastian, Head of Operations EMEA at Formlabs Berlin: They build high-quality 3D printers at accessible prices. When it comes to quality control, there’s just no way around 3D scanning – for fast, precise prototypes.
Cowboy: E-bikes for urban riders
Meet Olivier from E-bike manufacturer Cowboy in Brussels. The company’s aim is to manufacture urban mobility solutions that offer amazing design, a seamless usage and affordablity. 3D scanning helps in the creation of perfectly flush frames and in complex assemblies.
Stahlotec: Retrofit for steel colossi
They process steel, aluminium and copper: Stahlotec is not your typical workshop. Open for new ideas, they recently put the focus on sustainability and retrofitting, saving heavy components with mere millimetres of wear from being disposed of: a process that’s only possible with 3D metrology.
Our Maker Portraits are behind-the-scenes looks at some of the most exciting manufacturing, maintenance and repair service workshops. Do you want to learn more about Stahlotec? Visit www.stahlotec.de
fischer group: Innovative tube processing
fischer group is a global supplier for stainless steel tubing. Inhale the scent of metal in the air and see how 3D measurement is an essential part of their workflow – ranging from deviation detection to evaluation and innovation. Check out their story.
Our Maker Portraits are behind-the-scenes looks at some of the most exciting manufacturing, maintenance and repair service workshops. Do you want to learn more about fischer group? Visit www.fischer-group.com
From strip to rebuild: Rally car prep by BMA Autosport
Meet Martin from BMA Autosport in Belgium: His car workshop converts street cars into modern rally cars and historical racing vehicles. After stripping a car down to its bare body shell the BMA team redesigns it into a real hot rod by using 3D models.
Our Maker Portraits are behind-the-scenes looks at some of the most exciting manufacturing, maintenance and repair service workshops. Do you want to learn more about BMA Autosport? Visit www.bma-autosport.com
Fagus: Lasts for the international footwear industry
Since 1922, the Fagus factory in Alfeld is all about shoe lasts: the core piece in shoe manufacturing. Andreas Koch scans and measures the wooden lasts for further processing. The final result: green plastic lasts, equipped with everything the shoe manufacturer needs.
MMG: Meet the world’s largest ship propellers
Meet MMG and their impressive ship propellers. Although huge, the parts are planned to the detail before months of development culminate in about ten minutes of casting time. To ensure quality and functionality, 3D measurement plays an import role in the process. Be ready for a big story.
Our Maker Portraits are behind-the-scenes looks at some of the most exciting manufacturing, maintenance and repair service workshops. Do you want to learn more about MMG? Visit www.xxl-metalworking.com
SST Flugtechnik: Aircraft design made in Germany
To Wan Hao from the aircraft design company SST Flugtechnik in Chongqing, China, quality is everything. He loves taking anything a client might want into consideration – even before the first presentation. 3D metrology enables him to get it right – this is his story.
Energetic: The magic of turbine machinery
Meet Johan, director of Energetic Machinery in Belgium, and his passion for industrial steam turbines. The successful implementation of reverse engineering at his company allows Energetic to offer customers a complete service. Check out their story.
Our Maker Portraits are behind-the-scenes looks at some of the most exciting manufacturing, maintenance and repair service workshops. Do you want to learn more about Energetic Machinery? Visit www.energeticmachinery.com
R.A.R. Antwerp: Good is never good enough
Welcome to Raymond’s Aircraft Restoration, where Raymond and his son Tim restore and maintain vintage aircrafts. Get a glimpse of their passion for their craft and their deep dedication to quality and precision – assisted by 3D scanning to reproduce missing parts.
Our Maker Portraits are behind-the-scenes looks at some of the most exciting manufacturing, maintenance and repair service workshops. Do you want to learn more about Raymond’s Aircraft Restauration? Visit www.rar.be
One-Minute Insights
Refer to direct help to use the software like a pro
Do you want to know how to use GOM Inspect like a pro? Let Johanna show you the direct help function and how it can help beginners find their way around the software on the go and super fast.
All functions shown are available in the current software version.
Have you got any questions about GOM Inspect Suite? Then contact us via email: support@HandsOnMetrology.com
Reduce mouse miles with the Smart Creation button
Some 3D inspection projects involve creating a lot of elements – and a lot of mouse miles. Avoid moving your mouse to “Create” over and over again by using the Smart Creation button directly under your mouse pointer.
All functions shown are available in the current software version.
Have you got any questions about GOM Inspect? Then contact us via email: support@HandsOnMetrology.com
3D scan like a pro without a rotation table
You’re starting out in 3D scanning and don’t have a rotation table (yet)? Don’t worry. Follow Daniel’s easy approach to scanning without one: Simply scan the part in eight steps, turning it by 45° between each scan.
All functions shown are available in the current software version.
Have you got any questions about 3D scanning? Then contact us via email: support@HandsOnMetrology.com
Data import from 3rd party scanners
Working with different types of scanners? Well, you only need one software to evaluate your data. In this video, Kai shows you how easy it is to import point cloud data into GOM Inspect Suite, to create a mesh and to start your inspection.
All functions shown are available in the current software version.
Have you got any questions about GOM Inspect? Then contact us via email: support@HandsOnMetrology.com
How to save time with Quick GD&T
Get a One Minute Insight from Christine, GOM Braunschweig. She shows you how to save many mouse miles with a single click on “Quick GD&T” to get an extra fast tolerance check. All functions shown are available in the current software version.
Have you got any questions about GOM Inspect ? Then contact us via email: support@HandsOnMetrology.com
Use the Clipping Cube function to get a perfect view
Need to look at a project with a lot of details and obstructed parts? Nanno from GOM shows you a trick to get a clear view of just the details you are interested in – by using the Clipping Cube function in GOM Inspect.
All functions shown are available in the current software version.
Have you got any questions about GOM Inspect? Then contact us via email: support@HandsOnMetrology.com
Find the best position for your reference points
Let Benjamin show you how to distribute your reference point markers to get the best 3D scanning result. Don’t make extra work for yourself by sticking on too many markers! The perfect reference point distribution is: extensive and random.
Got any questions about 3D scanning? Contact us via email: support@HandsOnMetrology.com
Cómo realizar un
montaje virtual en
GOM Inspect
How to perform a virtual assembly in GOM Inspect
Watch how Toon uses the digital assembly feature in GOM Inspect to virtually align several parts of an engine block to each other and inspect them for material thickness errors. After scanning the parts with the mobile ATOS Q, the digital assembly can be analyzed.

GOM Scan 1
GOM Scan 1: Measure with a measuring plate
Discover how to scan a part with the new GOM Scan 1 using a manual measuring plate. The distance radar makes finding the correct stand-off distance super easy. Scanning can be done with or without reference points – either way, you get a precise mesh of the part.
GOM Scan 1: Your first use of GOM Inspect
Let Miles guide you through your first use of GOM Inspect with your new GOM Scan 1. It’s so easy to navigate the start screen and choose the correct workspace. Select the digitize workspace to can start scanning straight away – and get fast, precise results.
GOM Scan 1: The setup
Discover how to scan a part with the new GOM Scan 1 using a manual measuring plate. The distance radar makes finding the correct stand-off distance super easy. Scanning can be done with or without reference points – either way, you get a precise mesh of the part.
GOM Scan 1: Select the right sensor for your application
GOM Scan 1 for reverse engineering and 3D printing
GOM Scan 1: Introduction to part inspection
GOM Scan 1: Scanning Multiple Parts
GOM Scan 1: Unboxing
GOM Scan 1: Calibration
GOM Scan 1: Scan a part with high levels of detail
Discover how to capture the highest possible detail with the GOM Scan 1, using a sensor with a 100 mm field of view. When scanning a small part, best results are achieved with a desk stand. The result: a detailed mesh that’s ready for 3D printing or reverse engineering.
GOM Scan 1: Measure both sides of an object
Capturing all sides of an object has never been easier. Let Miles show you how to measure a part from the top and from the bottom using a rotary table and the new GOM Scan 1. The result: a highly detailed mesh and perfect digital twin of the object you’ve scanned.
GOM Scan 1: Measure with a rotation table
Learn how easy and fast it is to scan a part with the new GOM Scan 1 using an automatic rotation table. Just choose the right template, define the number of rotations and start scanning – you can watch the data building up on the screen as you go along.
How to inspect your 3D print with metrology
How to scan and reprint broken parts
T-SCAN hawk
T-SCAN hawk: Your first use of GOM Inspect
Learn how to use GOM Inspect for the first time. Starting from the T-SCAN hawk workspace and its main toolbar, Toon guides you through the entire scanning workflow – from calibration to pushing the scan button and polygonizing the scan data into a final mesh.
Chapters
00:30 Open GOM Inspect software
00:54 Calibrating the portable T-SCAN hawk
02:10 Instant scanning
02:34 Increased accuracy scanning
03:19 Cut out background
03:54 Part scanning
04:50 Polygonize scan data to final mesh
T-SCAN hawk: The setup
Set up your new T-SCAN hawk. Start with the laptop, plug in the power cable, connect the 3D laser scanner with the laptop and launch the software GOM Inspect Suite. You’re ready to go.
Chapters
00:27 Laptop
00:38 T-SCAN hawk case
00:45 T-SCAN hawk
00:54 License dongles
01:08 Sensor cables
01:37 Open GOM Inspect Suite software
T-SCAN hawk: Unboxing your new 3D laser scanner
Meet Toon and the portable T-SCAN hawk solution with its small, travel-friendly case. Everything you need fits in: the 3D scanner, cables, reference points, coded reference points and scalebars for photogrammetry, license dongles and a calibration panel.
Chapters
00:28 The case
00:42 T-SCAN hawk scanner
01:56 Sensor cables
01:04 Reference points
01:17 Coded reference points
01:26 License dongles
01:48 Calibration panel and scale bars
02:09 GOM Acceptance Test
T-SCAN hawk: Get some useful tips & tricks
Get some of Toon’s most useful insights: 1. Learn about different exposure times for different surfaces. 2. Discover the ideal scanner orientation for the three scanning modes of the portable T-SCAN hawk. 3. Watch Toon give playing bricks a whole new application area.
Chapters
00:32 Tip 1: Exposure time
01:10 Tip 2: Scanner orientation
02:33 Tip 3: Smart reference point positioning
T-SCAN hawk: All features of the remote control buttons
Toon teaches you how to work with the remote control buttons: Learn how to start the 3D scanner, zoom in and out, change scanning modes and exposure time. Especially useful: The M-button allows you to control the software and workflow directly from the portable scanner.
Chapters
00:34 The play/pause-button
01:13 The M-button
02:06 Remote scanning workflow
T-SCAN hawk: Scan deep pockets with GOM Inspect
Learn why the portable laser scanner T-SCAN hawk is perfectly designed to scan deep pockets, and let Toon show you how to use the deep pocket mode in GOM Inspect. A single laser line allows you to scan even deeper inside a pocket and capture a lot more data.
Chapters
00:24 Technical background of laser scanning
01:08 How to activate deep pocket mode
01:44 Optimize 3D view for deep pocket scanning
T-SCAN hawk: Scan fine details
Find out how to scan fine details with T-SCAN hawk: If you want to scan small details on a larger part, watch Toon add local resolution to specific areas. For detailed objects, set a high resolution and immediately use the scan details function in GOM Inspect Suite.
Chapters
00:24 Two scenarios
01:29 Scenario 1: Large part with local detail
03:09 Scenario 2: A whole part with fine details
T-SCAN hawk: The difference between red & blue lasers
The 3D laser scanner T-SCAN hawk features two different laser sources: red and blue. Use red lasers for larger parts, deep pockets and hard-to-reach areas and let Toon explain why blue lasers are ideal to scan parts with a lot of detail and high resolution.
T-SCAN hawk: Scanning in GOM Inspect, Part 3
This easy workflow is about scanning a detailed part in a high resolution. Watch Toon placing reference points around the object and using the blue laser mode for fine details. After polygonizing the data, the digital copy is ready for reverse engineering or inspection.
Chapters
00:28 Small detailed object
00:49 Reference points
01:14 Capture reference points
01:39 Cut out background
02:11 Scanning with blue lasers
03:30 Polygonize scan data to final mesh
T-SCAN hawk: Scanning in GOM Inspect, Part 2
This easy 3D scanning workflow is about scanning an object from top and bottom, using a manual rotation table. Toon guides you from capturing reference points on the side of the part and cutting out backgrounds to a complete digital copy of your object, front and back.
Chapters
00:40 Use of rotation table
01:02 Capture reference points of top and bottom
02:00 Cut out background 1
02:27 Scanning top side
03:16 Cut out background 2
03:54 Scanning bottom side
04:35 Polygonize scan data to final mesh
T-SCAN hawk: Scanning in GOM Inspect, Part 1
Learn a common scanning strategy in GOM Inspect. This easy scanning workflow is about scanning surface data, deep pockets and fine details. Watch the process from capturing reference points to polygonize the scan data and see all three scanning modes in action.
Chapters
00:43 Capture reference points
01:16 Cut out background
01:50 Scan the part
02:44 Standard scanning mode
03:10 Single laser line mode
04:01 Scanning details
05:33 Polygonize scan data to final mesh
T-SCAN hawk: How to use the integrated photogrammetry
Toon explains when and how to use the built-in photogrammetry function of the 3D laser scanner T-SCAN hawk. Essential utensils: reference points, coded reference points and scalebars. Their use enables 3D scanning of larger parts with higher accuracy.
How to 3D scan huge objects with photogrammetry
Meet Benjamin and follow his step-by-step guide to 3D scanning a ship propeller. He combines two solutions: First, he uses GOM’s external photogrammetry camera TRITOP. Subsequently, he adds specific data using the portable T-SCAN hawk.
How to scan a complete vehicle
How to compare two scans
How does photogrammetry work and why do you need it?
How to use 3D scanning for dent detection
How to use a 3D laser scanner in confined spaces
How to use a portable 3D scanner in production
How to scan large objects using a portable 3D scanner
How to use 3D scanning to build up rally cars
ATOS Q
ATOS Q: Start a project in GOM Inspect
Let Dokus show you how to make your first scan with GOM Inspect. He takes you from the start screen to the checkered flag: a very detailed mesh. See different workspaces and scanning templates. Learn how to scan and watch what happens when you rotate the table.
Chapters
00:42 Start software
01:03 Workspaces
01:33 Digitizing workspace
01:58 Main toolbar
02:22 First scan and cut out background
02:50 Reference points
03:18 Polygonize and recalculate
ATOS Q: How to set up the system
Watch Dokus set up the ATOS Q scanner and connect the sensor to the laptop. From opening up the mobile controller and mounting the sensor on the tripod to plugging in the licence key and connecting the automatic rotation table, he guides you step by step
ATOS Q: Unboxing your new 3D scanner
Meet Dokus and the ATOS Q with its two cases. The first case contains the ATOS Q sensor and everything you might need on location, from rotation table to measuring volumes or the calibration plate. The second, smaller case contains the laptop and the mobile controller.
Chapters
00:27 The case
00:50 First compartment level
01:05 Second compartment level
01:26 Bottom compartment level
01:34 Mobile controller
01:52 The laptop
ATOS Q: Tips & tricks to scan even faster
Dokus gives valuable tips on using the 3D scanner ATOS Q. Learn how to measure the automatic exposure time and move the focus point, how to change into fast scan mode – if you don’t need details – or how to manually cut out points.
Chapters
00:42 Automatic exposure time
00:59 Move the focus point
01:36 Fast scanning
02:22 Cut out points
02:52 Selection tools
ATOS Q: Fast inspection with GOM Inspect
Learn how to perform a fast inspection in GOM Inspect by preparing a project in the inspection workspace, including the prealignment of a CAD file and a surface comparison. After the first scan, you can immediately look at the results.
Chapters
00:29 Prepare the project
00:53 Inspection workspace
01:32 Prealignment
01:44 Surface comparison
02:04 Digitizing workspace
02:30 Automated recalculation through parametrics
ATOS Q: Add single points with a touch probe
Learn how to use a touch probe to capture 3D data. Dokus shows you how to scan in difficult-to-reach areas and explains guided touch probe measurements in GOM Inspect Suite.
Chapters
00:27 The touch probe
00:49 Live workspace
01:16 Select touch probe
01:44 Finish measurement
02:00 Guided touch probe measurements
02:42 Start guided touch probe measurements
ATOS Q: How to measure big parts
Use the 3D scanner ATOS Q to scan a large part with the measuring volume MV500. Even if the object is bigger than the measuring volume, you can capture it easily using reference points and stitching scans to get a high quality result including small details.
Chapter:
00:42 Start new project and perform first scan
01:24 Stitching scans with reference points
02:01 Finish scan
ATOS Q: Change to a small measuring volume
If you need a high resolution for a small, detailed object, switching measuring volumes is easy with this 3D scanner. Dokus shows you step by step how to prepare and change the lenses, define the measuring volume in GOM Inspect Suite and calibrate the sensor.
ATOS Q: How to measure top and bottom of a part
In this video, Dokus measures a part from the top and the bottom side to create a digital twin. A fast and easy workflow with the 3D scanner ATOS Q, assisted by the automatic rotation table and GOM Inspect Suite. After measuring, simply combine and polygonize the data.
Chapters
00:38 Start new project
00:54Use rotation table
01:38 Flip over the part
01:55 New measurement series
02:42 Combine top and bottom
03:23 Polygonize and recalculate
ATOS Q: Measure with the automatic rotation table
Learn how to use the automatic rotation table to speed up the 3D scanning workflow with ATOS Q. GOM Inspect Suite allows you to choose the number of automatic rotations. A rule of thumb: With 8 rotations you capture almost every aspect of the part.
Chapters
00:45 Rotate rotation table
01:14 Select scanning template and perform first scan
01:41 Use rotation table
02:20 Polygonize and recalculate
How to get even more out of your ATOS Q
How to 3D scan faster with an automated rotation table
How to 3D scan objects without reference points
How to perform a digital assembly in GOM Inspect
How to use 3D scanning to build up rally cars
T-SCAN
T-SCAN: Your first use of the hand-held 3D scanner
Discover how to scan an object with the hand-held T-SCAN laser scanner. First, verify the field of view and the correct stand-off distance of the scanner. Make the task extra easy by using a pre-defined scanning template. The software automatically aligns every scan.
Chapters
00:28 Field of view
00:47 Stand-off distance
01:15 Pre-defined scan templates
01:32 Scanning
02:06 Polygonize and recalculate
T-SCAN: Your first use of GOM Inspect
Learn how to use GOM Inspect with your T-SCAN system and watch David create a digital twin of a motorcycle frame. Just make sure the part you want to scan is inside the measurement volume of your optical tracker! Using the hand-held scanner is fast and intuitive.
Chapters
00:28 Start screen of GOM Inspect
00:46 Initialize the sensor
01:07 Verify the part is inside the measurement volume
02:04 Start scanning
T-SCAN: How to set up your new laser scanner system
Mount the optical tracker on the tripod and connect the cables of all scanning components to the controller. Then connect the power cable and the laptop to the controller, plug in your license dongle, open the laptop, switch on the controller and start GOM Inspect Suite.
T-SCAN: Unboxing your new laser scanner system
Meet David and watch him unbox the 3D scanning system T-SCAN. The two hard cases contain: the optical tracker T-TRACK, the touch probe T-POINT, cables, a laptop, a controller, the laser scanner T-SCAN and a tabletop holder. A mobile tripod is also part of the delivery.
T-SCAN: Extend a measuring volume with surface best-fit
Extend the measuring volume of the optical tracker T-Track by using the surface best-fit feature in GOM Inspect Suite. After capturing the 3D scanning data, David shows you how to transform it in order to get a perfect digital twin with the T-SCAN system.
Chapters
00:27 Initial part orientation
01:00 New part orientation
01:20 Create new measurement series
01:55 Transform measurement series
02:32 Polygonize mesh
T-SCAN: Get some useful tips & tricks
Get some tips & tricks from David for the precise T-SCAN system. Learn why the T-TRACK should always look down on the part you want to scan, how you should adapt the scanning speed to the feature you want to scan and how to find the right scanning parameters.
Chapters
00:29 How to orientate the T-TRACK
00:52 Adapt the scanning speed
01:29 Find the right scanning parameters
T-SCAN: The difference between T-SCAN 10 and T-SCAN 20
Discover the differences between the 3D scanning systems T-SCAN 10 and T-SCAN 20. First: T-SCAN 20 has a measurement volume of 20 m³, while T-SCAN 10 scans up to 10 m³. Second: T-SCAN 10 is accordingly cheaper. The good news: You can always upgrade.
Chapters
00:28 Measurement volume
00:48 Measurement depth
T-SCAN: Extend the measurement volume with a touch probe
How do you scan areas that are hidden from the optical tracker? Learn to extend your measurement volume with the help of the touch probe T-POINT: Simply rotate the part between scans – and probe the same features (e.g. holes) in all positions as reference points.
Chapters
00:28 Use of magnetic cones
01:36 Switch mode to scan surfaces
02:23 New part position
02:32 Create additional measurement series
02:53 Measure magnetic cones in new position
03:56 Transform measurement series
T-SCAN: Single-point measurements with the touch probe
Find out how to use the touch probe T-POINT in combination with the optical tracker T-TRACK to measure individual points or deep holes. Simply define the feature you want to probe in the software GOM Inspect Suite, then follow the guided workflow to take measurements.
Chapters
00:39 Button functions
01:20 Pre-define elements to measure
01:55 Guided workflow
02:14 Measure an element
02:34 Accept a measurement
Procuratevi il software 3D e
iniziate il progetto.
Software
GOM Inspect
GOM Inspect: Software download & installation
GOM Inspect: Your first use of the software
GOM Inspect: Learn to navigate the start screen
GOM Inspect: Guide to easy part inspection
GOM Inspect: Introduction to GD&T inspection
GOM Inspect: Introduction to 3D mesh editing
GOM Inspect: Mesh inspection without a CAD file
GOM Inspect: How to export your 3D scan results
GOM Inspect: Quick guide to 2D inspection
GOM Inspect: Get started with 3D inspection
GOM Inspect: How to use multiple mesh alignments
GOM Inspect: The best features for easy reporting
GOM Inspect: Introduction to trend analysis
GOM Inspect: How to import & align your scan data
GOM Inspect: Get some useful tips & tricks
GOM Inspect: Workflow assistant
How to deliver first class report presentations
Let Norman show you how to deliver impressive presentations with GOM Inspect. Simply export your measurements to a PDF? It’s an option, but a static one. You can do better! Simply open GOM Inspect in the meeting room, hit the F5 key for the presentation mode – and get the option to zoom in or rotate the part and adjust the display. You can even show your measurement results on the object – with the help of a tablet and AR. Now, that’s impressive.
How to find your perfect exposure time with GOM Inspect
Let Norman show you how to find the perfect exposure time for your part. The live camera image in GOM Inspect offers multiple options of automatic exposure times: automatic by matrix computes up to three different exposure times for the entire field of view – making it a good choice for parts that combine light and dark surfaces. Other options: automatic by spot, automatic for reference points and interactive. Take a pick and start scanning!
How to eliminate plastic warpage in Quality Control
Annoyed about plastic warpage and how it makes quality control of unassembled parts difficult? In this video, Toon shows you how to solve tis problem: with the De-warp function that can be found in the latest version of GOM Inspect Pro. It puts scanned plastic parts into a virtually assembled state, allowing you to check their dimensions as if they were assembled
ZEISS Reverse Engineering
ZEISS Reverse Engineering: Edit and align meshes
Let Josh show you how to align and edit your mesh in ZEISS Reverse Engineering. Step 1: Align your mesh with the “best fit via three planes” function to review your part in an intuitive manner. Step 2: Edit your mesh by closing small holes with the “fill holes in mesh automatically” function. Now you have a fully closed and aligned mesh without any unwanted data – and you’re ready to start the reverse engineering process.
ZEISS Reverse Engineering: Importing data
Take it from Josh: Importing data into ZEISS Reverse Engineering is just as easy as importing it into GOM Inspect. If ou’re already using GOM Inspect, simply export into ZEISS Reverse Engineering. Alternatively, you can drag and drop files from your file explorer or use the import option as the top of ZEISS Reverse Engineering. Want to know which file types are supported? Simply take a look at the user guide.
ZEISS Reverse Engineering: Tips and tricks
In this video, Josh lets you in on some handy tips and tricks to help you get started even faster with ZEISS Reverse Engineering. Learn how to bookmark your favorite functions. Discover how the transparency tool can help you get a better look at specific elements. Learn about how the snapshot tool makes it easy for you to create images for reports. Start using the “fit to screen” icon to get a better view of your part. And minimize clicks by looking at the shortcut list in the user guide.
ZEISS Reverse Engineering: Most common functions
Discover the most common functions of ZEISS Reverse Engineering. In first place: the “extract surfaces from parts” function, which leads directly to the “extract solid body” function – two powerful tools, especially for geometry-based parts. Second place: the creation of symmetric parts. Third place: the creation of freeform surfaces. And last but not least: the analysis function of your parts. Let Josh show you what’s what.
ZEISS Reverse Engineering: Software user interface
In this video, Josh provides a quick overview of the ZEISS Reverse Engineering software user interface and shows you how to set up and start using the software. He covers the basics, including the software settings, the workspaces and some additional functionalities. Watch it and get started!
ZEISS Reverse Engineering: Download and installation
Josh shows you how to start using ZEISS Reverse Engineering easily and quickly. All you have to do is download and install GOM Suite first: It’s the control center for all our software solutions, including ZEISS Reverse Engineering.
ZEISS Reverse Engineering: How to transform your 3D scans into CAD models
Meet Josh and let him show you how to transform your 3D scans into CAD models using the software ZEISS Reverse Engineering. Wether you want to reverse engineer a geometrical part, a freeform shaped part or an organic shaped part – Josh gives you a quick introduction to each task, from scanning to obtaining a CAD model.
Volete scoprire di più sulle nostre soluzioni 3D?
Mettetevi in contatto con il vostro partner #HandsOnMetrology locale.