


i
Please select the topic you seek more information about
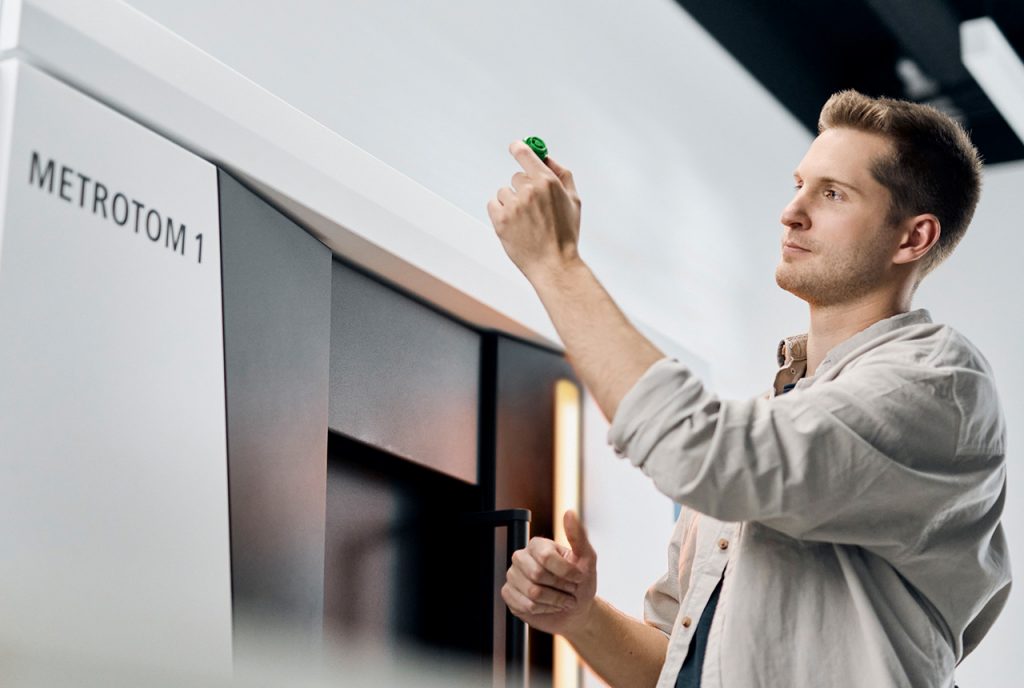
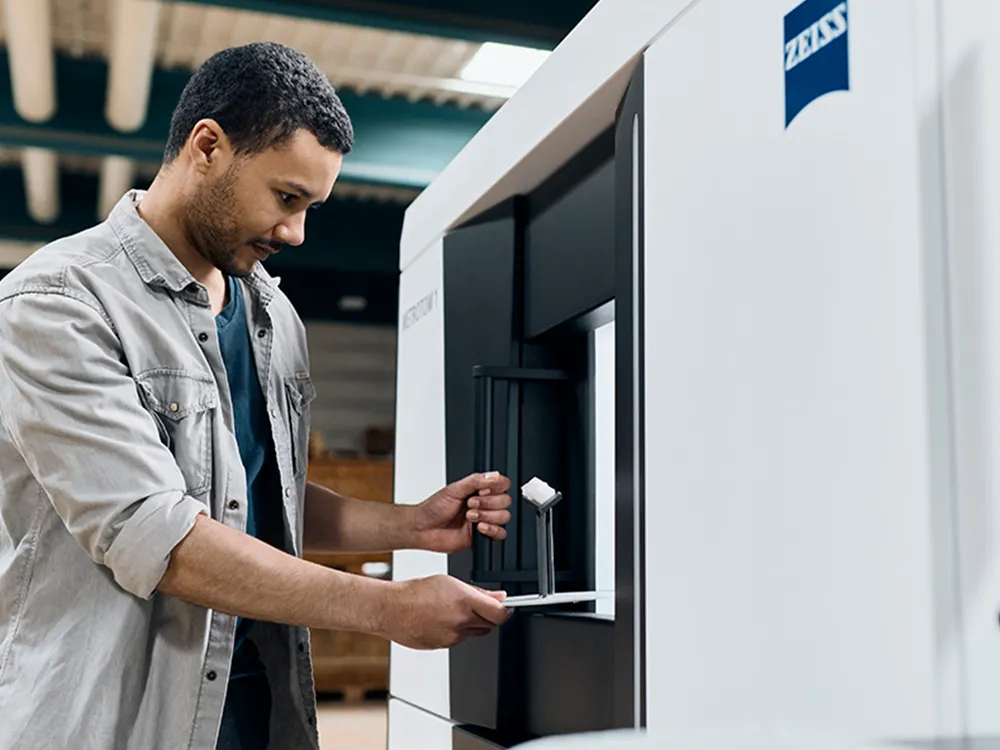
Getting Started – Basics
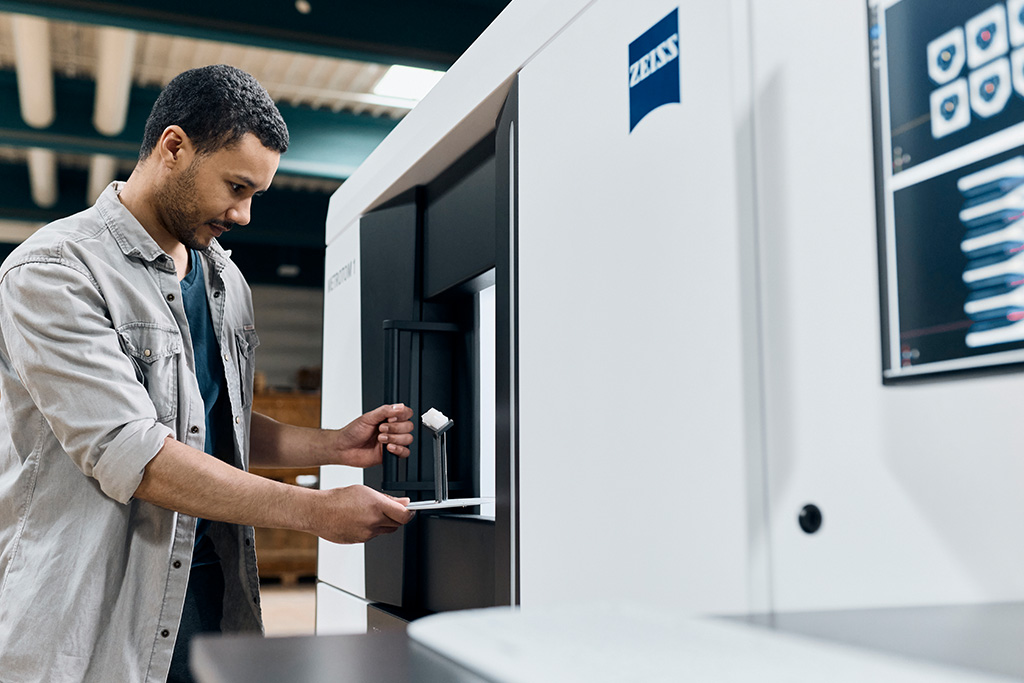
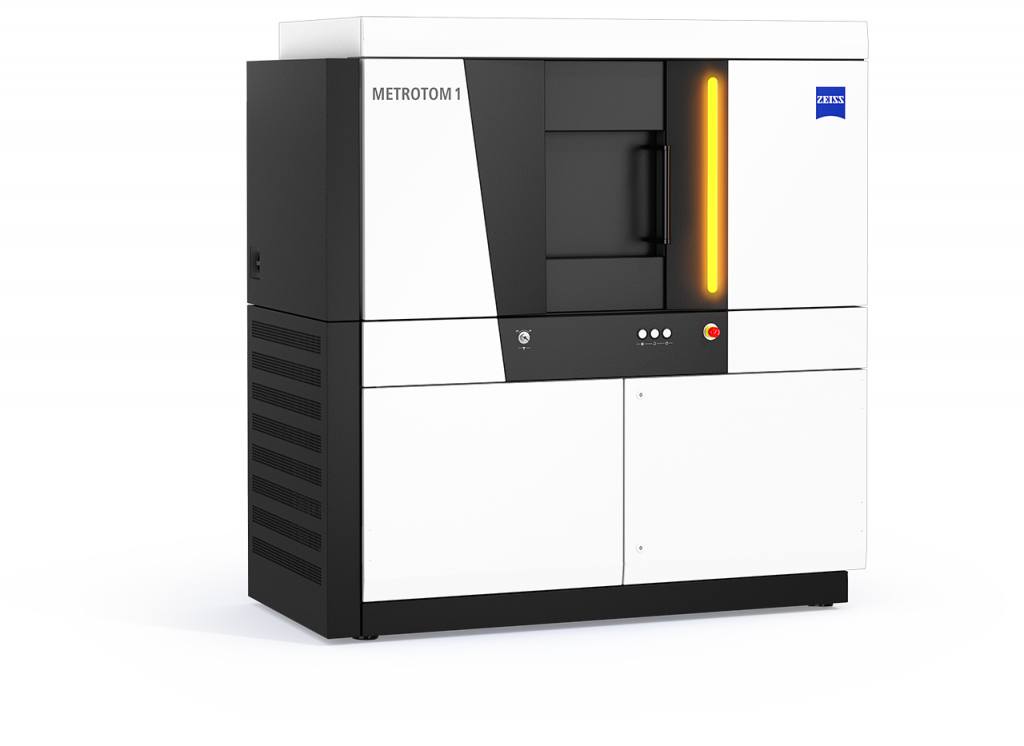
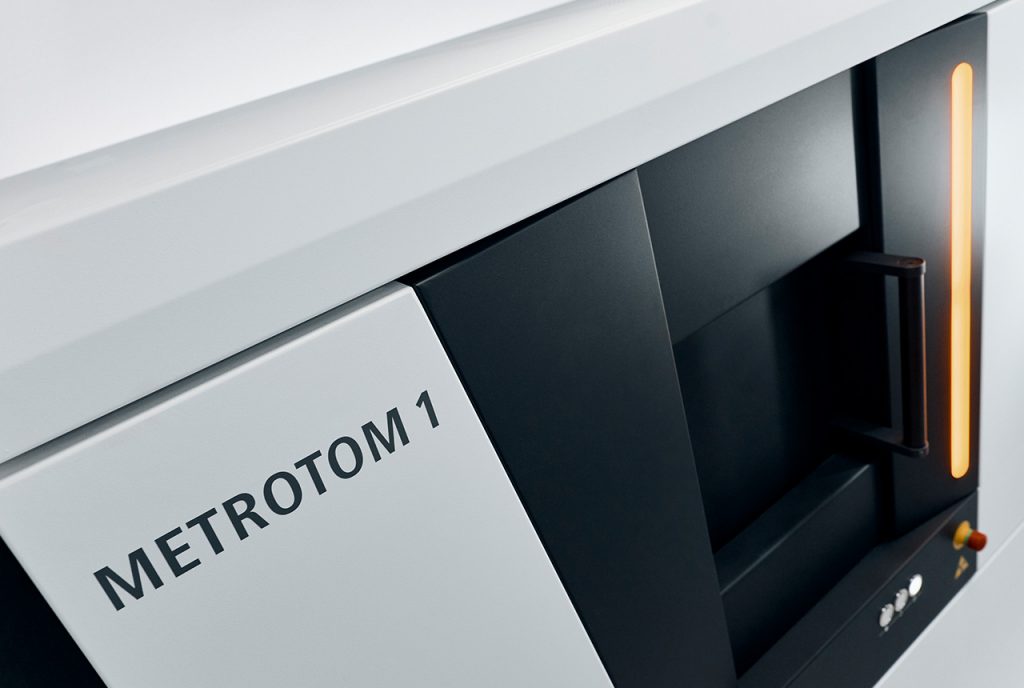
METROTOM 1: The Setup

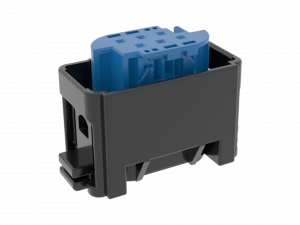
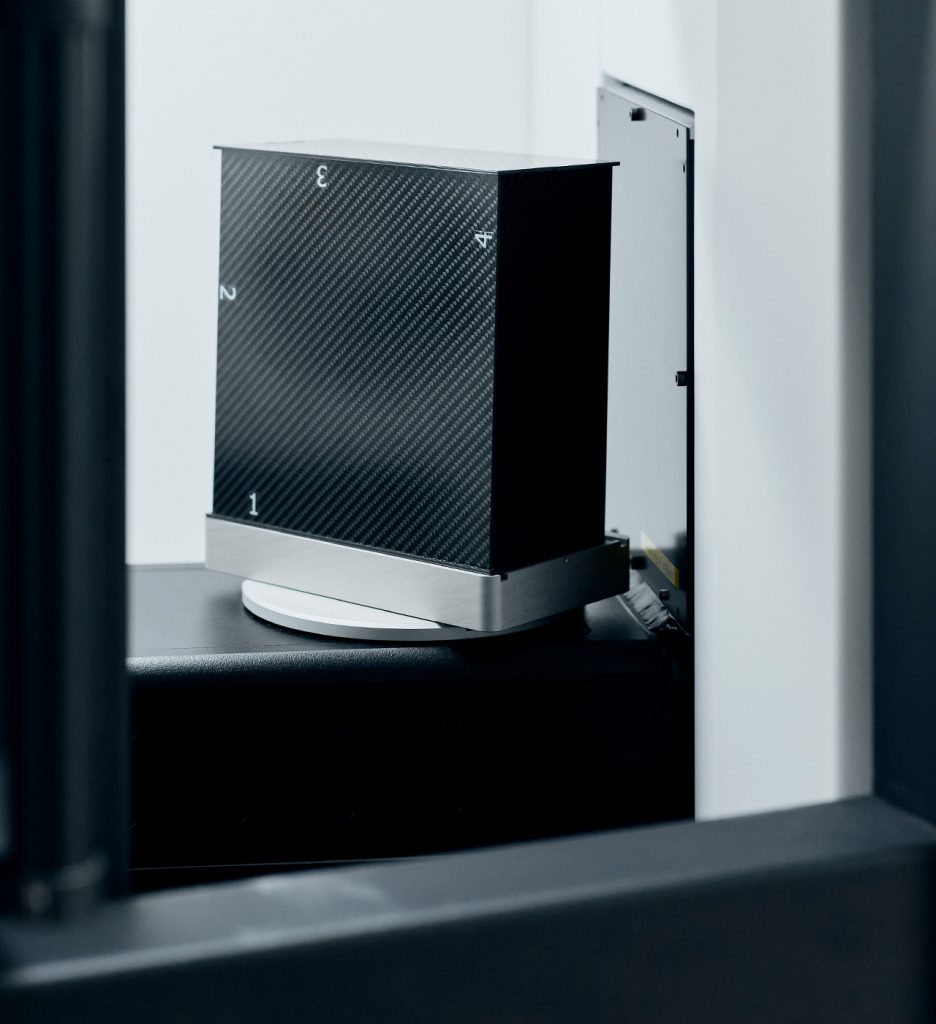
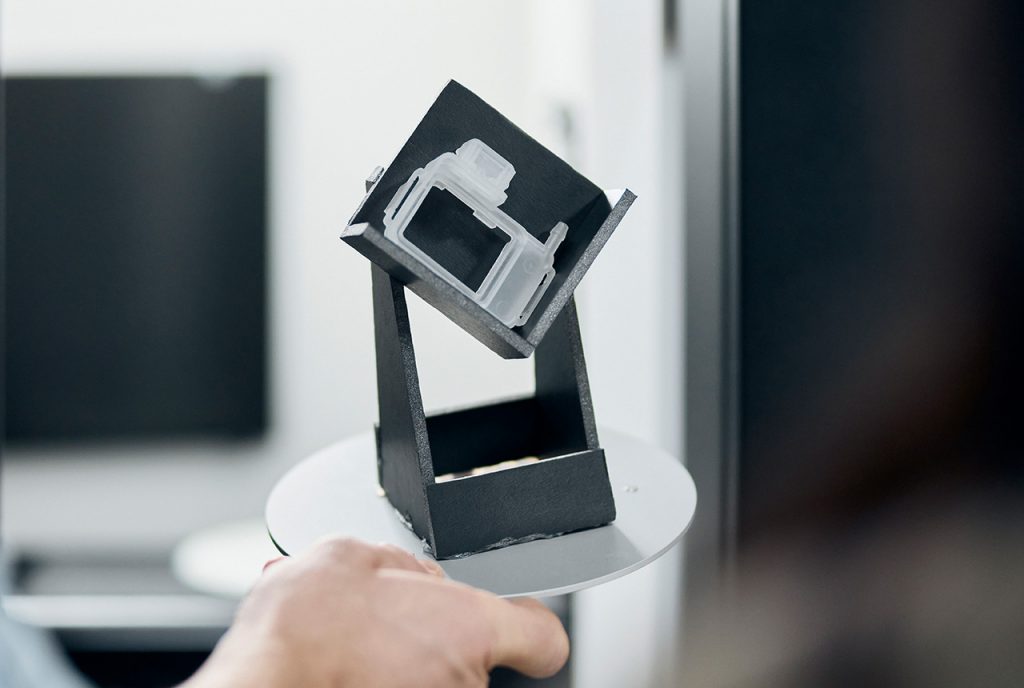
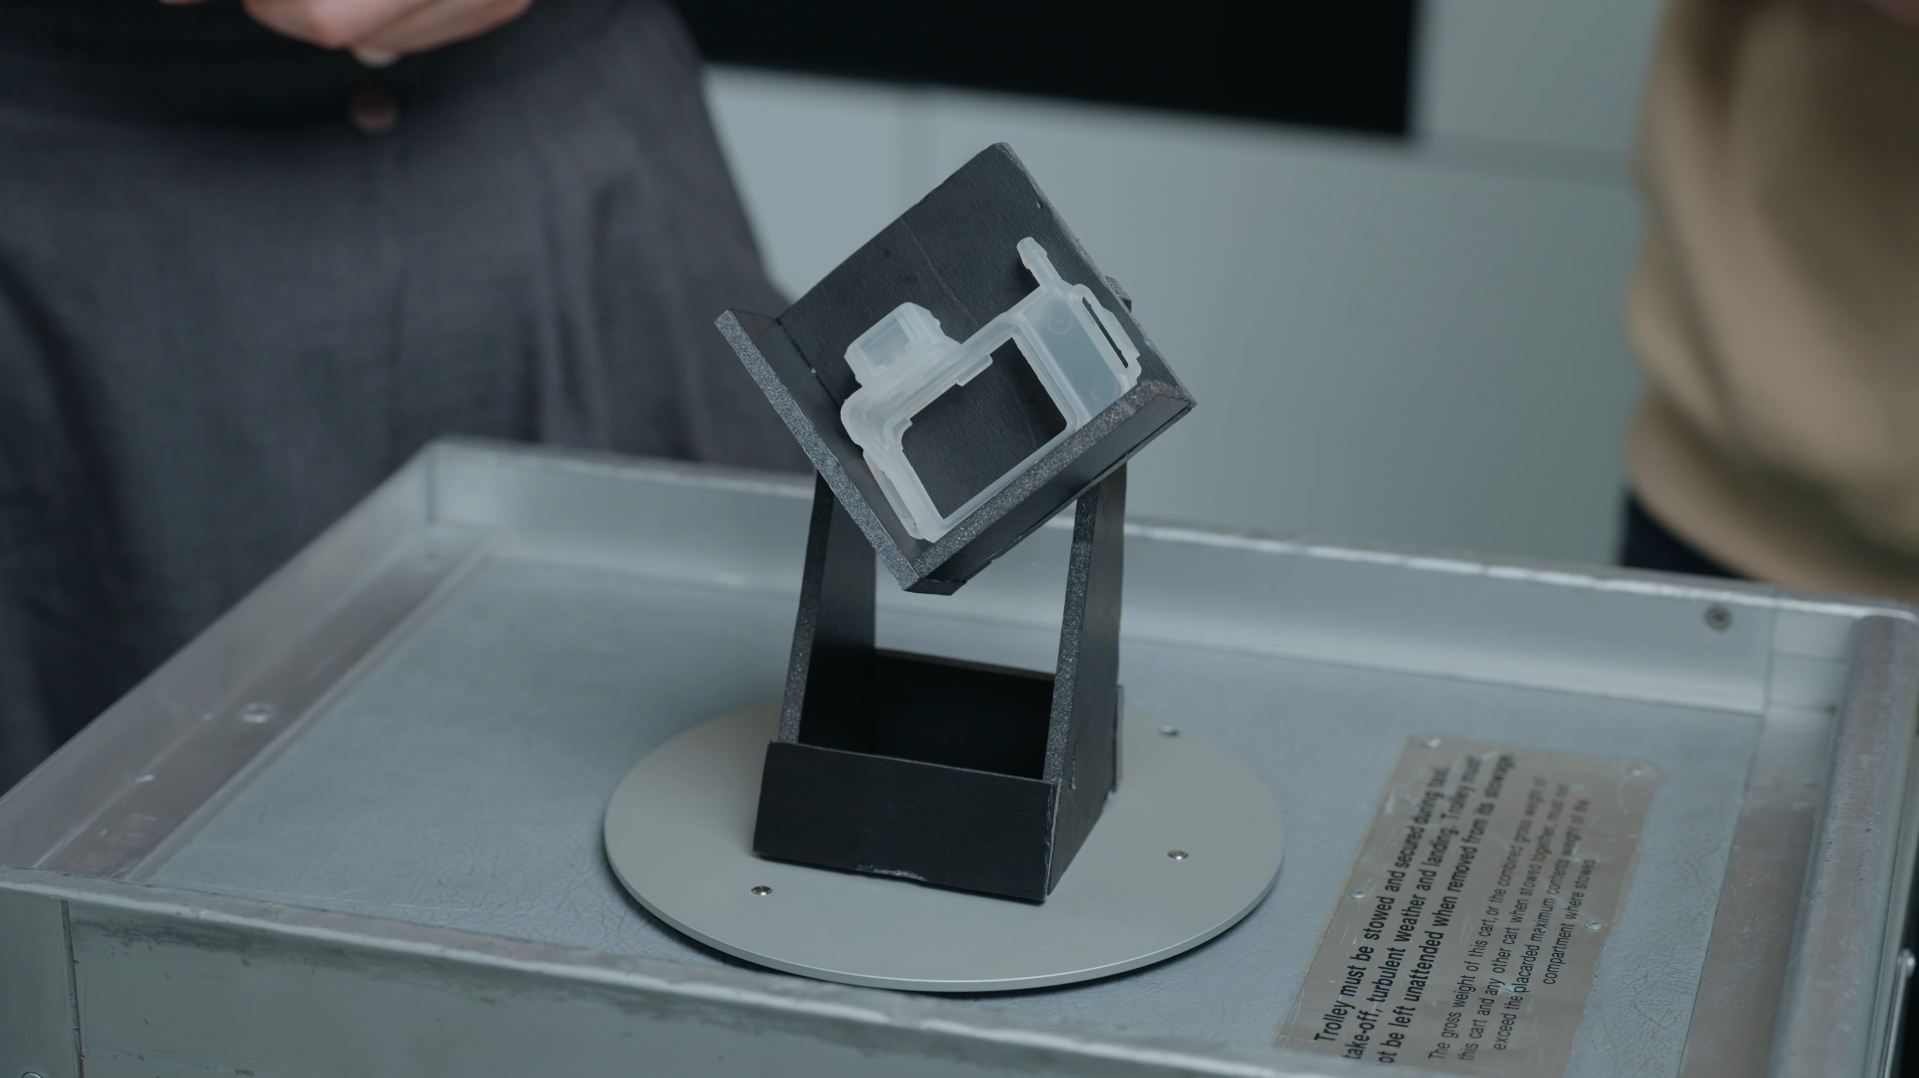
Getting Started – Basics
METROTOM 1: Easy part fixture

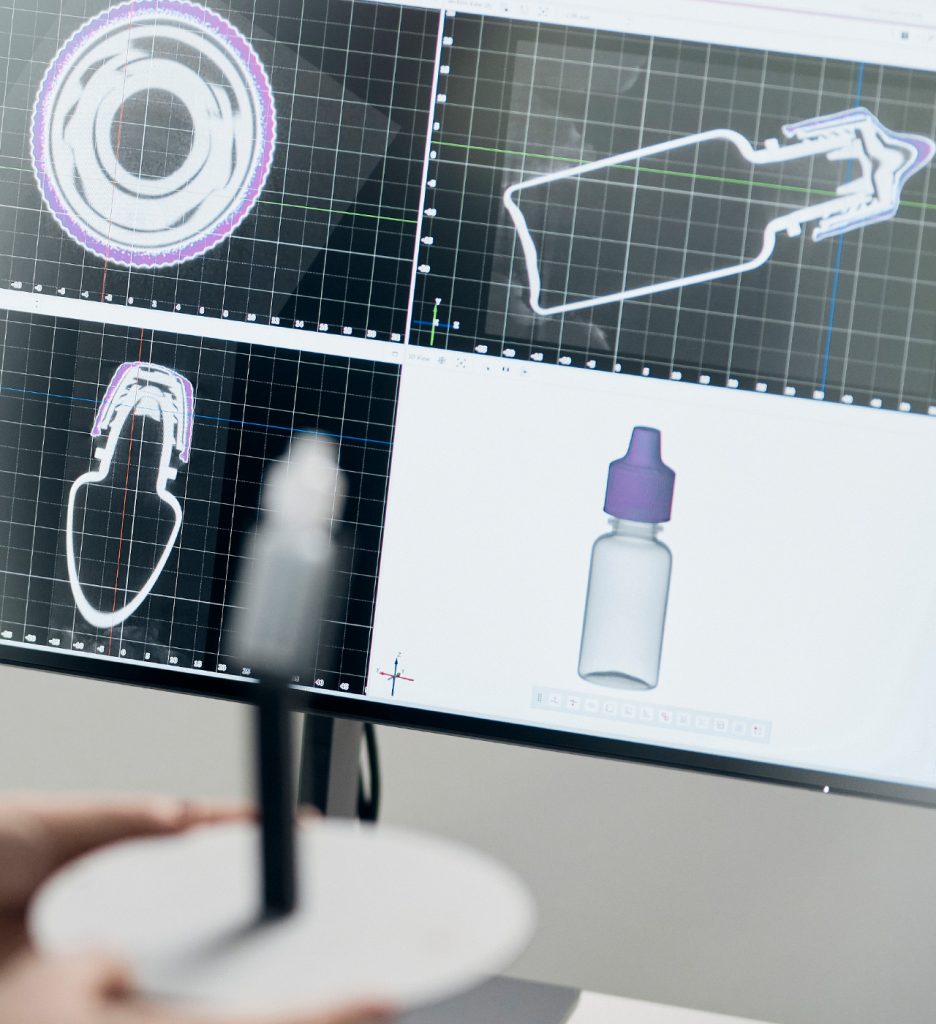
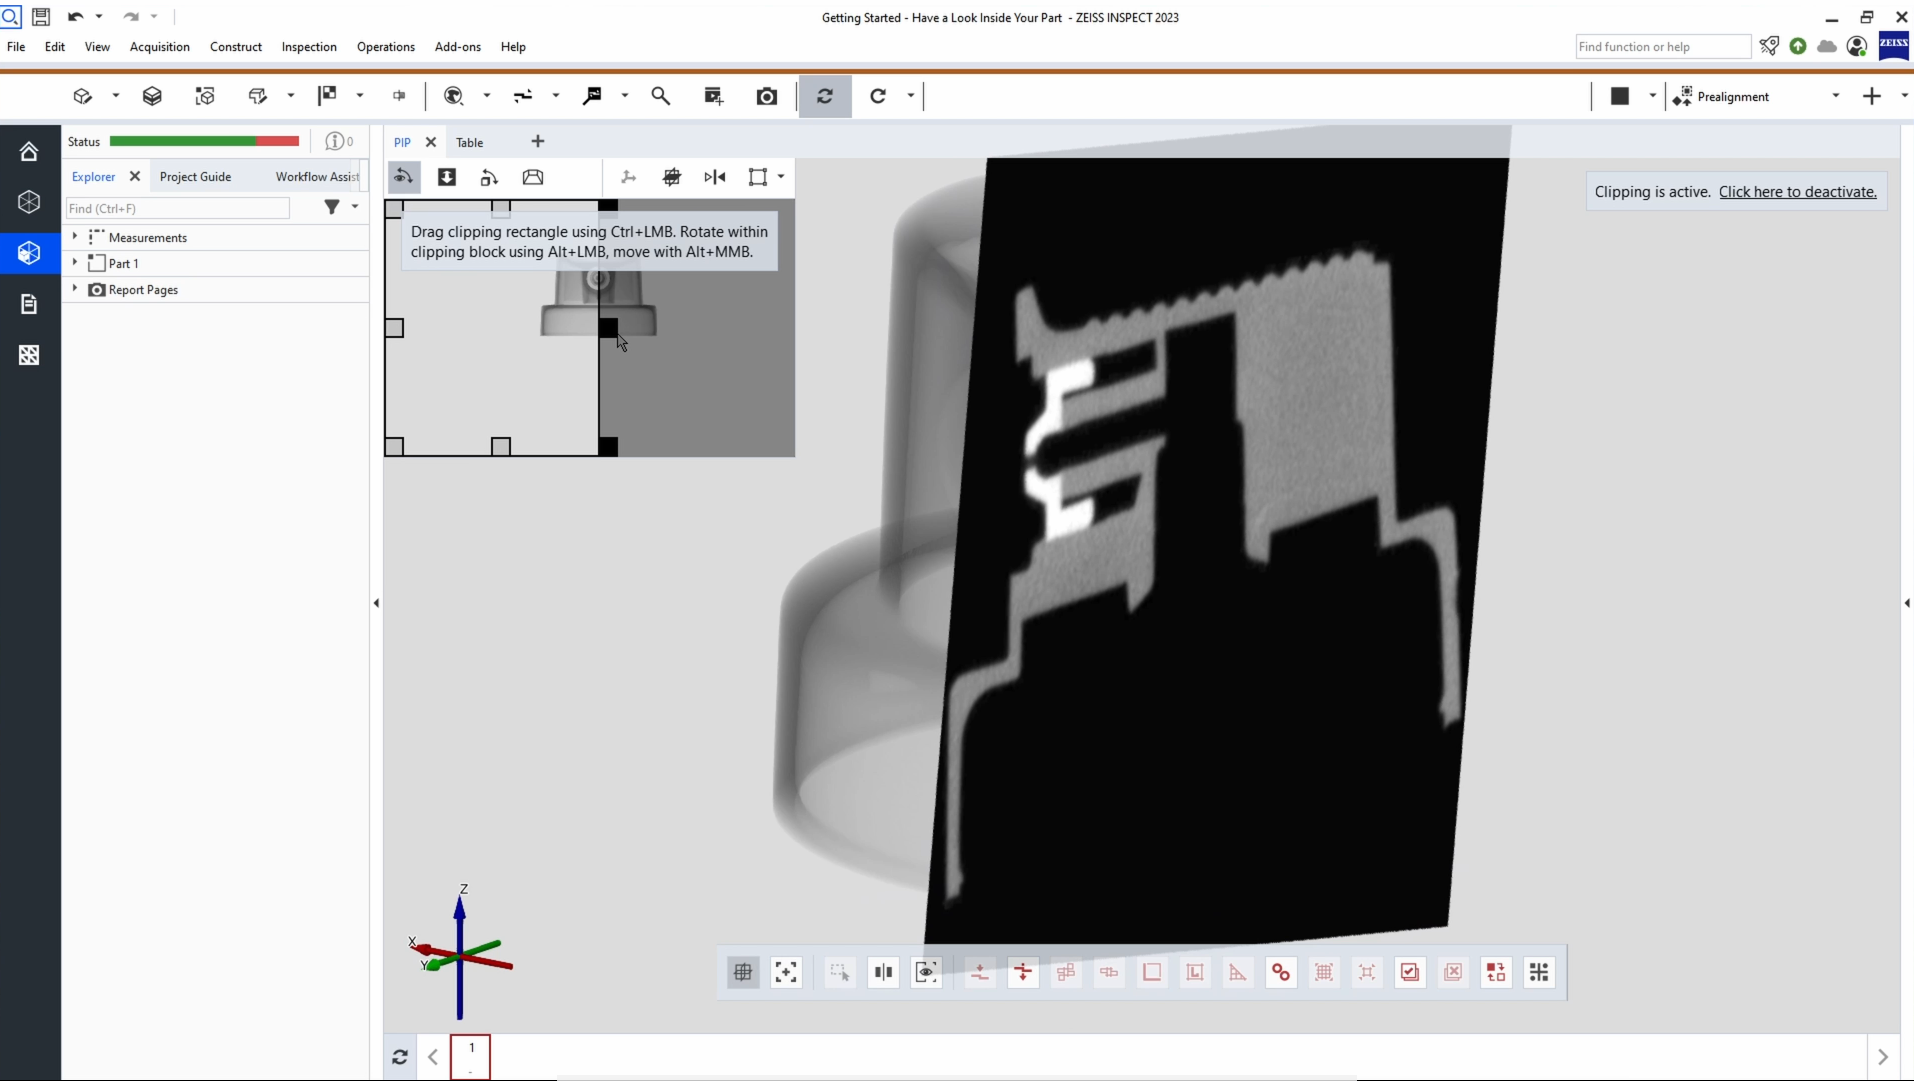
Getting Started – Basics
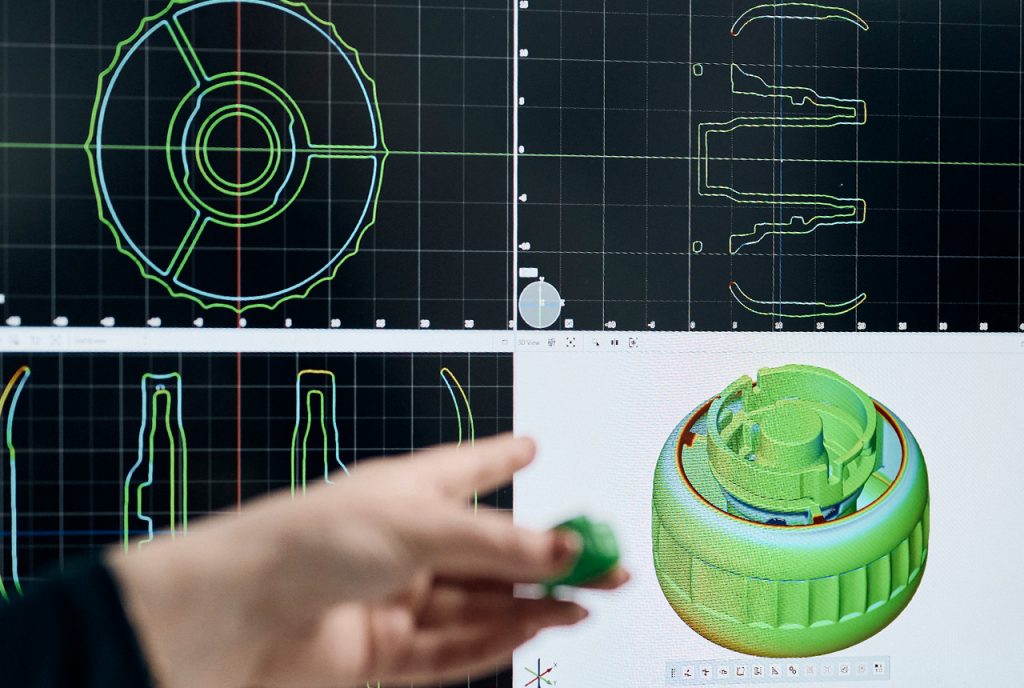
METROTOM 1: Introduction to ZEISS INSPECT
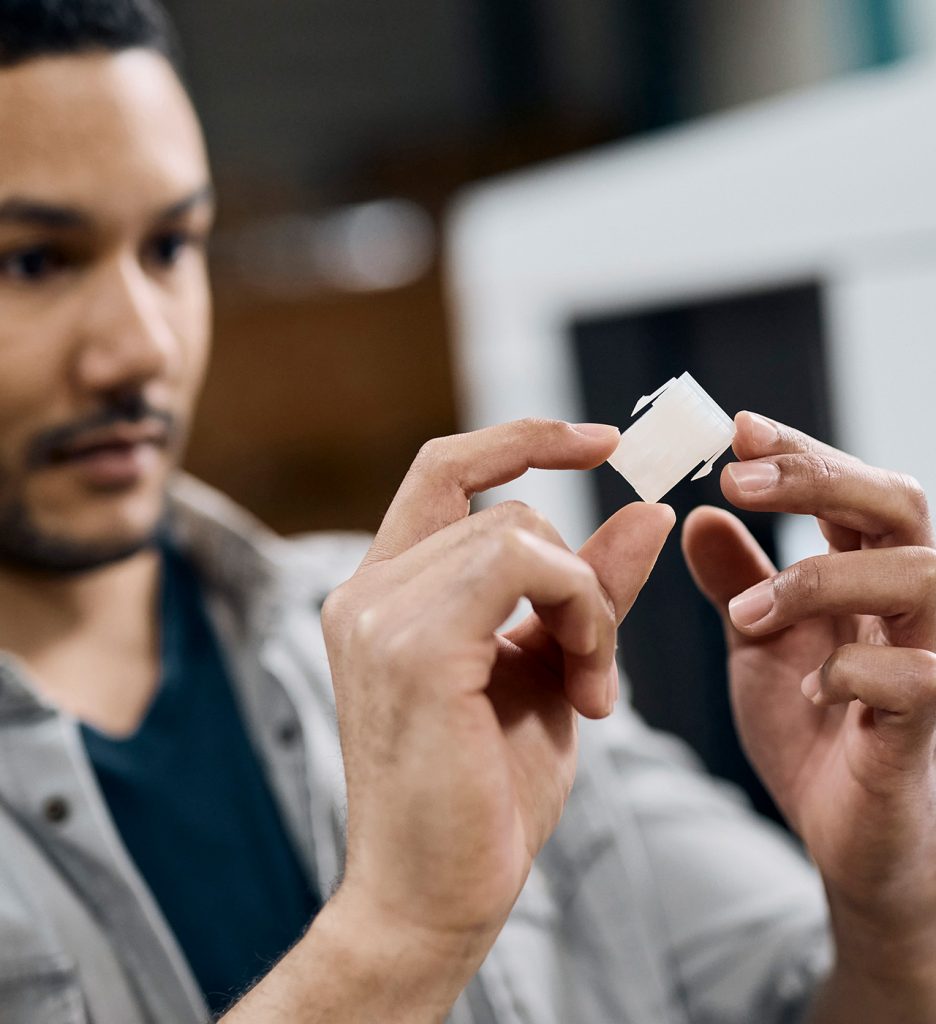
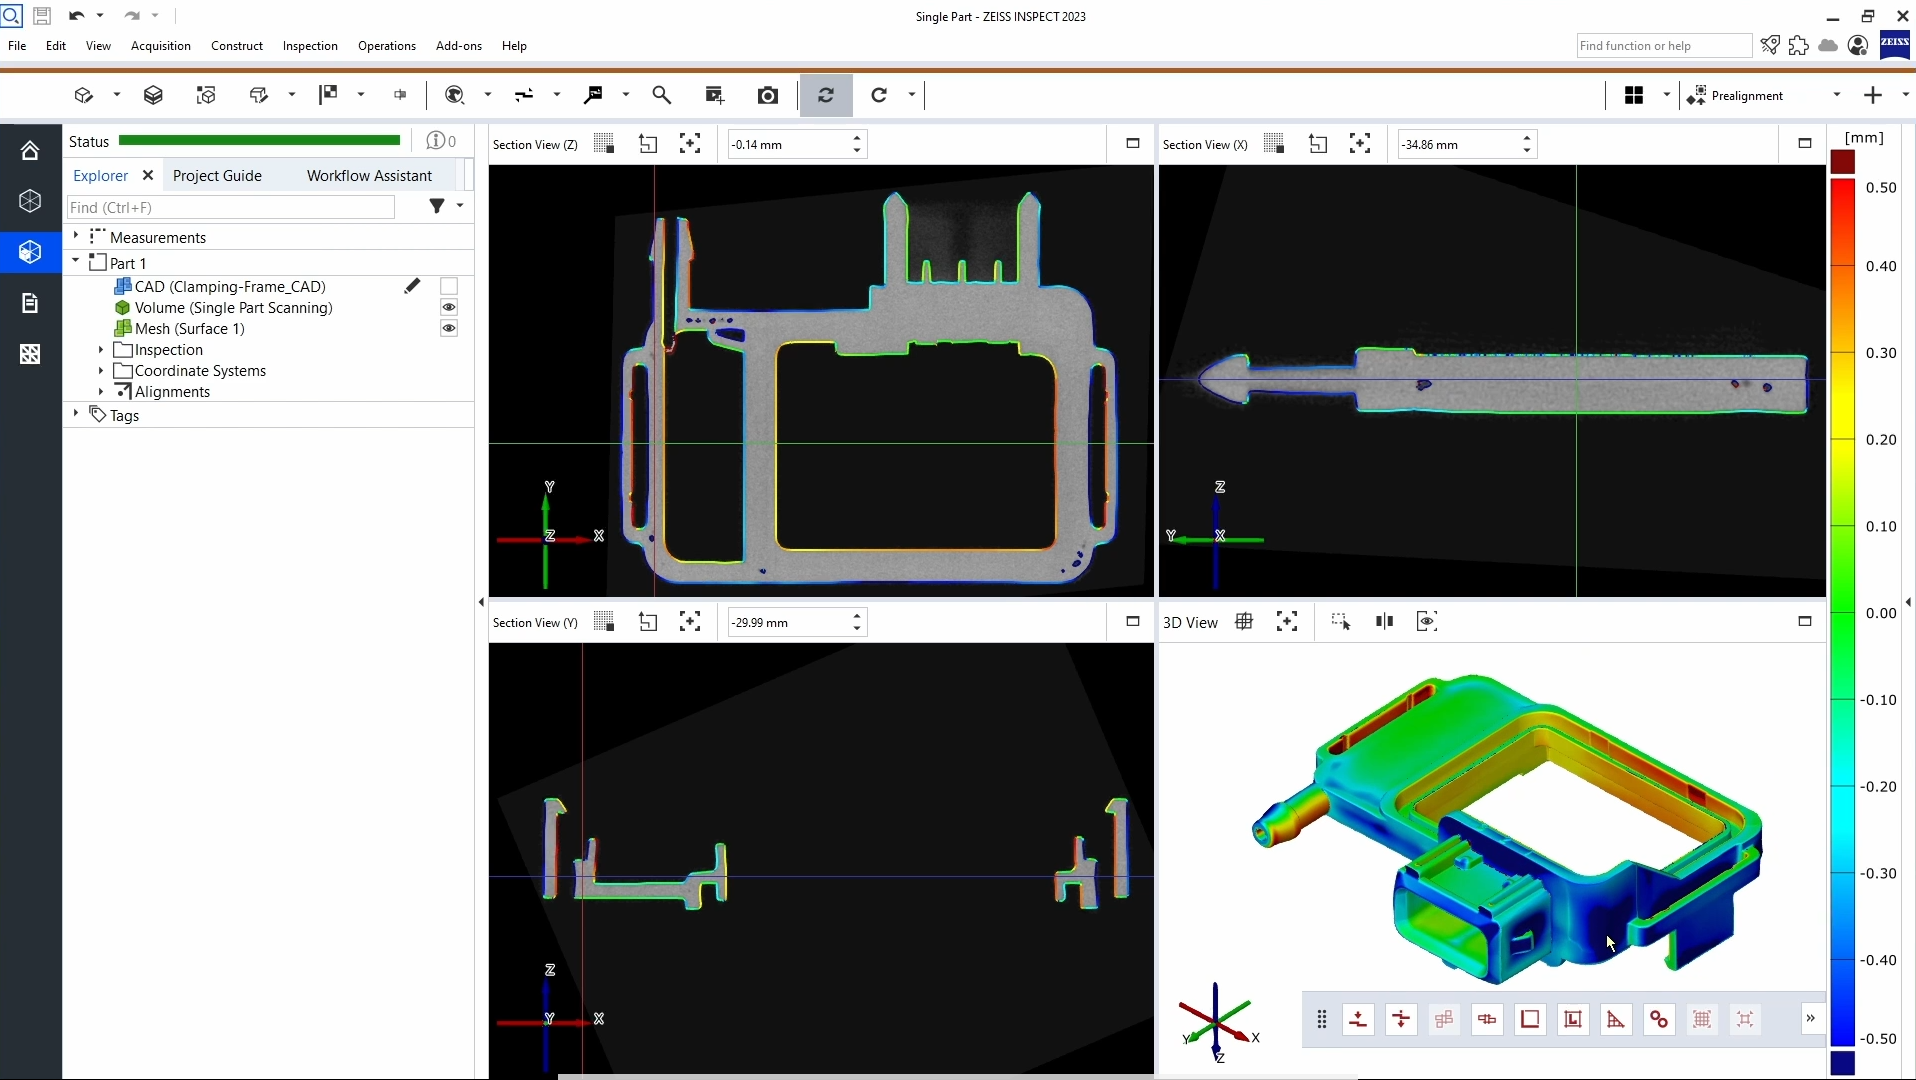
Getting Started – Next Steps
METROTOM 1: Scanning single parts

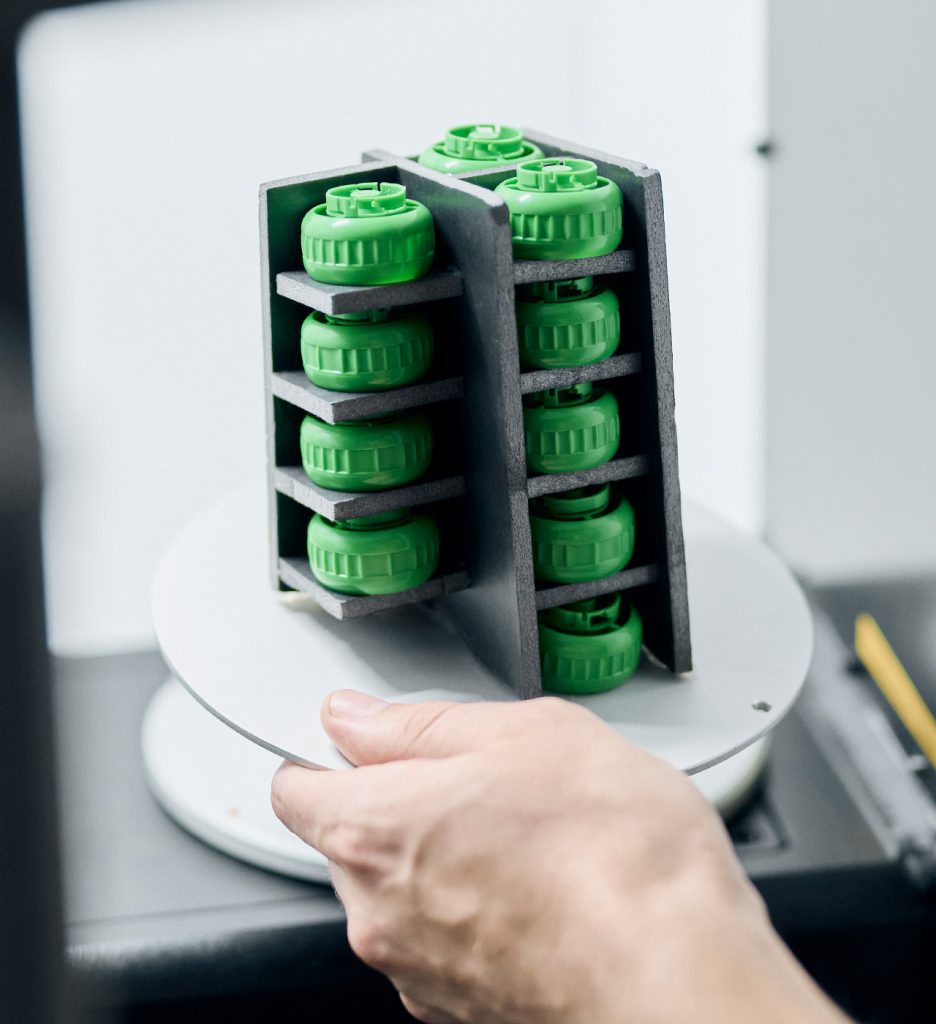
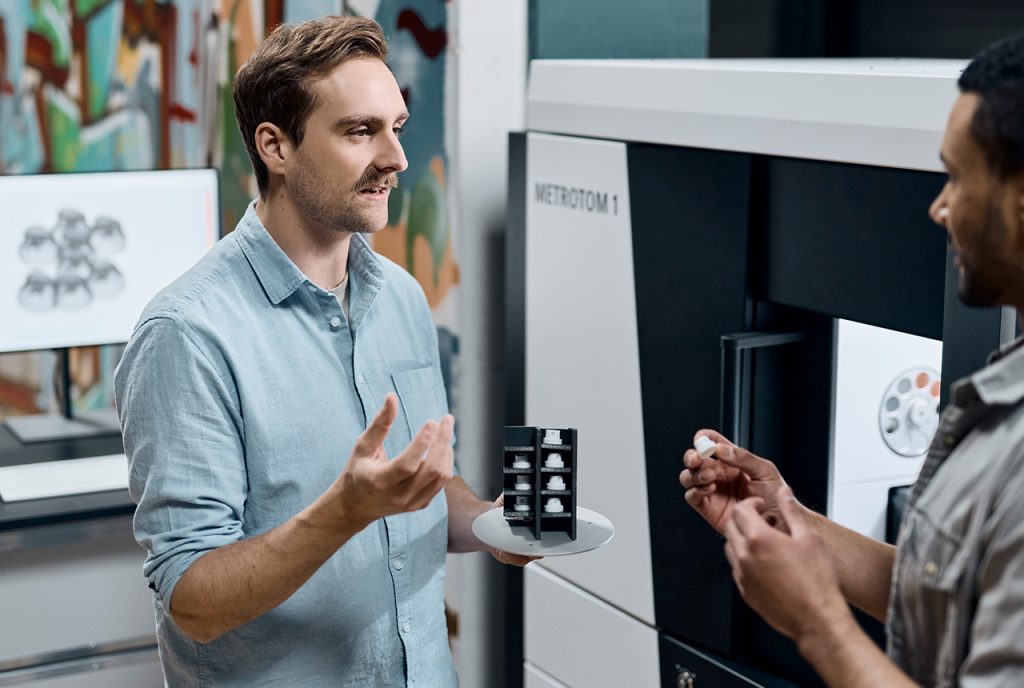
Getting Started – Next Steps
METROTOM 1: Scanning multiple parts
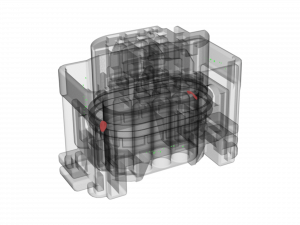
Getting Started – Next Steps
METROTOM 1: Easy volume visualization

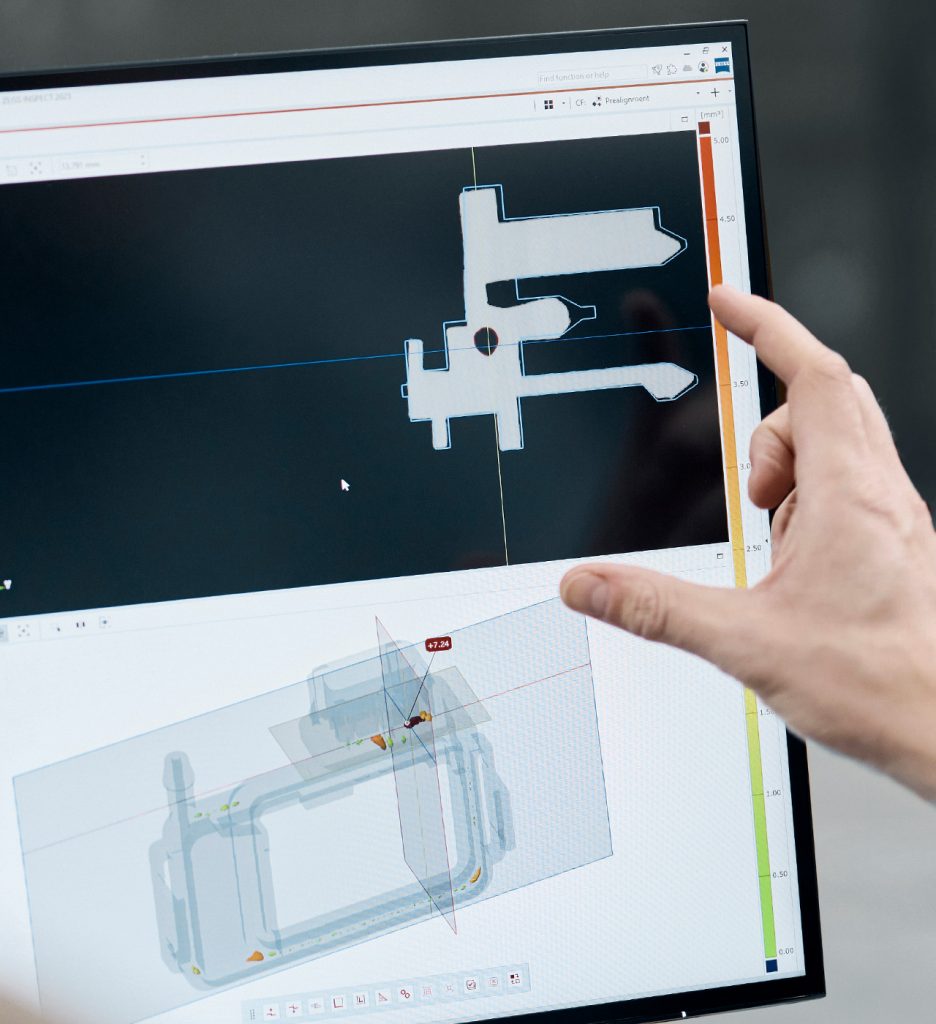
Getting Started – Next Steps
METROTOM 1: Easy internal defect inspection

Getting Started – Basics
METROTOM 1: Quick & easy calibration

Getting Started – Next Steps
METROTOM 1: Automated parameter selection
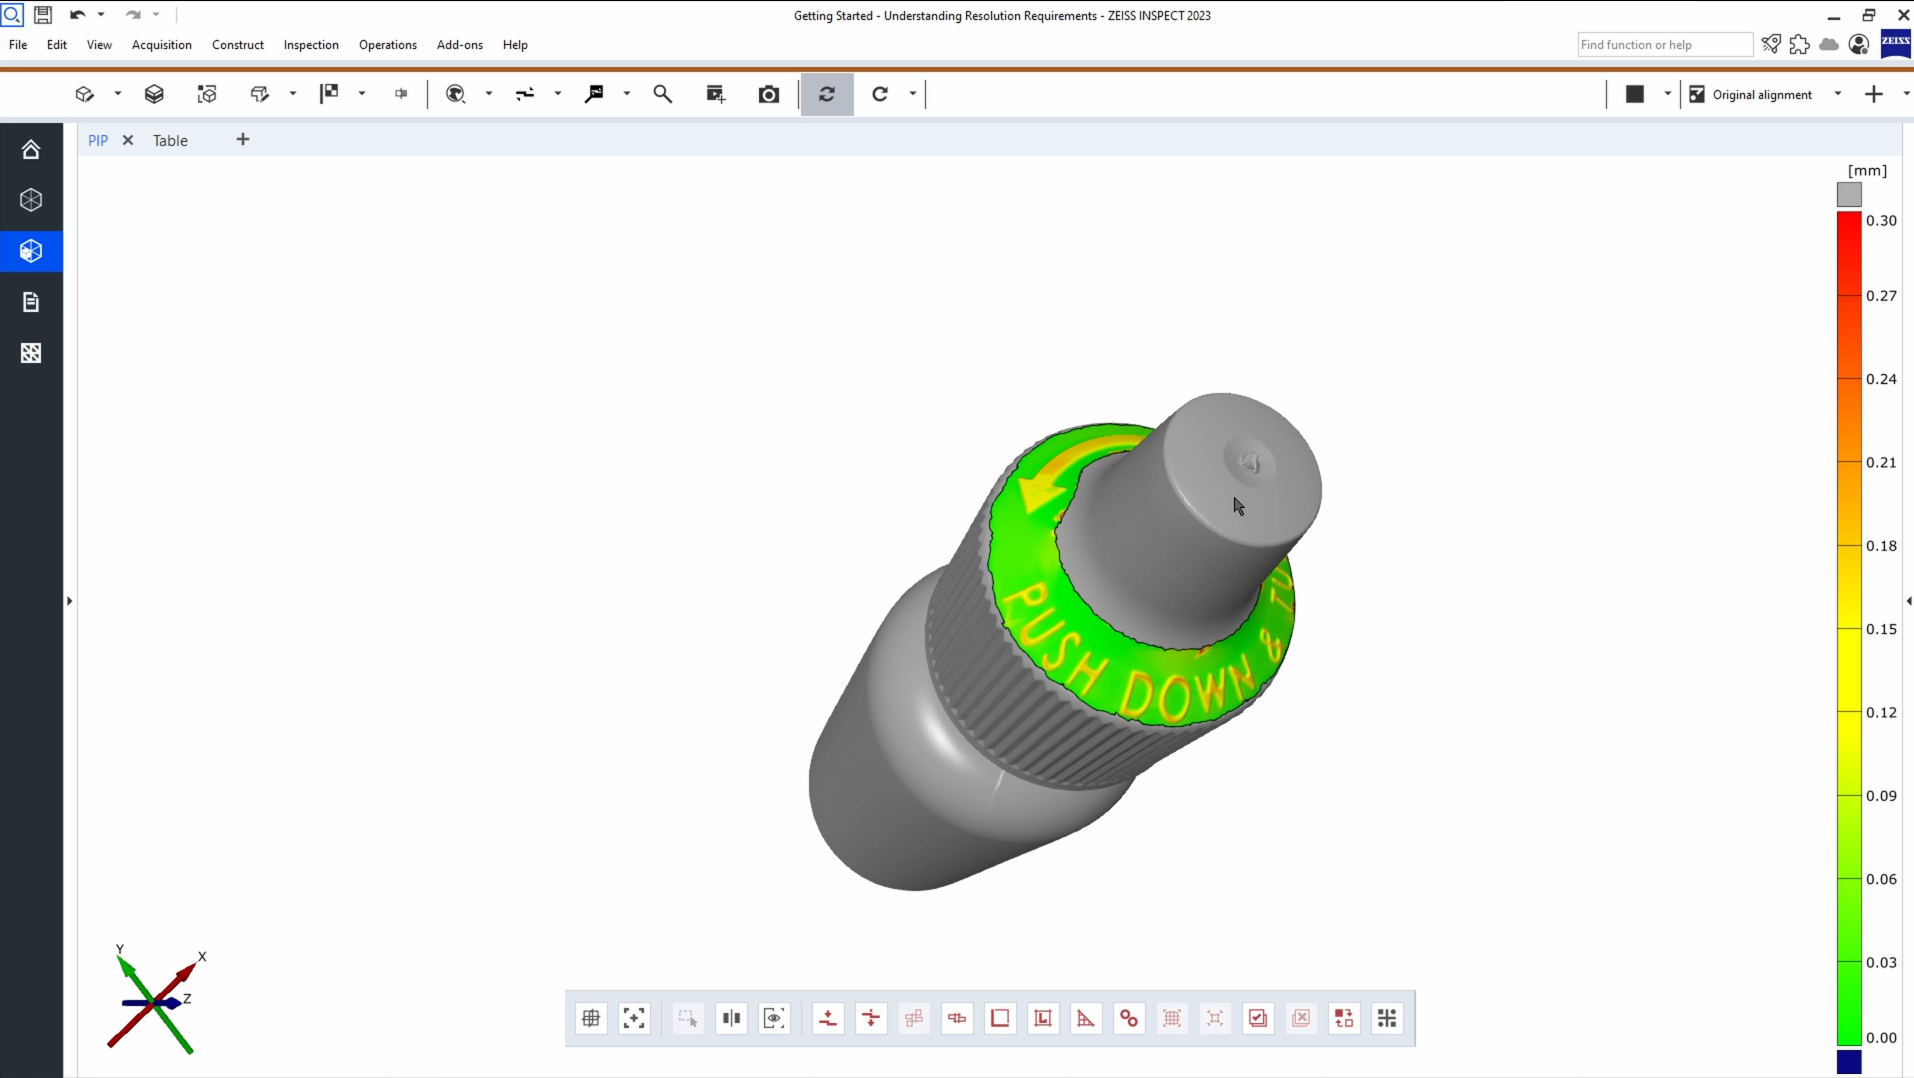
Getting Started – Next Steps
METROTOM 1: Introduction to scan resolution
Getting Started – Next Steps