Evaluating the material thickness
1
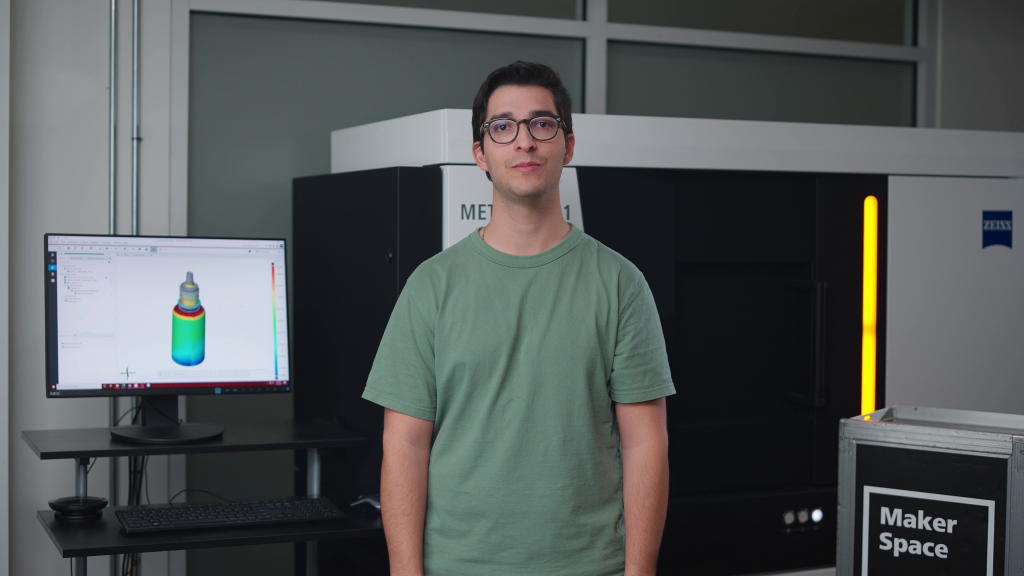
Take a fast scan of the assembled bottle and dropper together with METROTOM 1
2
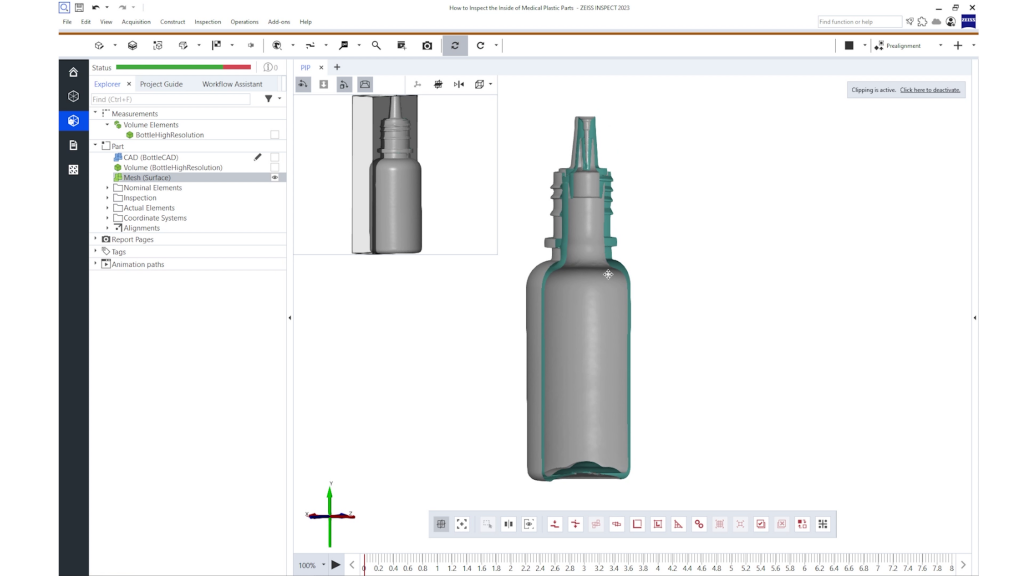
In ZEISS INSPECT, create a clipping plane through the middle of the part to reveal internal geometries
3
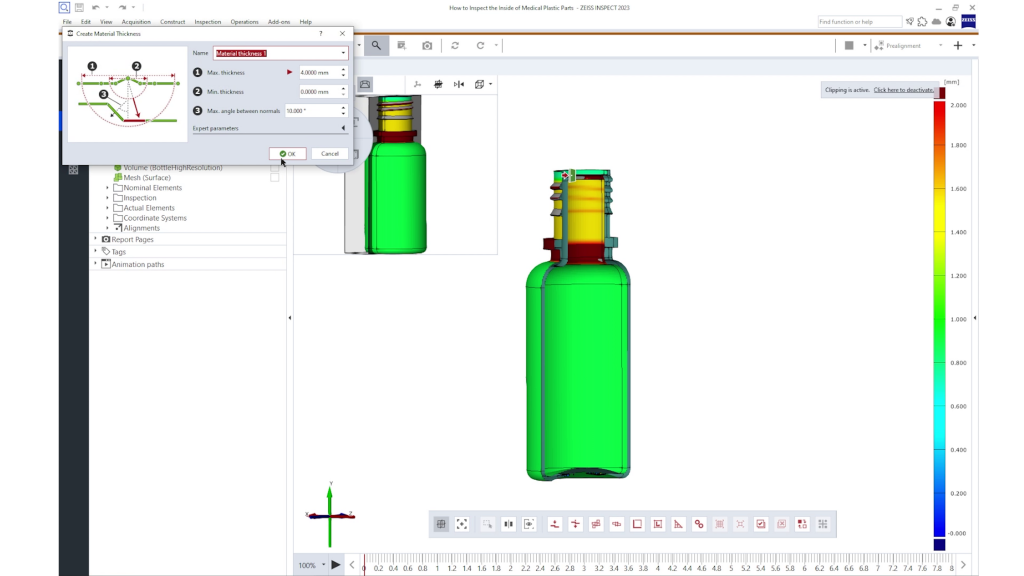
Create two inspections via I-Inspect: Material thickness on the CAD model and material thickness on the actual part
4
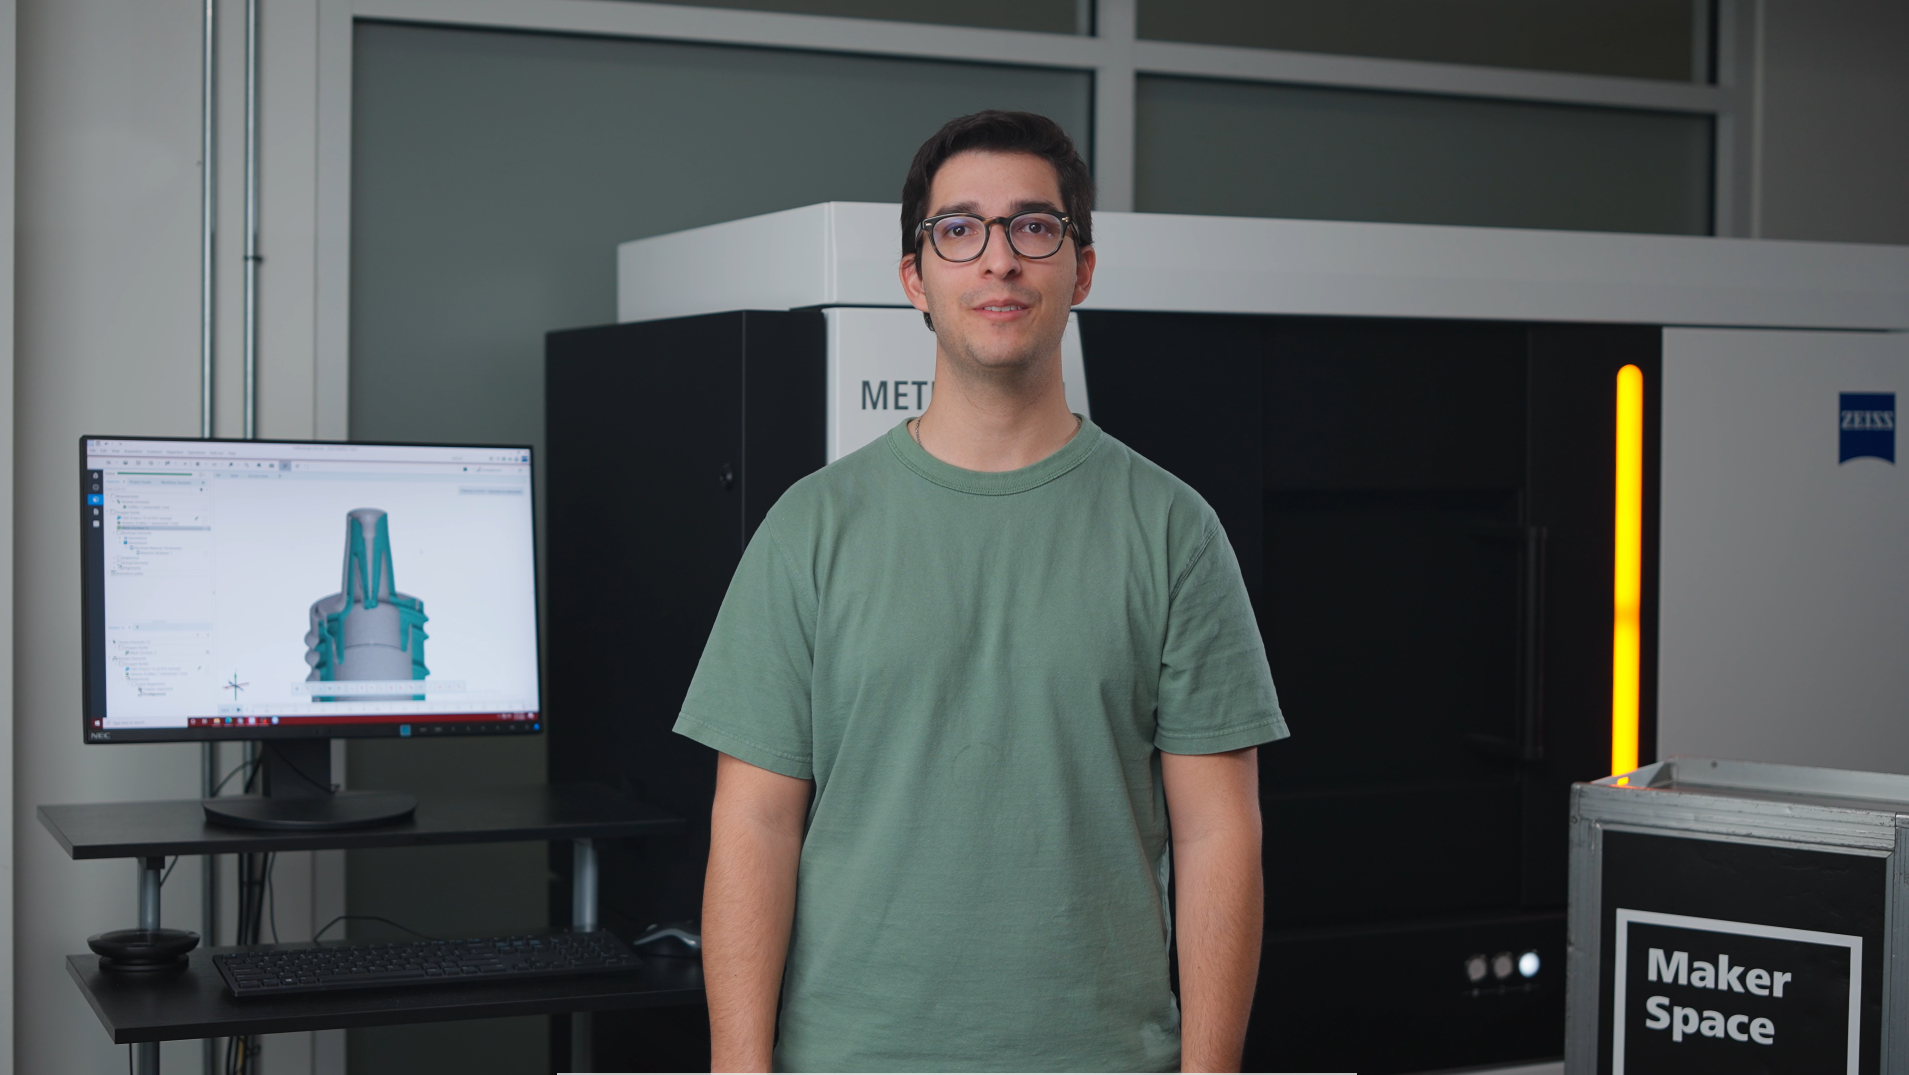
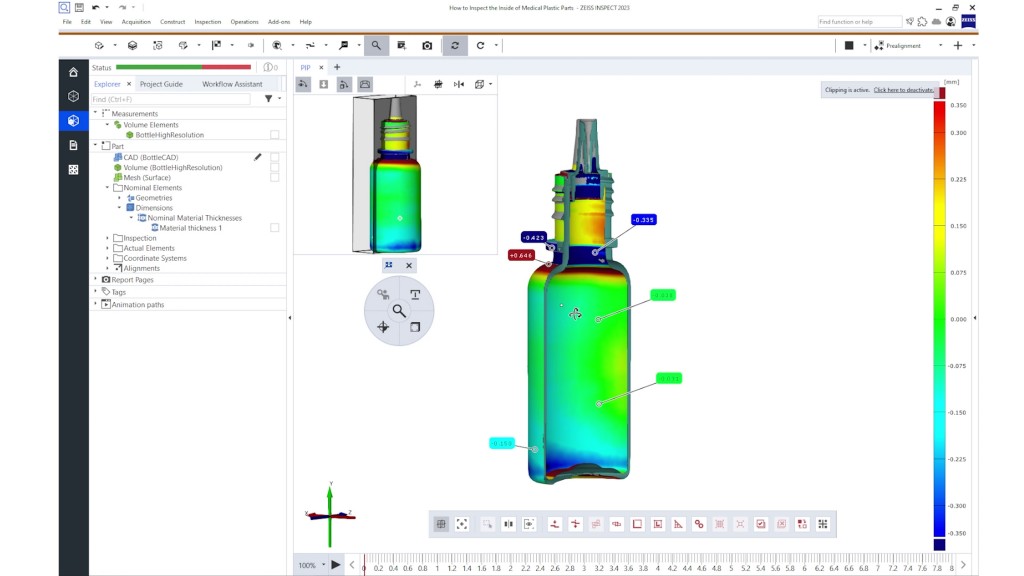
Compare the inspections with a material thickness deviation inspection
5
Adjust the legend to highlight key insights
In this case, there’s excess material thickness around the bottle neck and at the very bottom and a thinning trend towards the bottom on the outer wall. This information can be taken back to manufacturing to optimize their parameters and get closer to the intended design.
Evaluating tiny and unseen features
1
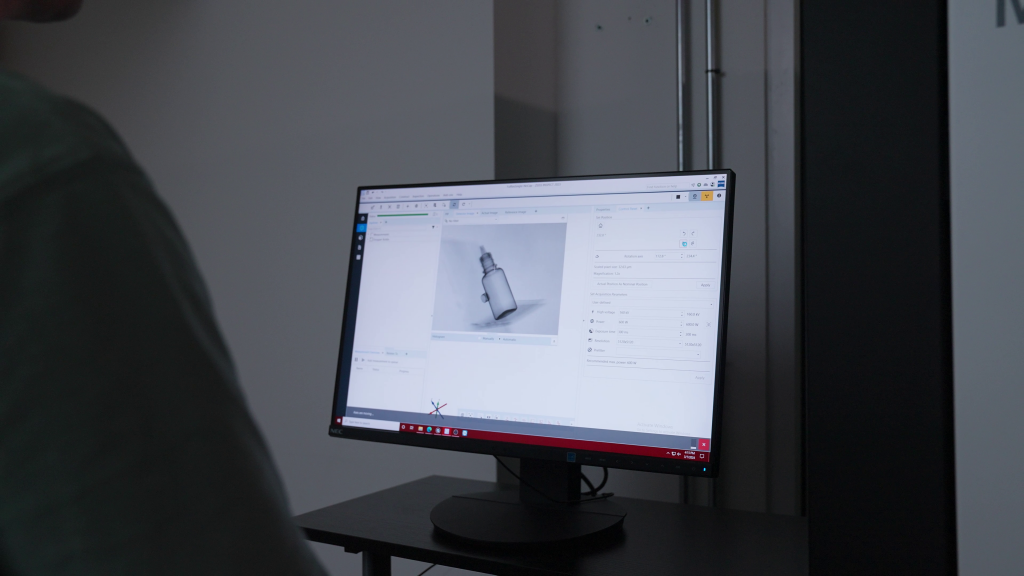
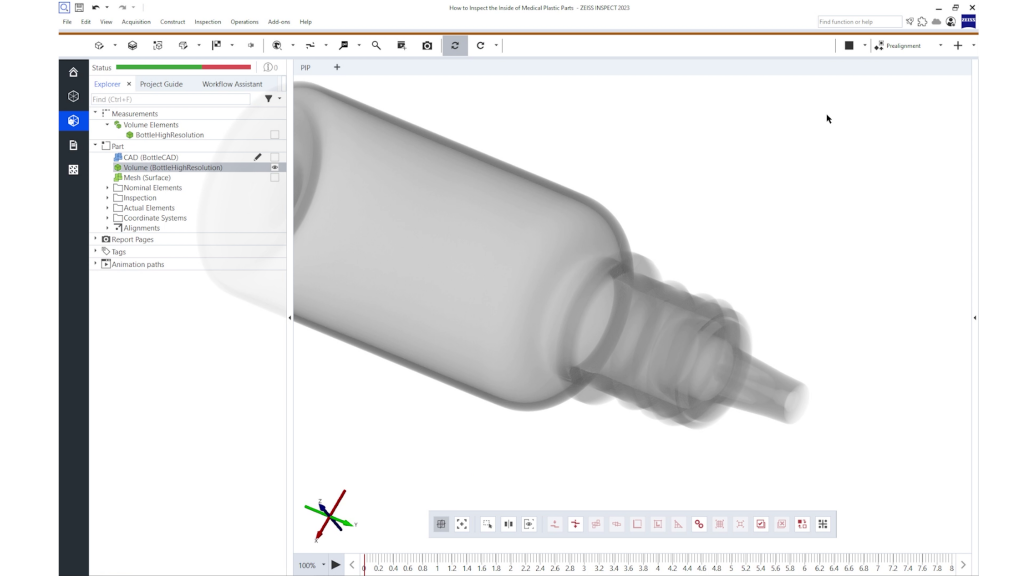
Start with the CT volume of the dropper tip
2
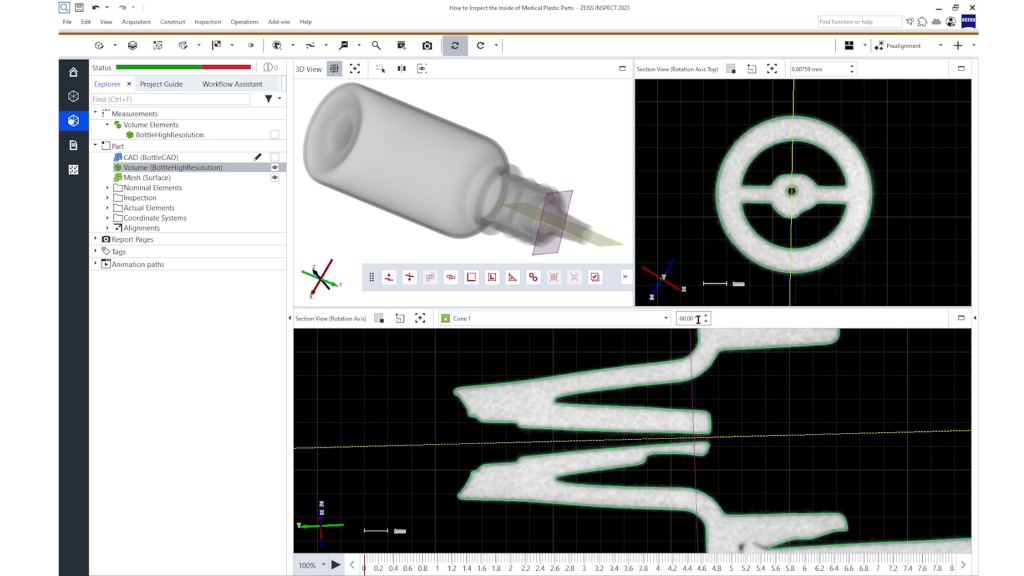
Since the part is rotationally symmetric, switch to the rotational view
3
Change the view to get a cross-section through the nozzle and a rotational axis for a 360-degree view
4
From here, do a few visual checks:
- Is the channel clear so liquids can exit the bottle?
- Are there any irregularities, such as dents or a lack of symmetry inside the nozzle?
- Is there a proper seal between the nozzle piece and the bottle body?
5
Go back to the STL digital twin and add the clipping plane back in
6
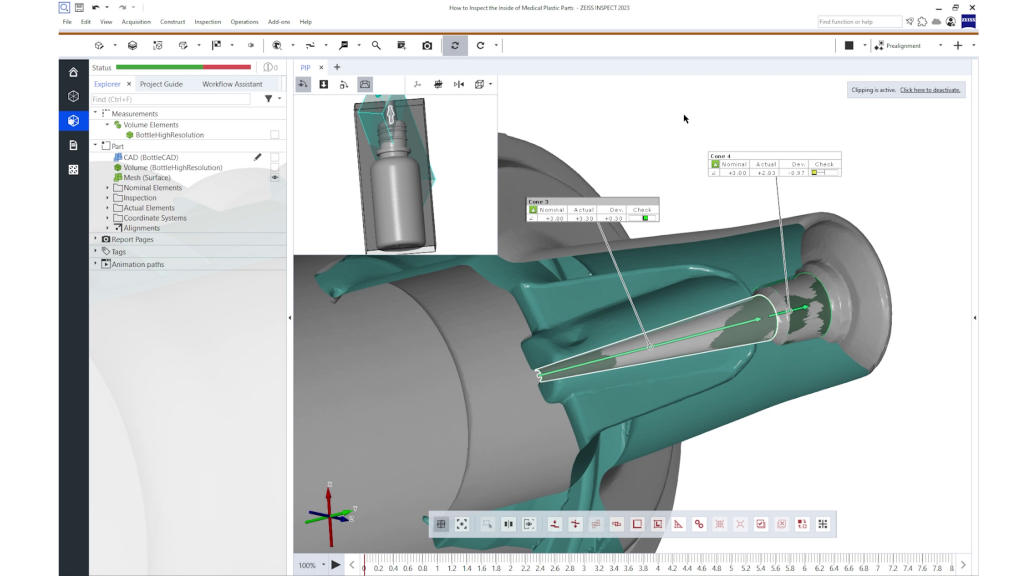
To construct the elements of the dropper tip, like the nozzle channel and opening, use the function “construct cone”
7
Use the angle check via I‑Inspect to evaluate all relevant angles at once
From here, it’s possible to inspect different other elements, like the angle between the center lines of the cones, the diameter of the nozzle opening and the surface profile of the bottle threads with color visualization
Watch the full video
ZEISS METROTOM 1 reveals what’s happening inside medical plastic parts, precisely, quickly, and non-destructively. Want to see the workflow in action? Watch our How-to video to learn more about inspecting the inside of medical plastic parts.
METROTOM 1: How to inspect the inside of medical plastic parts
Plastic parts from the medical industry are often complex assemblies or even transparent and can’t be measured optically or tactilely. Let Juan show you how to use the METROTOM 1 to get all the information with just one scan and even inspect the inside of your parts to guarantee the best functionality.
Do you have any question on our 3D scanners? Contact us via support@HandsOnMetrology.com
ZEISS METROTOM 1

Scanning small parts with GOM Scan 1 and ATOS Q
From plastics to electronics and consumer goods, small parts are everywhere. Their geometries range from simple to complex with fine structures and tiny holes, each with specific measurement requirements. With the 3D scanners GOM Scan 1 and ATOS Q, scanning small parts is easy.

3D inspection of plastic products using CT technology
Meet Büchner Kunststoffprodukte, a German family-owned company, that produces plastic parts by injection molding. To inspect their produced parts, they rely on the easy-to-operate ZEISS METROTOM 1.
Improve quality control in the supply chain with 3D scanning
Want to know more about the challenges of quality control in the supply chain? In this article you will learn more about it and how ZEISS T-SCAN hawk 2 and ZEISS INSPECT software support the efficient quality assurance of different parts.
