3D inspection on the Great Melbourne Telescope
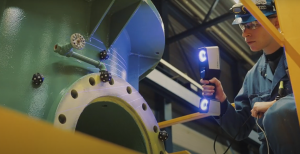
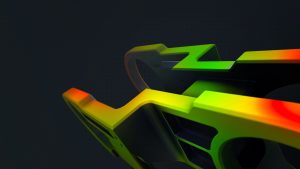
Follow our Australian partner Scan-Xpress while 3D scanning and 3D inspecting the Great Melbourne Telescope. They are using the powerful 3D scanner ATOS Q which manages this huge project easily.
With the latest software release of 2023 come a variety of new and helpful features for 3D scanning. For example, in ZEISS INSPECT, creating a CAD out of a mesh is now possible via the surfacing function.
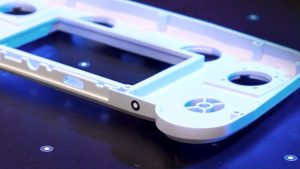
When 3D scanning, choosing the right distance to your object is crucial for the optimal measurement result. How to determine the right scanner position and how the 3D scanner itself aids in this decision, you get to read here.
In our well-known format “Getting Started”, you already get useful information on a quick start with ZEISS Reverse Engineering. Besides that, our newly-established training tutorials feature more in detail insights into the software solution for you to follow along. Read more about the software training tutorials here:
The ZEISS Comet L3D2 was the entry-level solution for optical metrology by ZEISS. We have since been developing new 3D scanners with innovative technologies and features which are a suitable alternative for the discontinued ZEISS Comet scanner. Learn more about the scanner evolution in this article.
Our team was at the Control in Stuttgart, Germany. The trade show about all things quality control and assurance is THE event for people interested in metrology. The ZEISS initiative #HandsOnMetrology is again part of it and presents the latest news on 3D scanning. With us on board – the new ZEISS T-SCAN hawk 2.
You want to get an overview ofindustrial quality solution by ZEISS? How about checking our annual magazine!
Whether it’s about 3D scanning, inspection software or tech trends – we got you covered with our latest issue of the ZEISS Precise magazine 2023.
With the help of 3D laser scanners, the company Stork maintains their customer’s part quality in the most diverse industries. In this article we highlight parts of their working, also being reverse engineering as well as digital warehousing for more efficient quality assurance.
Optical metrology is a measurement technique that uses light to gather data about the physical properties of objects. This can include measurements of distance, shape, size, surface roughness, and more. Optical metrology has a wide range of applications across various fields, from manufacturing and engineering to biology and medicine.
Our new portable ZEISS T-SCAN hawk 2 is a real multi talent and comes to use in various applications. This time we have a look at Aircraft MRO where the hand-held 3D laser scanner is critical in the NDT inspection and analysis of dents.