A 3D scanning solution for complex measurement and inspection tasks
Reliable, versatile and compact
Designed for industry use

Packed with cutting-edge technology
Fast results, exceptional performance
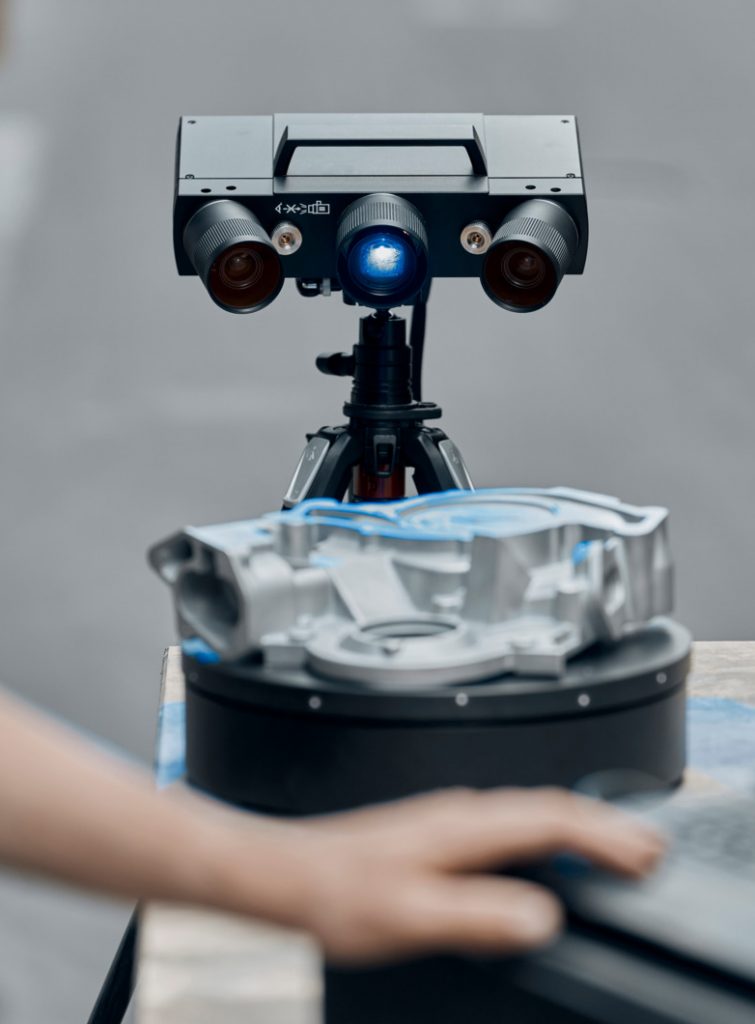
High-speed precision with Blue Light Technology
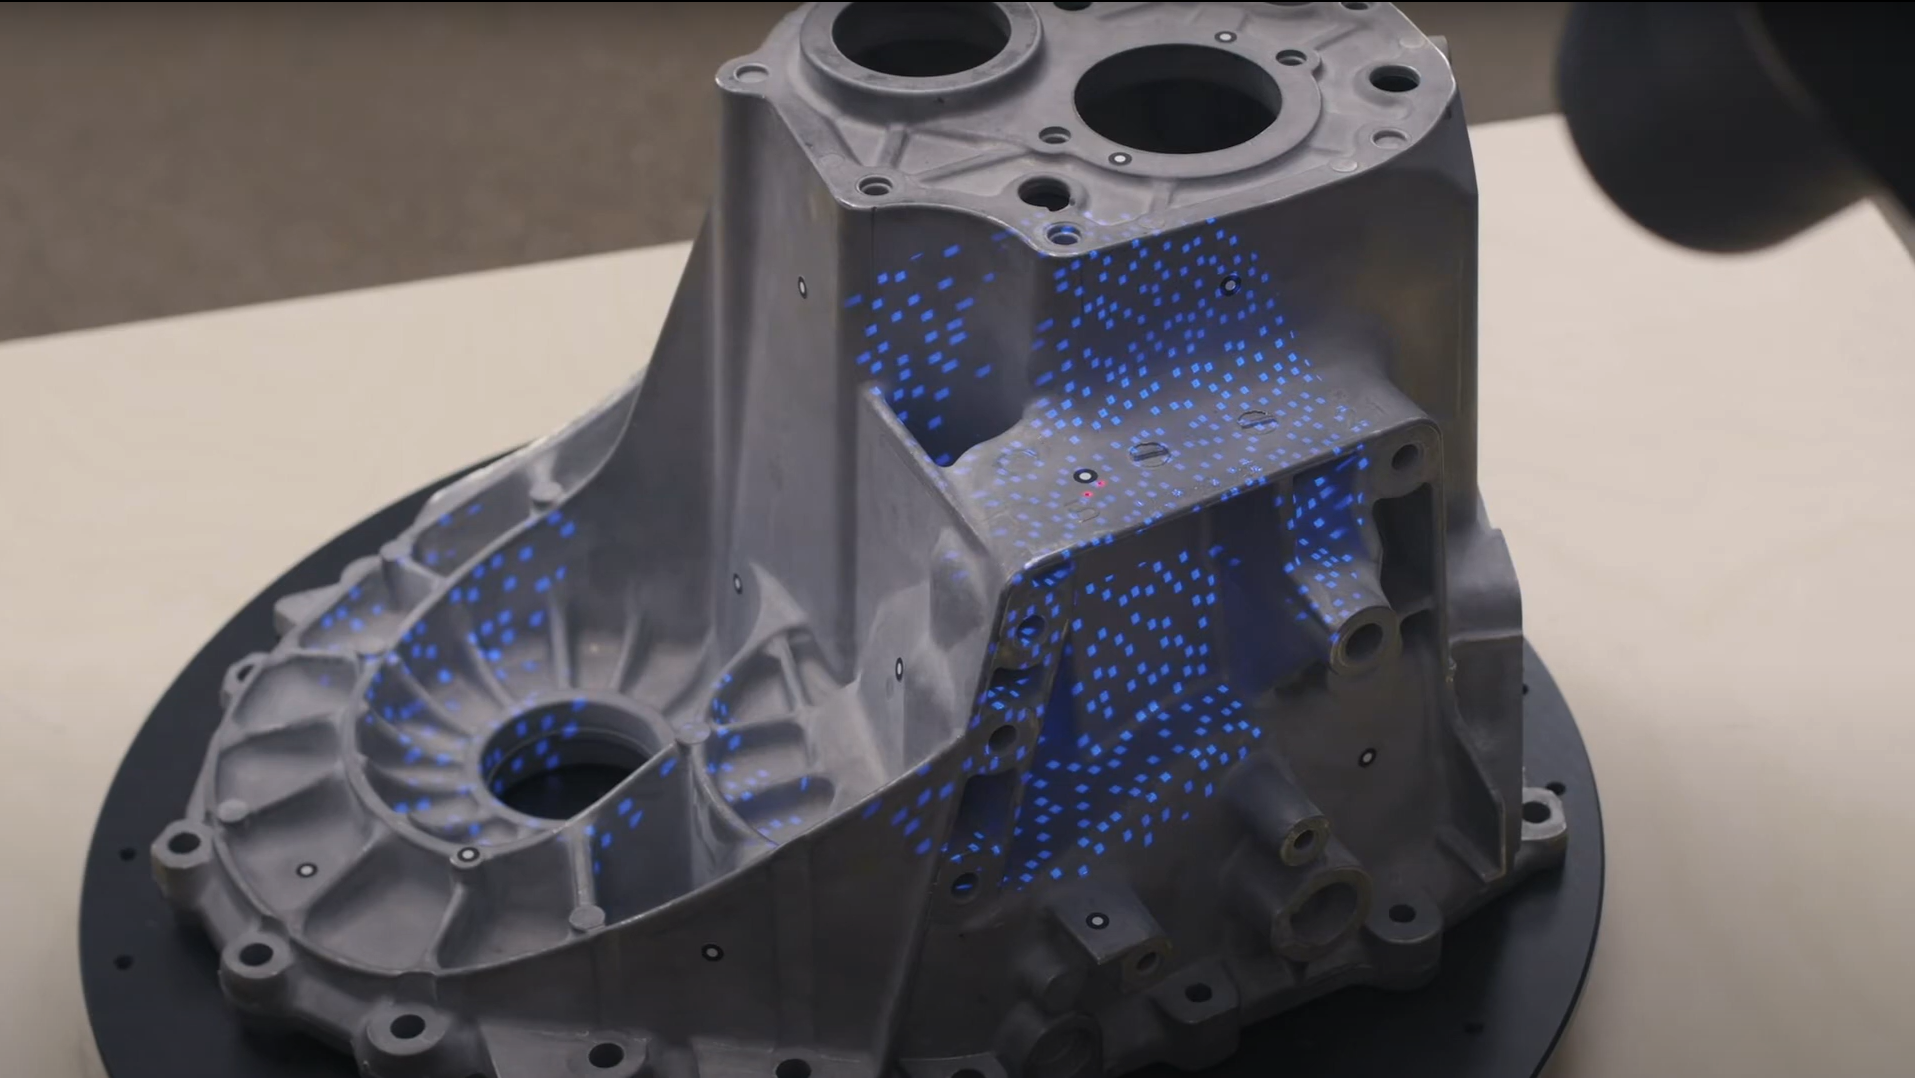
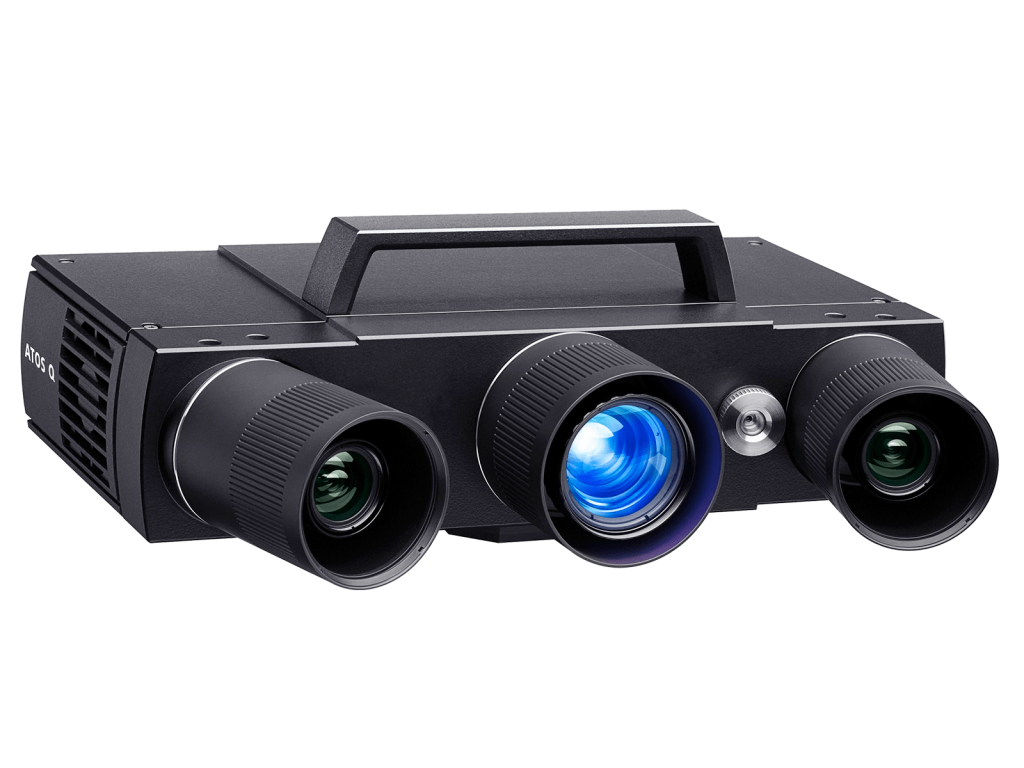
Precise fringe patterns are projected onto the surface of the object and are captured by two cameras based on the stereo camera principle. Our projection technology works with narrow-band blue light, which means that interfering ambient light can be filtered out during image acquisition.
Extremely versatile and ready for any challenge
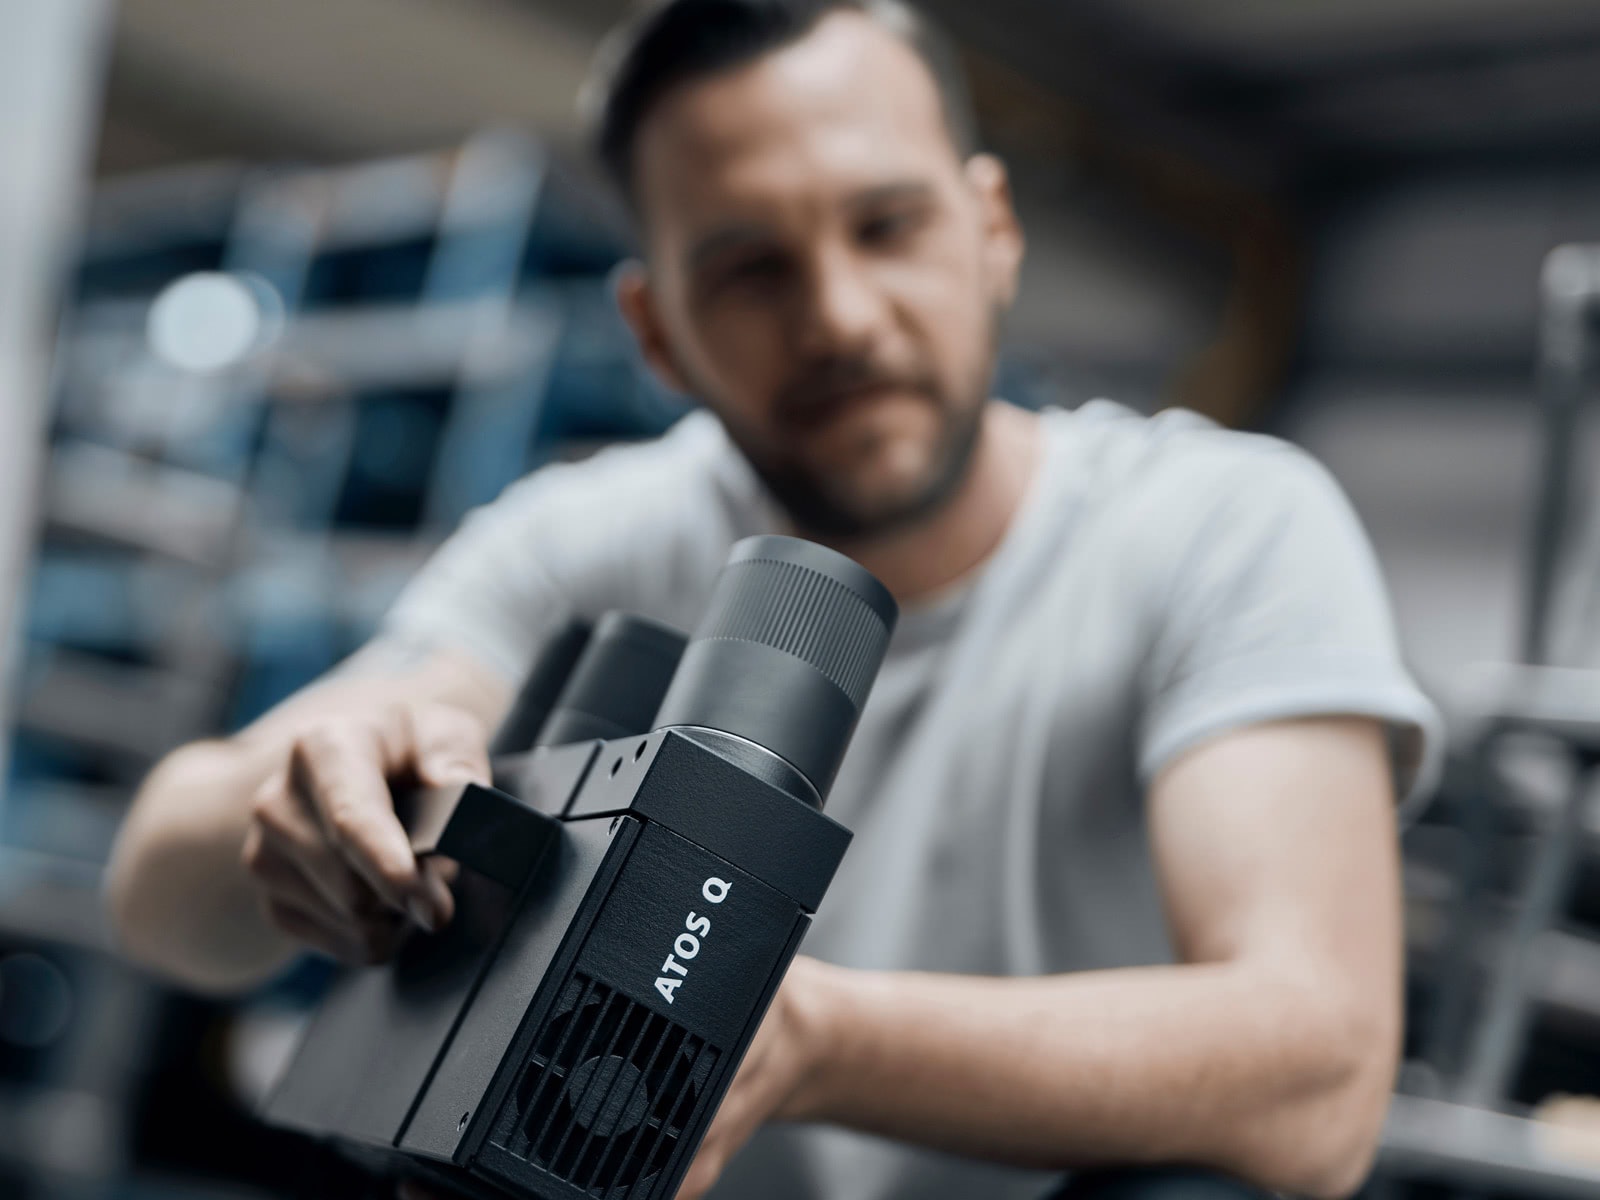
Manual

Semi-automated
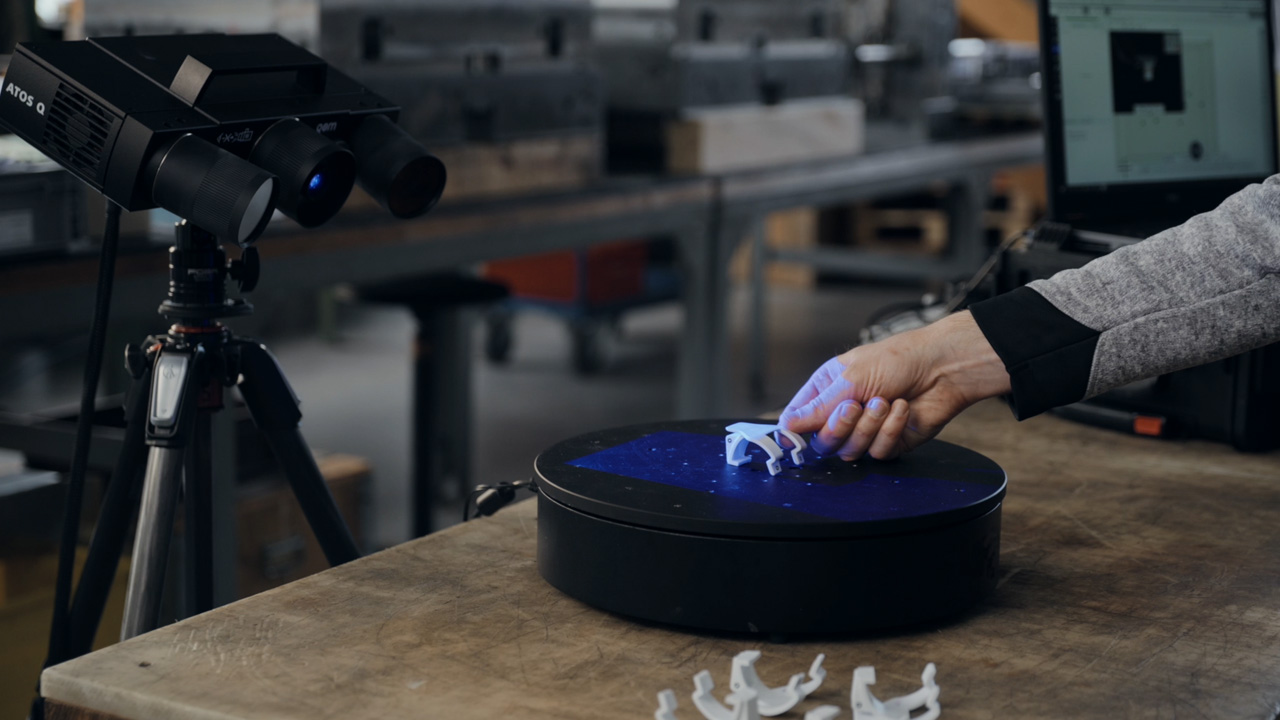
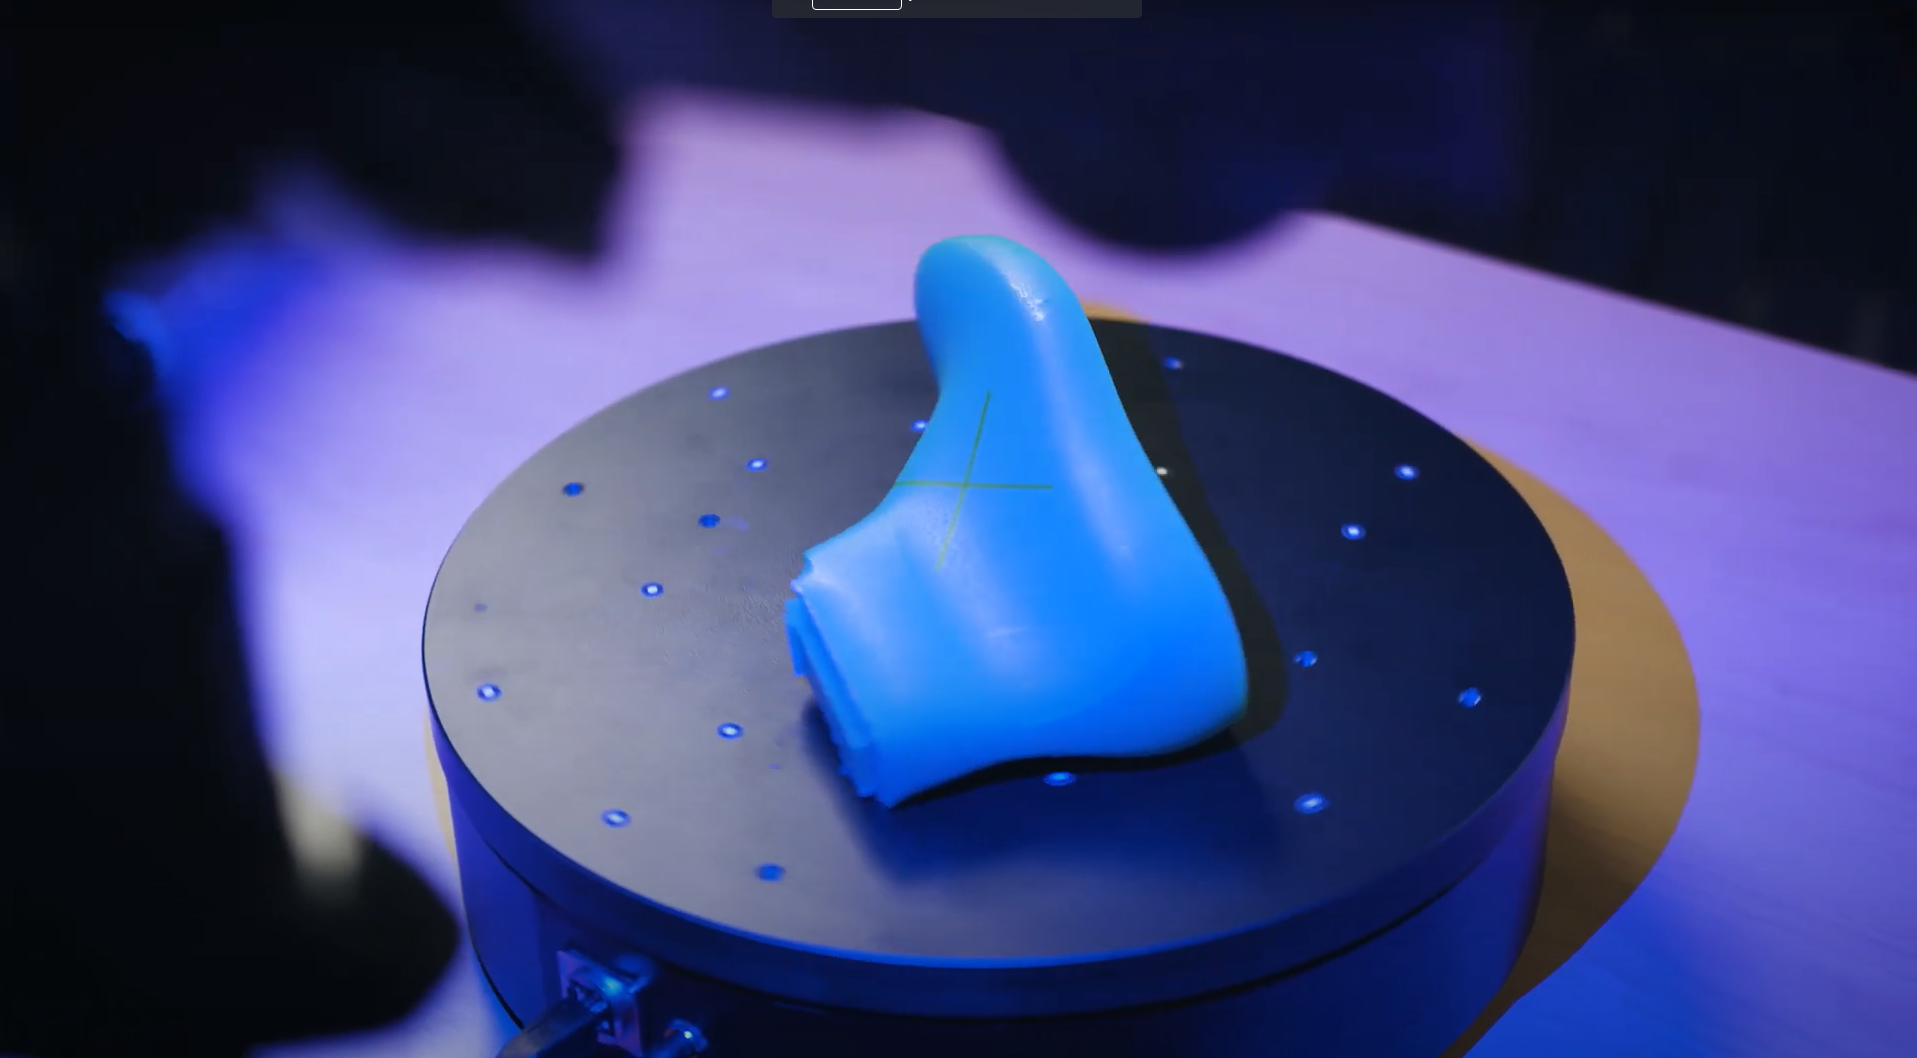
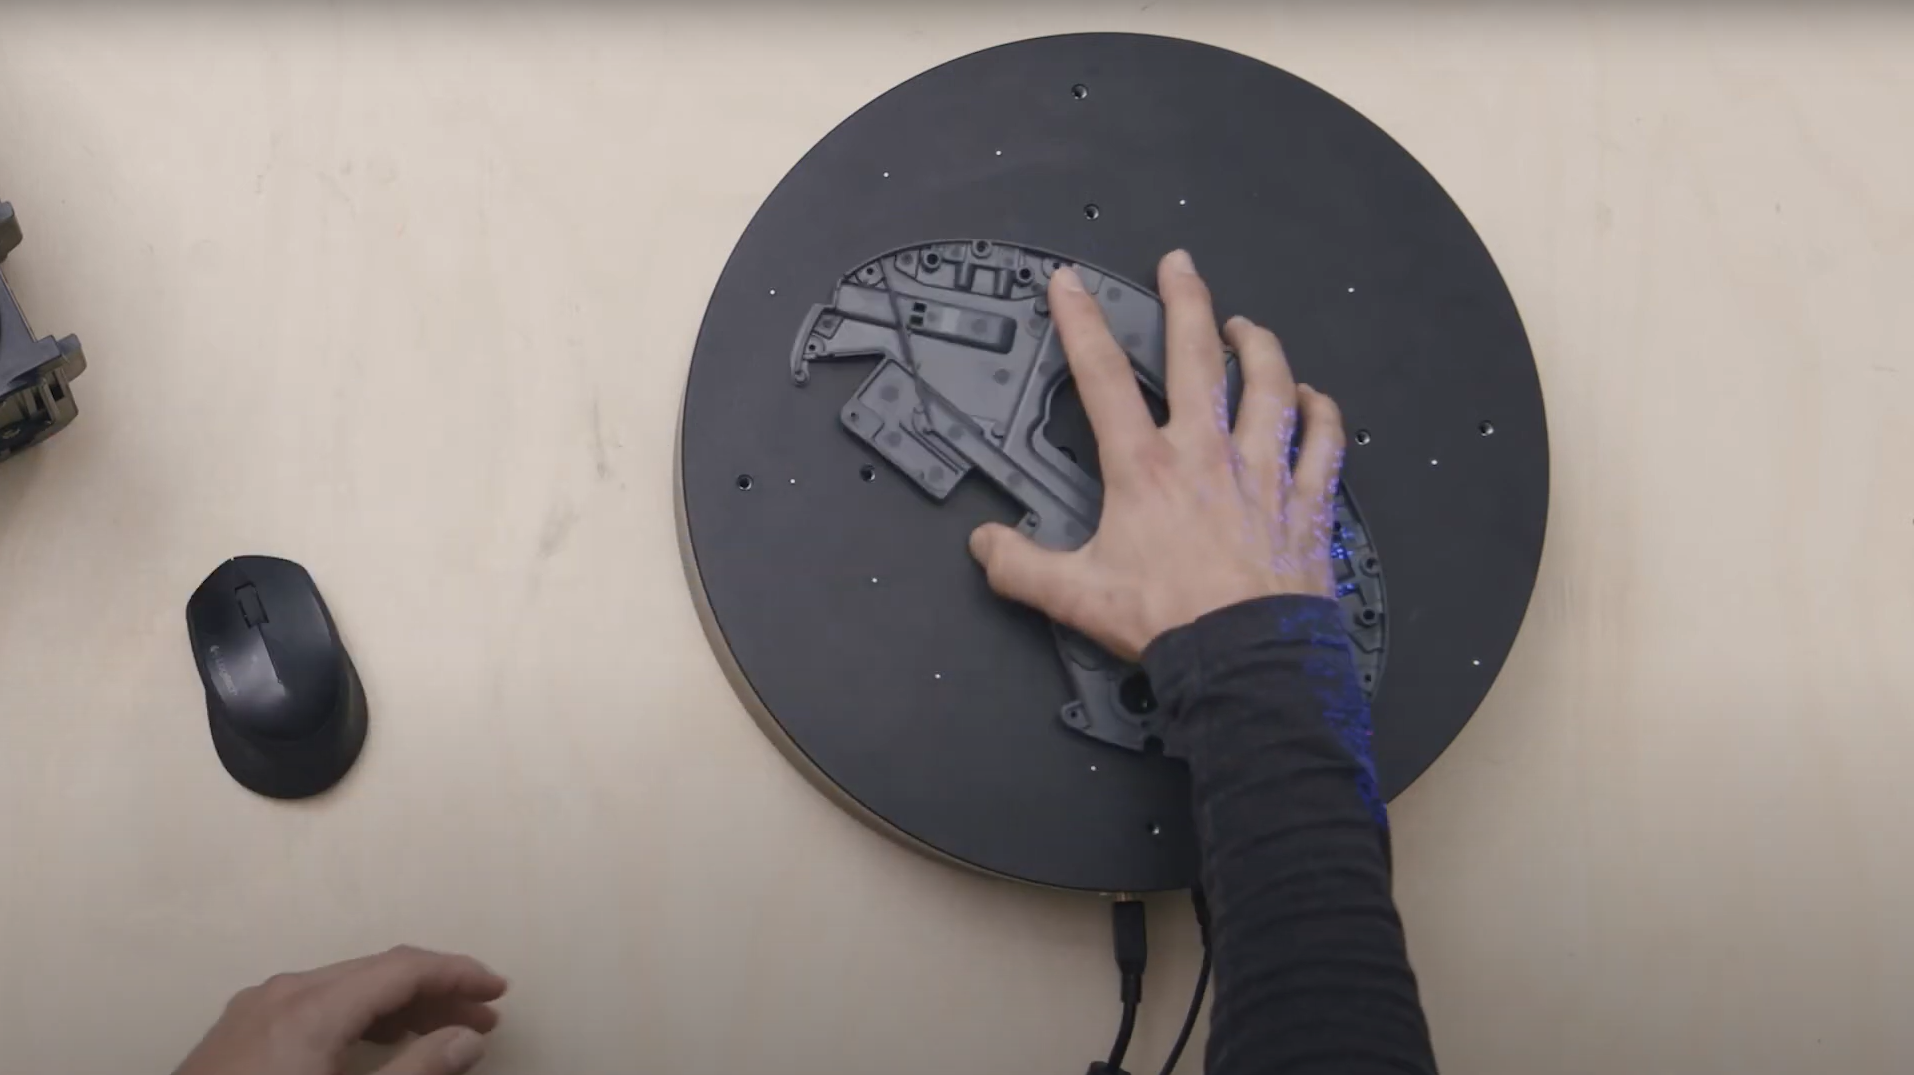
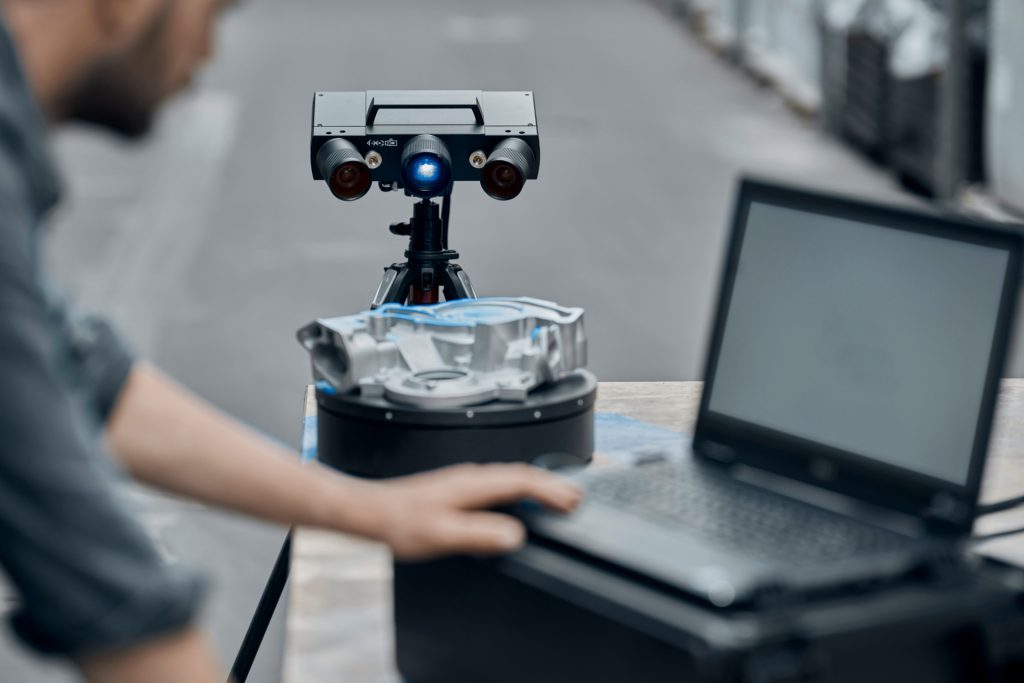
In combination with a tripod or desk stand and the rotating ROT 350 scanning table or a motorization kit, the 3D scanner ATOS Q may also be used for semi-automated operation.
Shaping quality with multiple measuring volumes
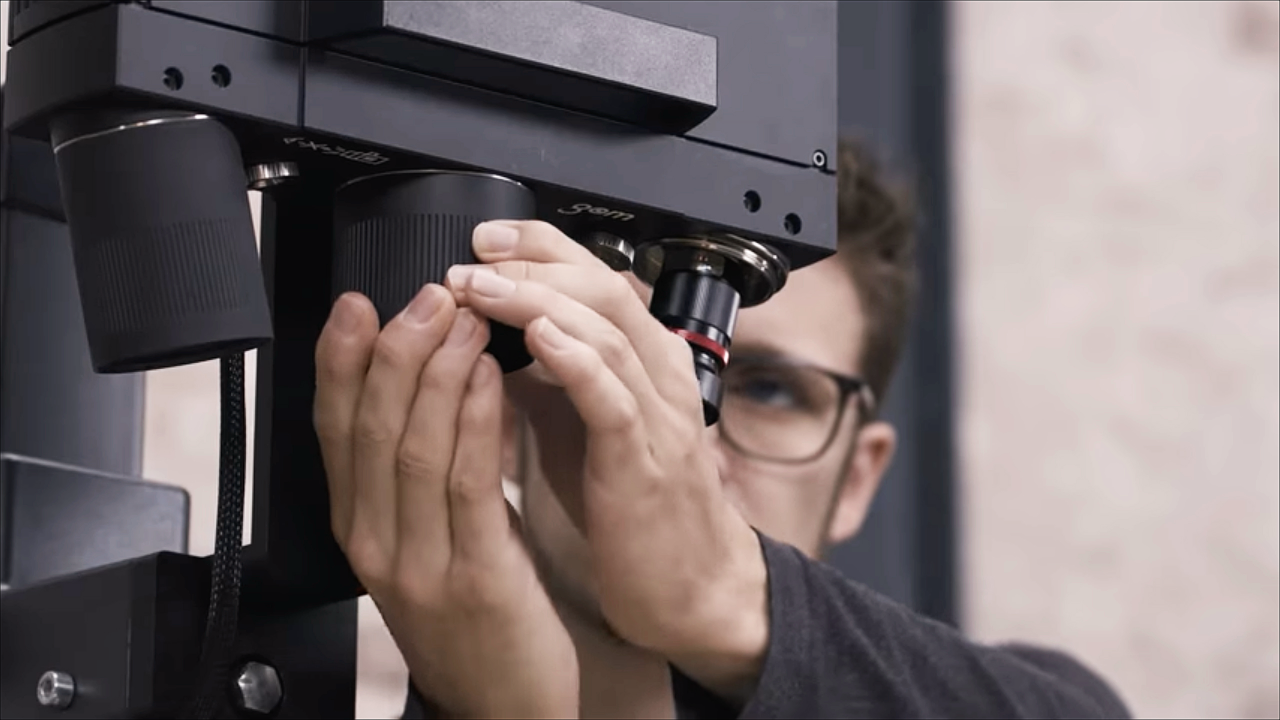
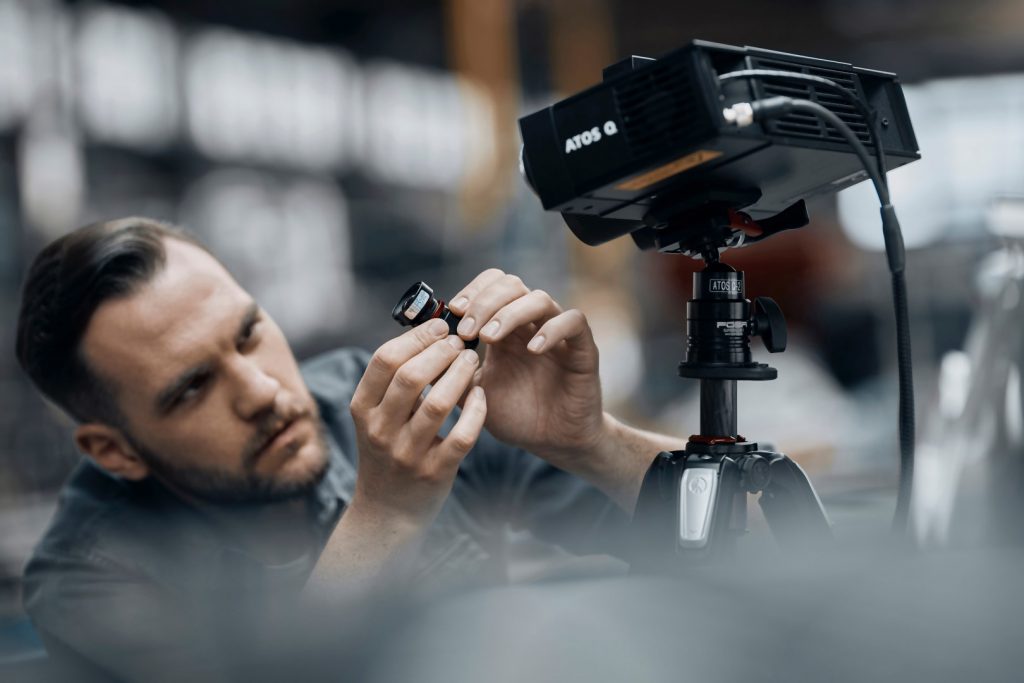
The interchangeable lenses of ATOS Q ensure high-precision measurements of small to medium-sized parts. Changing from the smallest to the largest measuring volume is easy thanks to the fixed camera position.
ATOS Q ensures quality
- for additively manufactured parts
- for plastic and injection-molded parts
- in sand casting, pressure die casting and investment casting processes
- on punching, bending, drawing, pressing and forming process chains
Technical Data
Discover ZEISS INSPECT - Pro Line for ATOS Q
Do you want to find out more?
Discover more
i
Please select the topic you seek more information aboutHow to save time with ZEISS INSPECT
Let Matt show how quality control becomes more efficient using the full version of ZEISS INSPECT. Whether inspecting one or multiple parts, templates transfer pre-made inspection steps in one click. Trend project function furthermore helps when all parts need to be checked at once – making evaluation fast, easy and intuitive.
All functions shown are available in the current software version.
Got any questions on 3D scanning? Contact us via support@HandsOnMetrology.com
How to scan small parts using compact 3D scanners
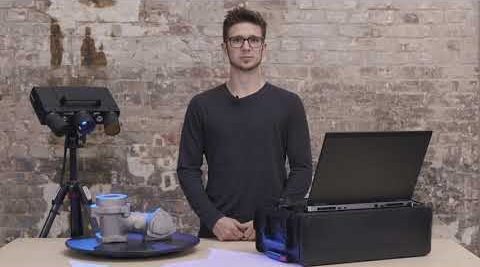
3D scanning of small parts and fine details is often a challenge that can take a lot of time. In this How-to, Matthias shows you how you can take the 3D scanning process to a new level with the help of ATOS Q, GOM Scan 1 and the Motorization Kit.
Do you have any question on our 3D scanners? Contact us via support@HandsOnMetrology.com
How to 3D scan multiple parts with ATOS Q
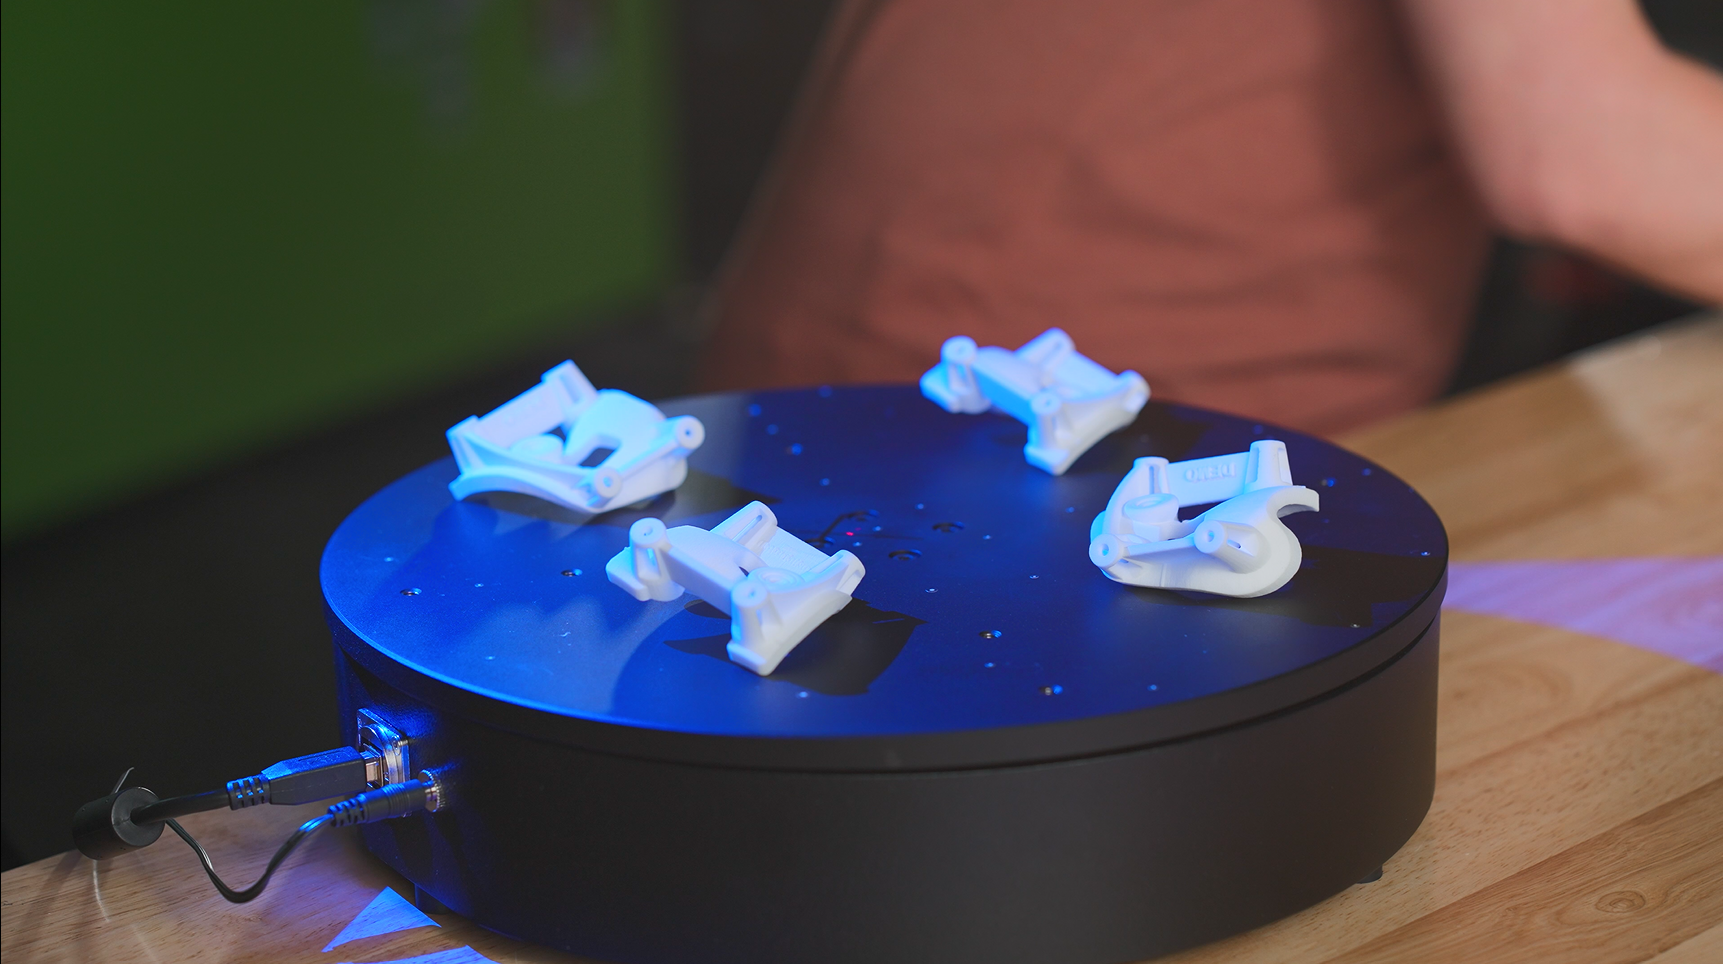
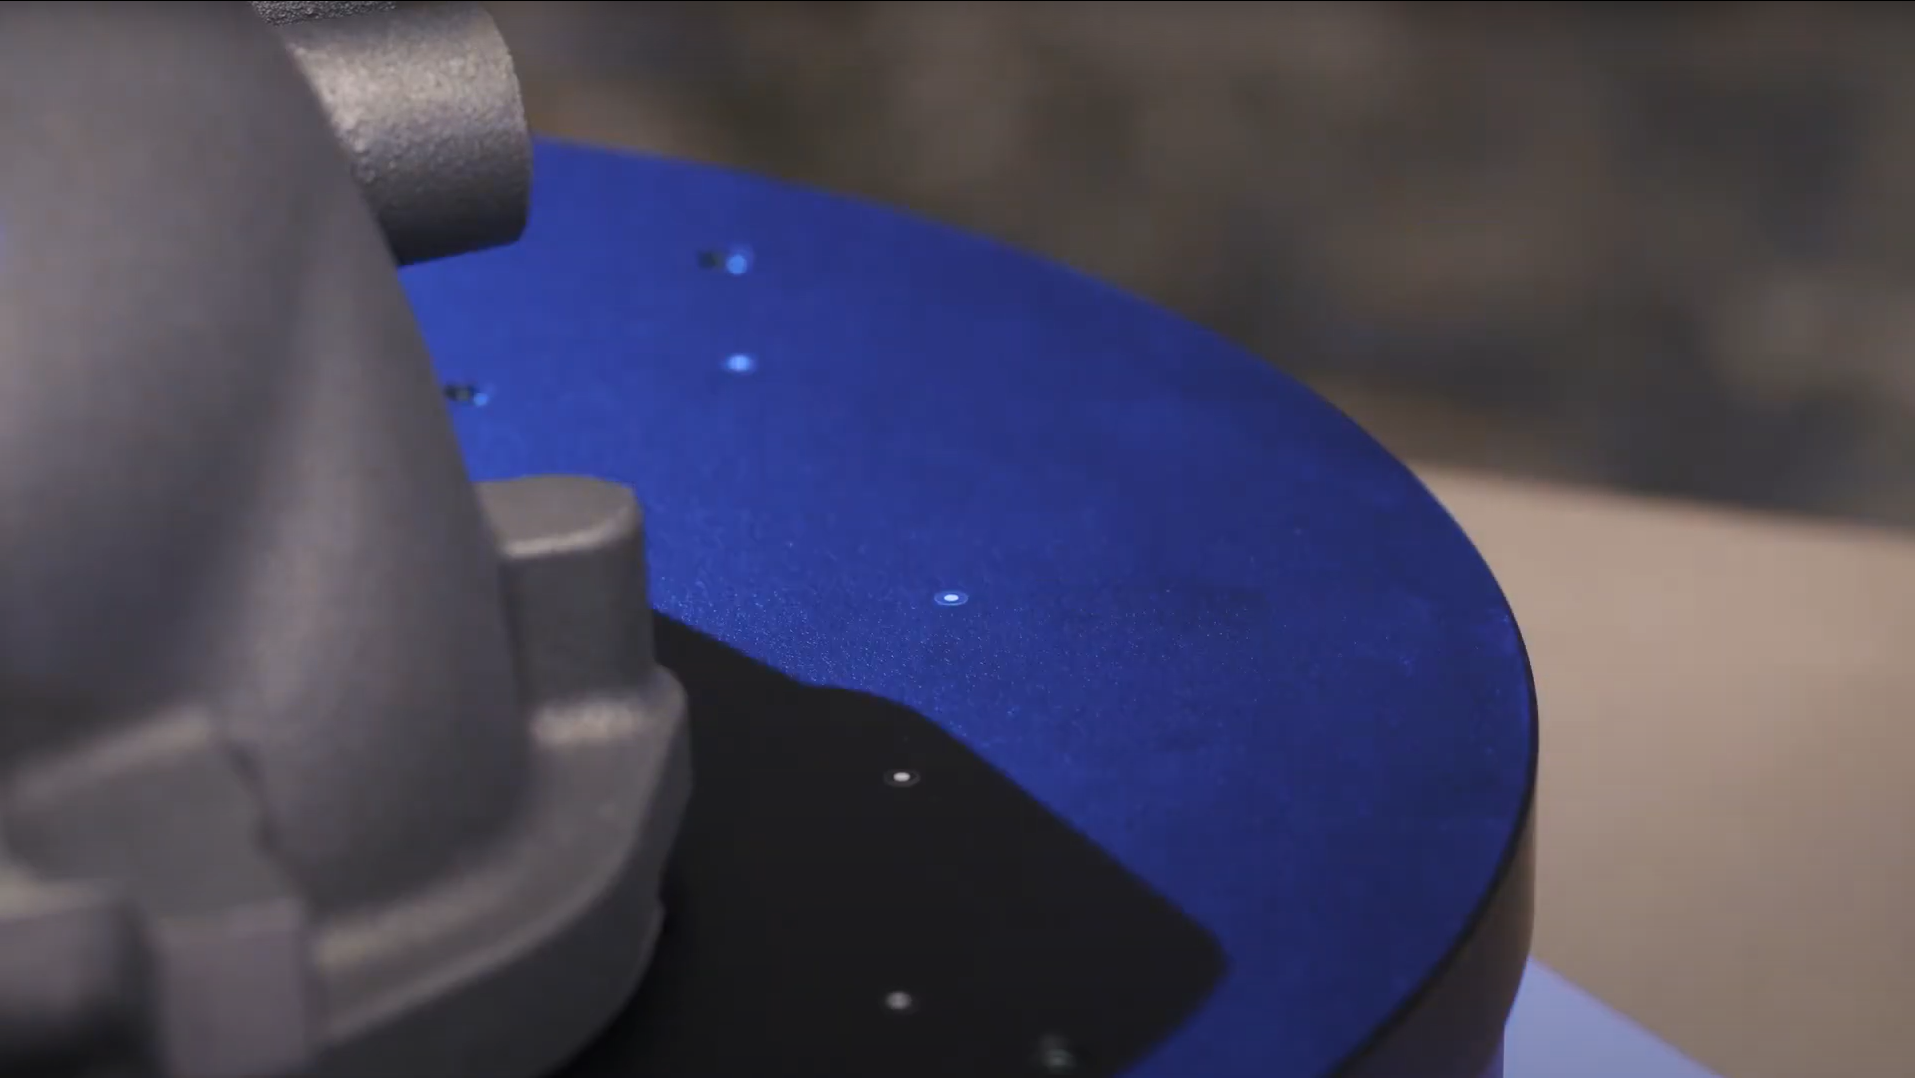
Learn how to scan multiple identical parts simultaneously using the ATOS Q and a rotation table. Simply choose the workflow assistant for scanning multiple parts and follow the software as it guides you through the scanning process. Since the rotation table is marked with reference points, you can start scanning straight away. Partitioning the parts and aligning top and bottom scans is done with just a few clicks.
Do you have any question on our 3D scanners? Contact us via support@HandsOnMetrology.com
How to eliminate plastic warpage in quality control
Annoyed about plastic warpage and how it makes quality control of unassembled parts difficult? In this video, Toon shows you how to solve this problem: with the De-warp function that can be found in the full version of ZEISS INSPECT . It puts scanned plastic parts into a virtually assembled state, allowing you to check their dimensions as if they were assembled.
All functions shown are available in the current software version.
Got any questions on 3D scanning? Contact us via support@HandsOnMetrology.com
How to perform a digital assembly in ZEISS INSPECT
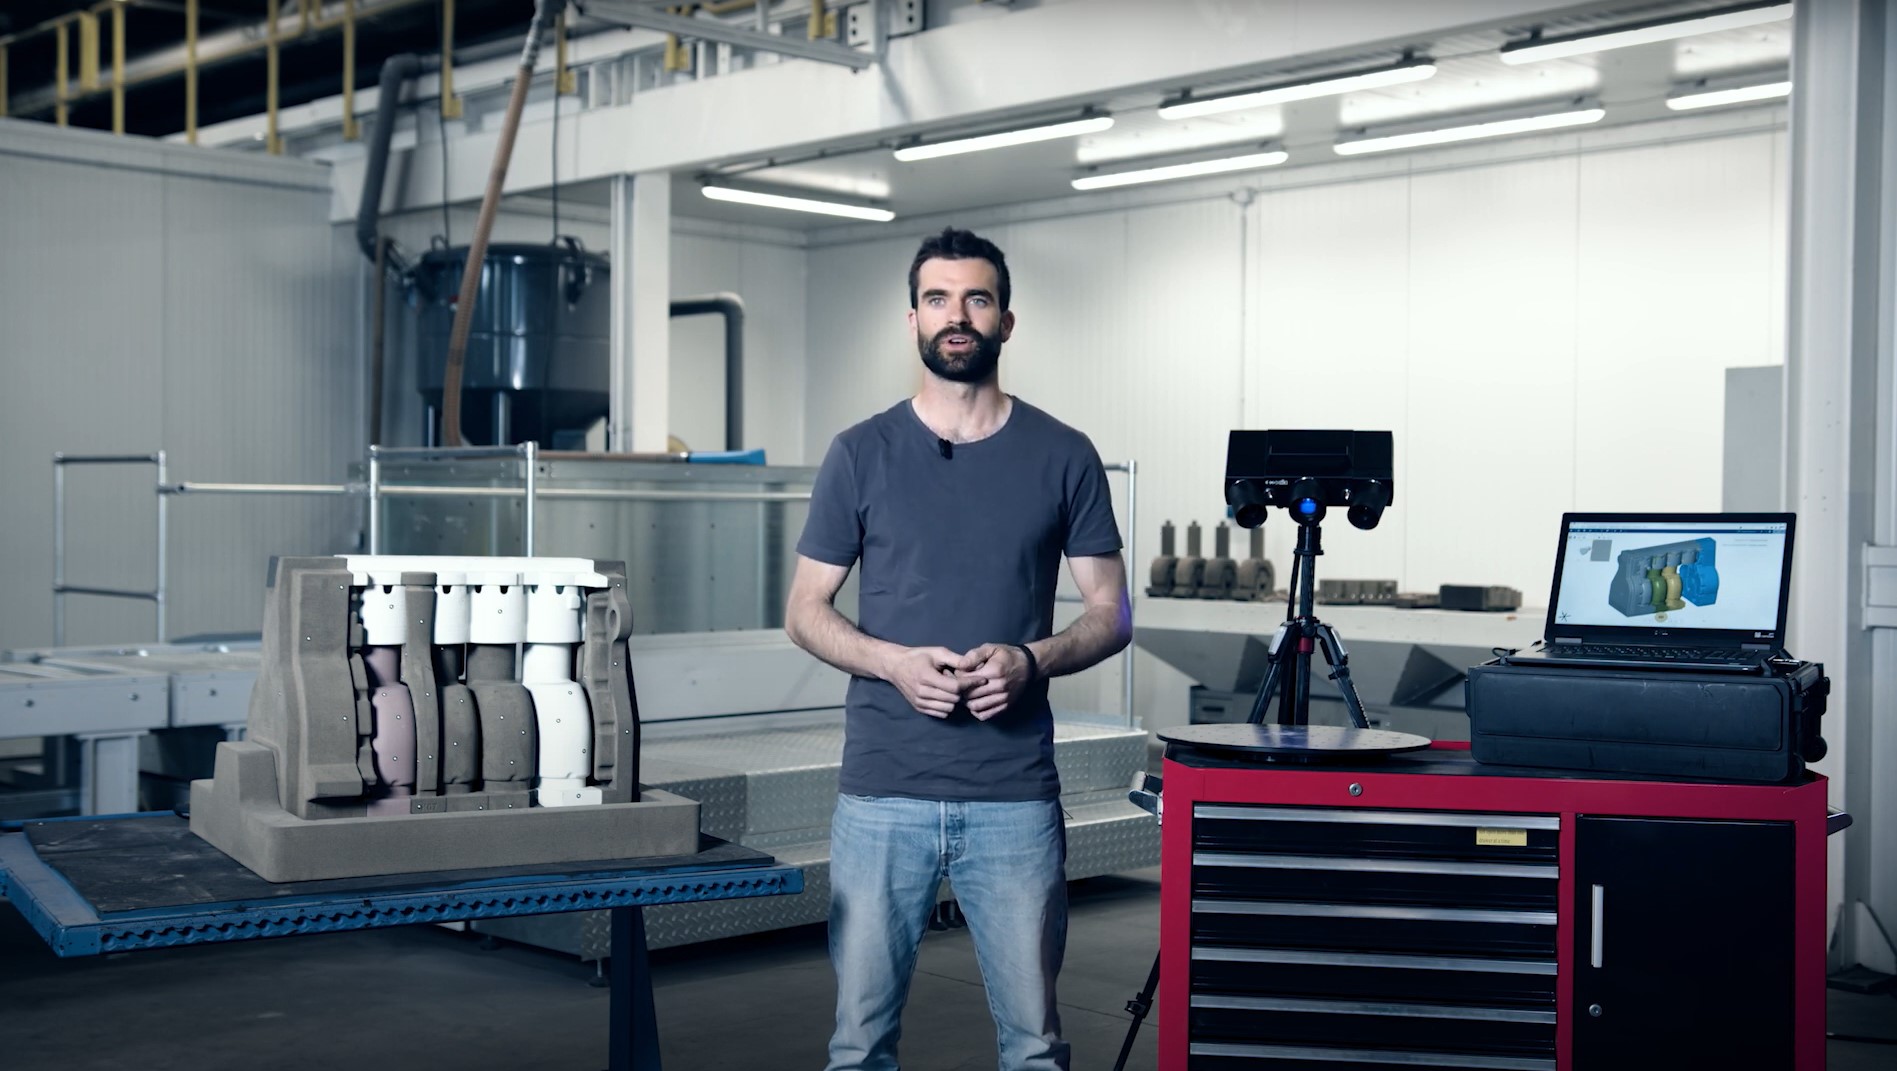
Watch how Toon uses the digital assembly feature in ZEISS INSPECT to virtually align several parts of an engine block to each other and inspect them for material thickness errors. After scanning the parts with the mobile ATOS Q, the digital assembly can be analyzed.
All functions shown are available in the current software version.
Got any questions on 3D scanning? Contact us via support@HandsOnMetrology.com
How to 3D scan objects without reference points
How can you 3D scan an object when reference points are not allowed or wanted? Let Norman show you: With the versatile ATOS Q, no reference points are needed, as ZEISS INSPECT can easily calculate the position of the object by best fit – if you have enough surface data.
How to 3D scan faster with an automated rotation table
Find out how Norman saves time when 3D scanning small or mid-sized objects: By placing them on an automated rotation table, he takes the first step towards a faster, fully automated scanning workflow. The result: more time to prep the next scan – or longer coffee-breaks.
How to get even more out of your ATOS Q
Let Dokus show your the benefits of upgrading your ATOS Q with ZEISS INSPECT – Pro Line: The software offers a wide range of extra features for analysis and inspection and improved functionality. Three of the powerful add-ons are:
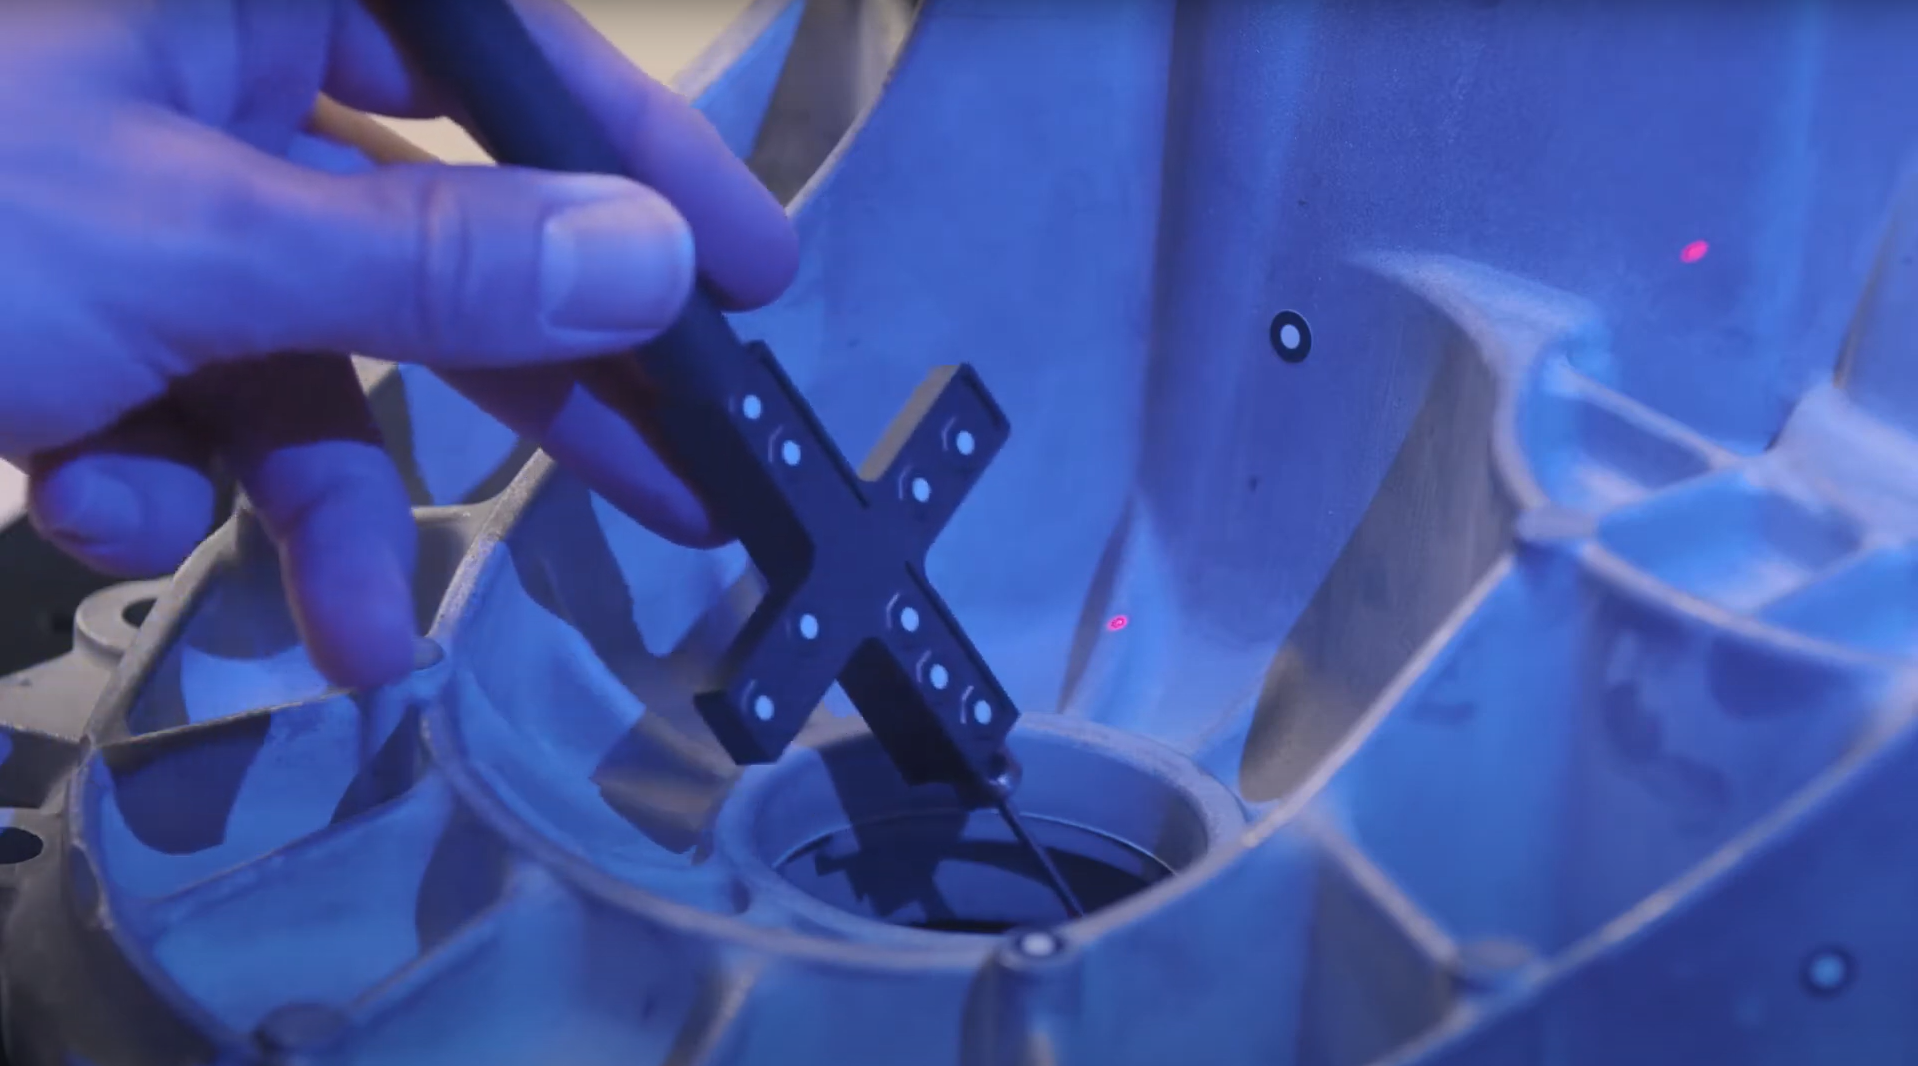
1) the use of a touch probe with your system to combine scanning and probing.
2) the use of your system as a live tracking device.
3) the use of your system as a projector – to project elements directly onto the part.
ATOS Q: How to measure big parts
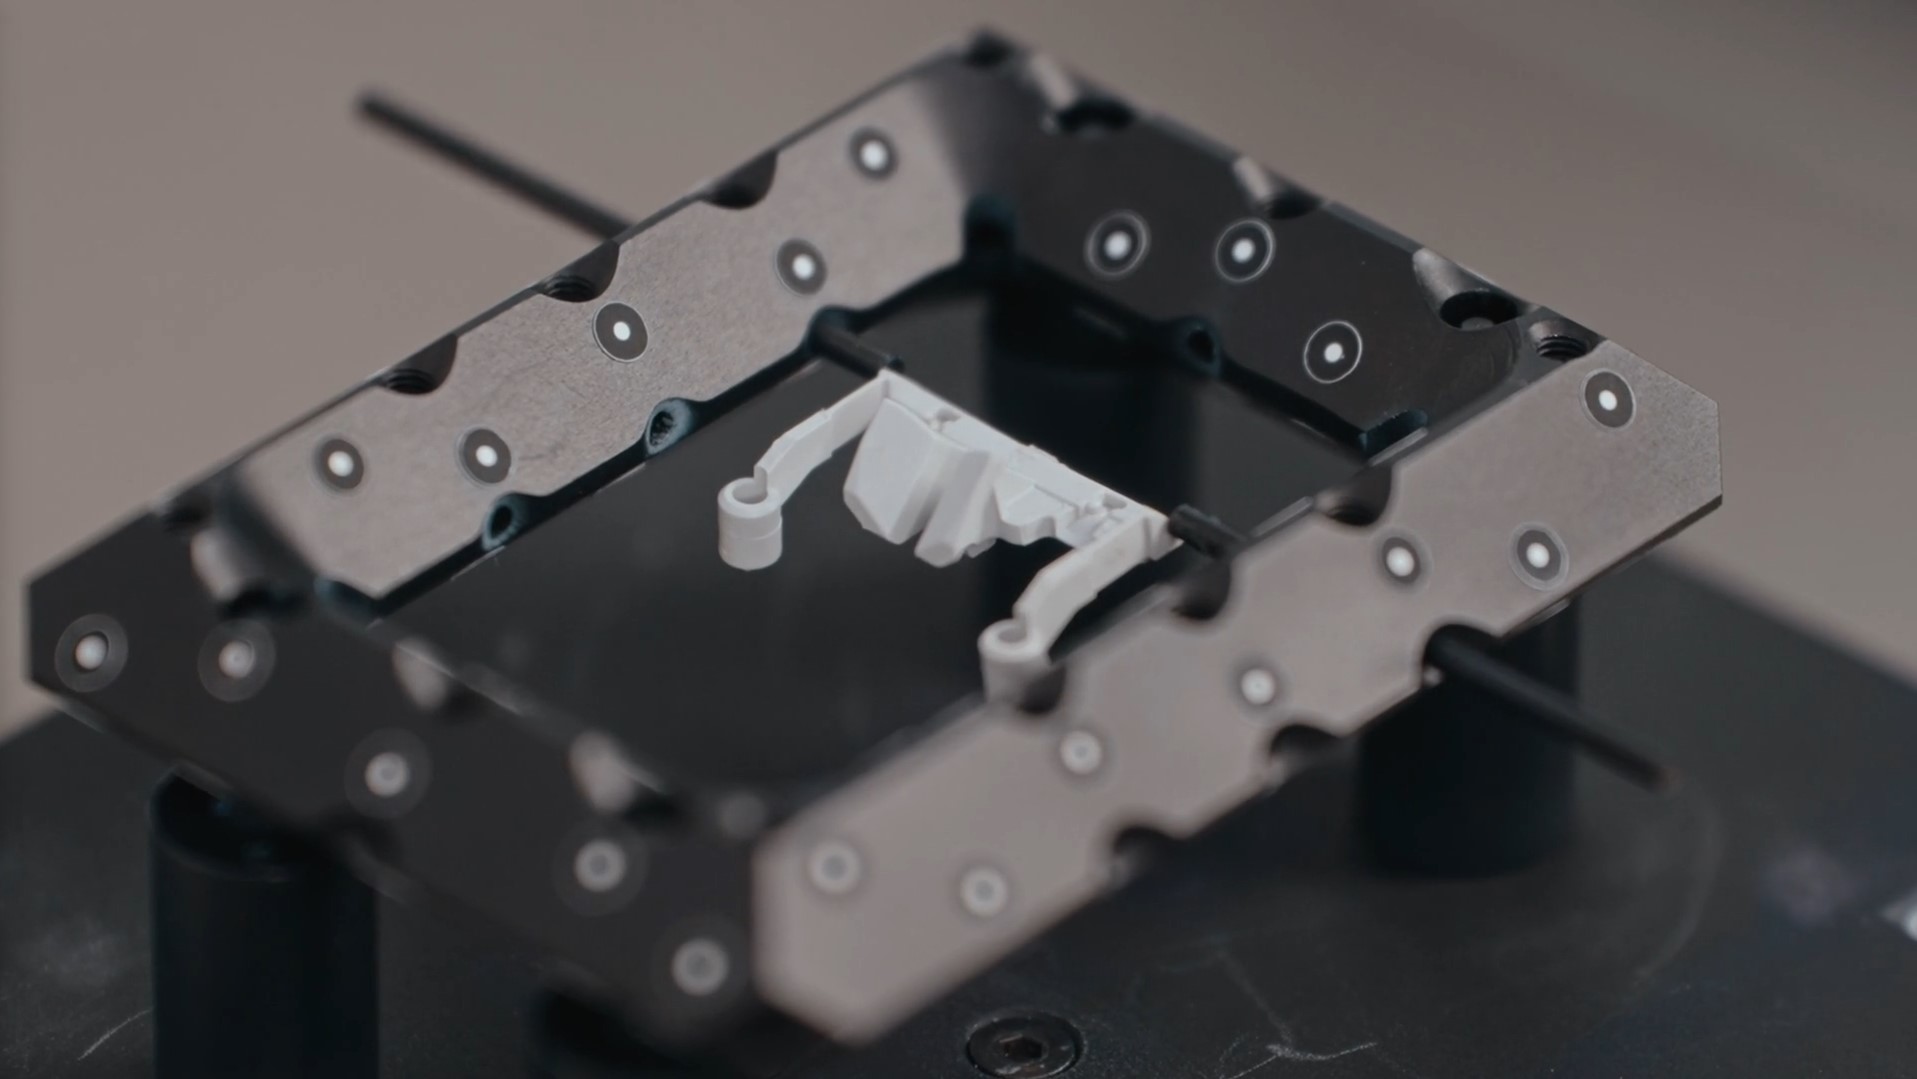
Use the 3D scanner ATOS Q to scan a large part with the measuring volume MV500. Even if the object is bigger than the measuring volume, you can capture it easily using reference points and stitching scans to get a high quality result including small details.
ATOS Q: How to measure top and bottom of a part
In this video, Dokus measures a part from the top and the bottom side to create a digital twin. A fast and easy workflow with the 3D scanner ATOS Q, assisted by the automatic rotation table and ZEISS INSPECT. After measuring, simply combine and polygonize the data.
ATOS Q: Measure with the automatic rotation table
Learn how to use the automatic rotation table to speed up the 3D scanning workflow with ATOS Q. ZEISS INSPECT allows you to choose the number of automatic rotations. A rule of thumb: With 8 rotations you capture almost every aspect of the part.
ATOS Q: Add single points with a touch probe
Learn how to use a touch probe to capture 3D data. Dokus shows you how to scan in difficult-to-reach areas and explains guided touch probe measurements in ZEISS INSPECT.
ATOS Q: Tips & tricks to scan even faster
Dokus gives valuable tips on using the 3D scanner ATOS Q. Learn how to measure the automatic exposure time and move the focus point, how to change into fast scan mode – if you don’t need details – or how to manually cut out points.
ATOS Q: Start a project in ZEISS INSPECT
Let Dokus show you how to make your first scan with ZEISS INSPECT. He takes you from the start screen to the checkered flag: a very detailed mesh. See different workspaces and scanning templates. Learn how to scan and watch what happens when you rotate the table.
All functions shown are available in the current software version.
Got any questions on 3D scanning? Contact us via support@HandsOnMetrology.com
ATOS Q: Fast inspection with ZEISS INSPECT
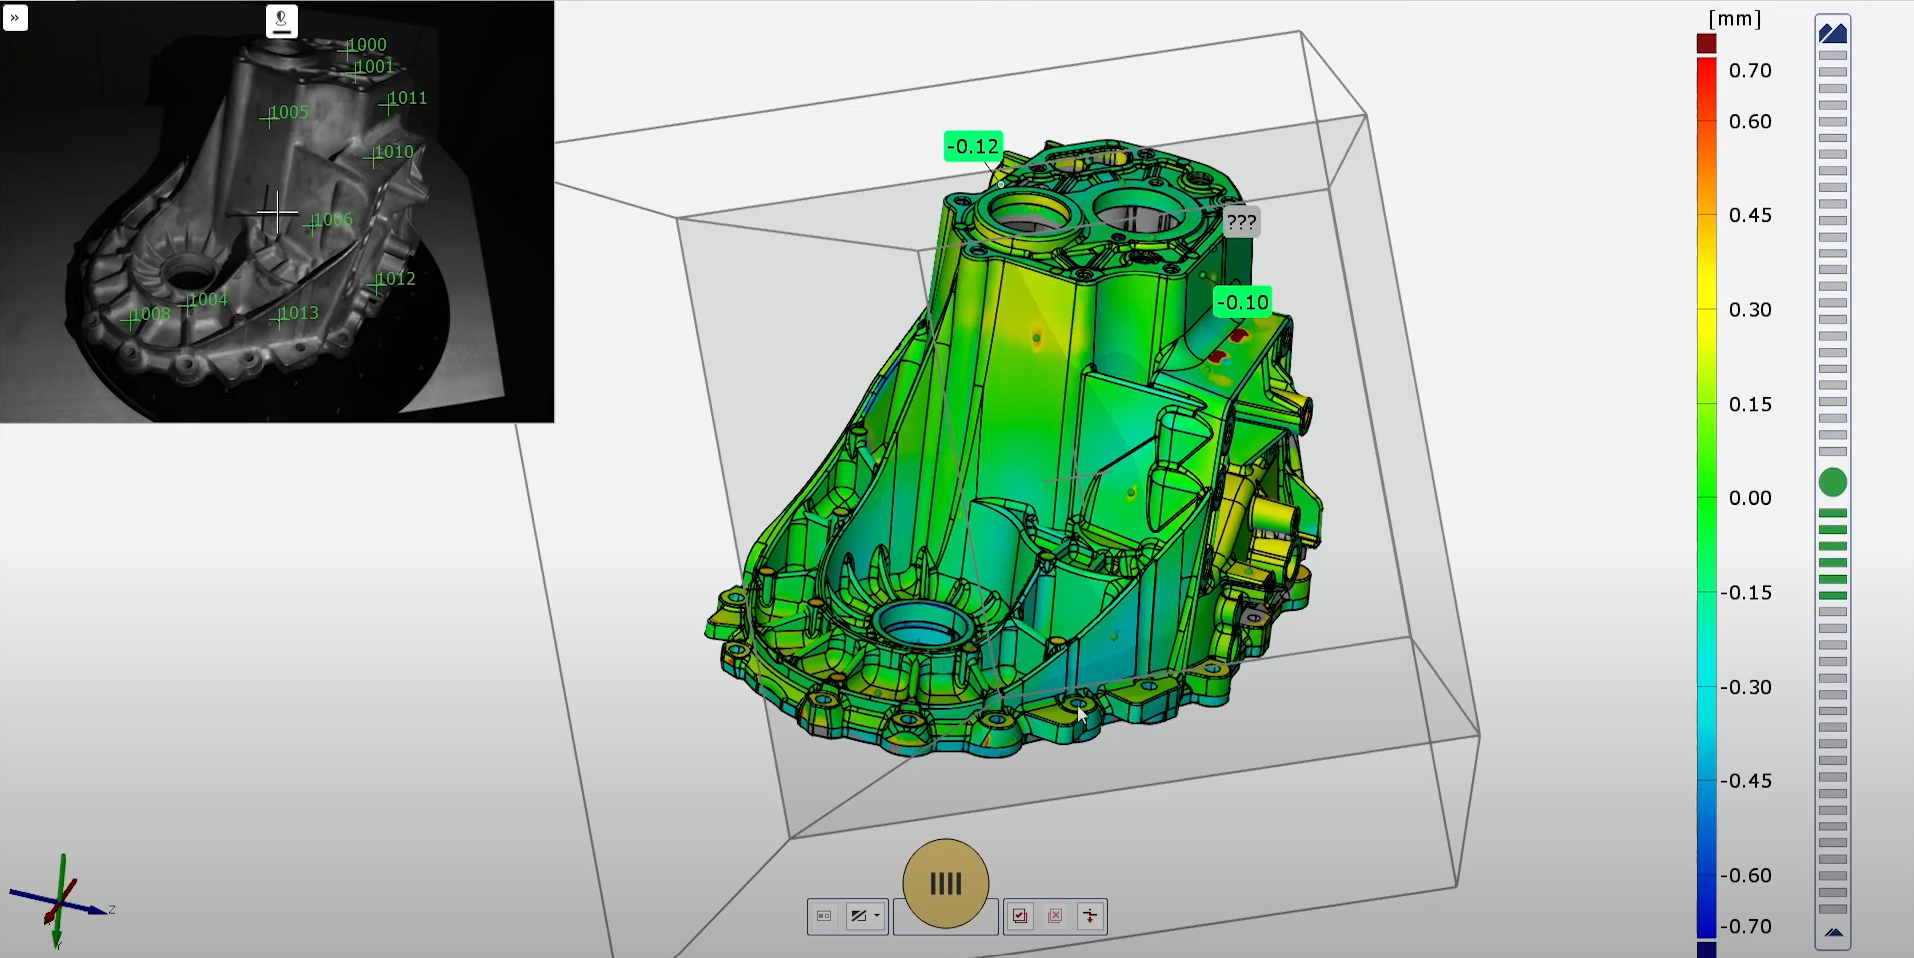
Learn how to perform a fast inspection in ZEISS INSPECT by preparing a project in the inspection workspace, including the prealignment of a CAD file and a surface comparison. After the first scan, you can immediately look at the results.
All functions shown are available in the current software version.
Got any questions on 3D scanning? Contact us via support@HandsOnMetrology.com
ATOS Q: Unboxing your new 3D scanner
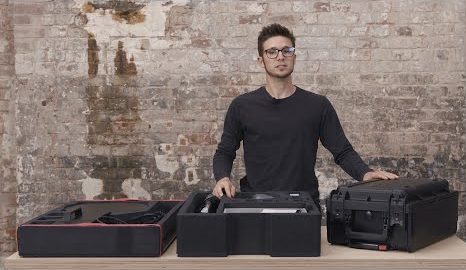
Meet Dokus and the ATOS Q with its two cases. The first case contains the ATOS Q sensor and everything you might need on location, from rotation table to measuring volumes or the calibration plate. The second, smaller case contains the laptop and the mobile controller.
ATOS Q: How to set up the system
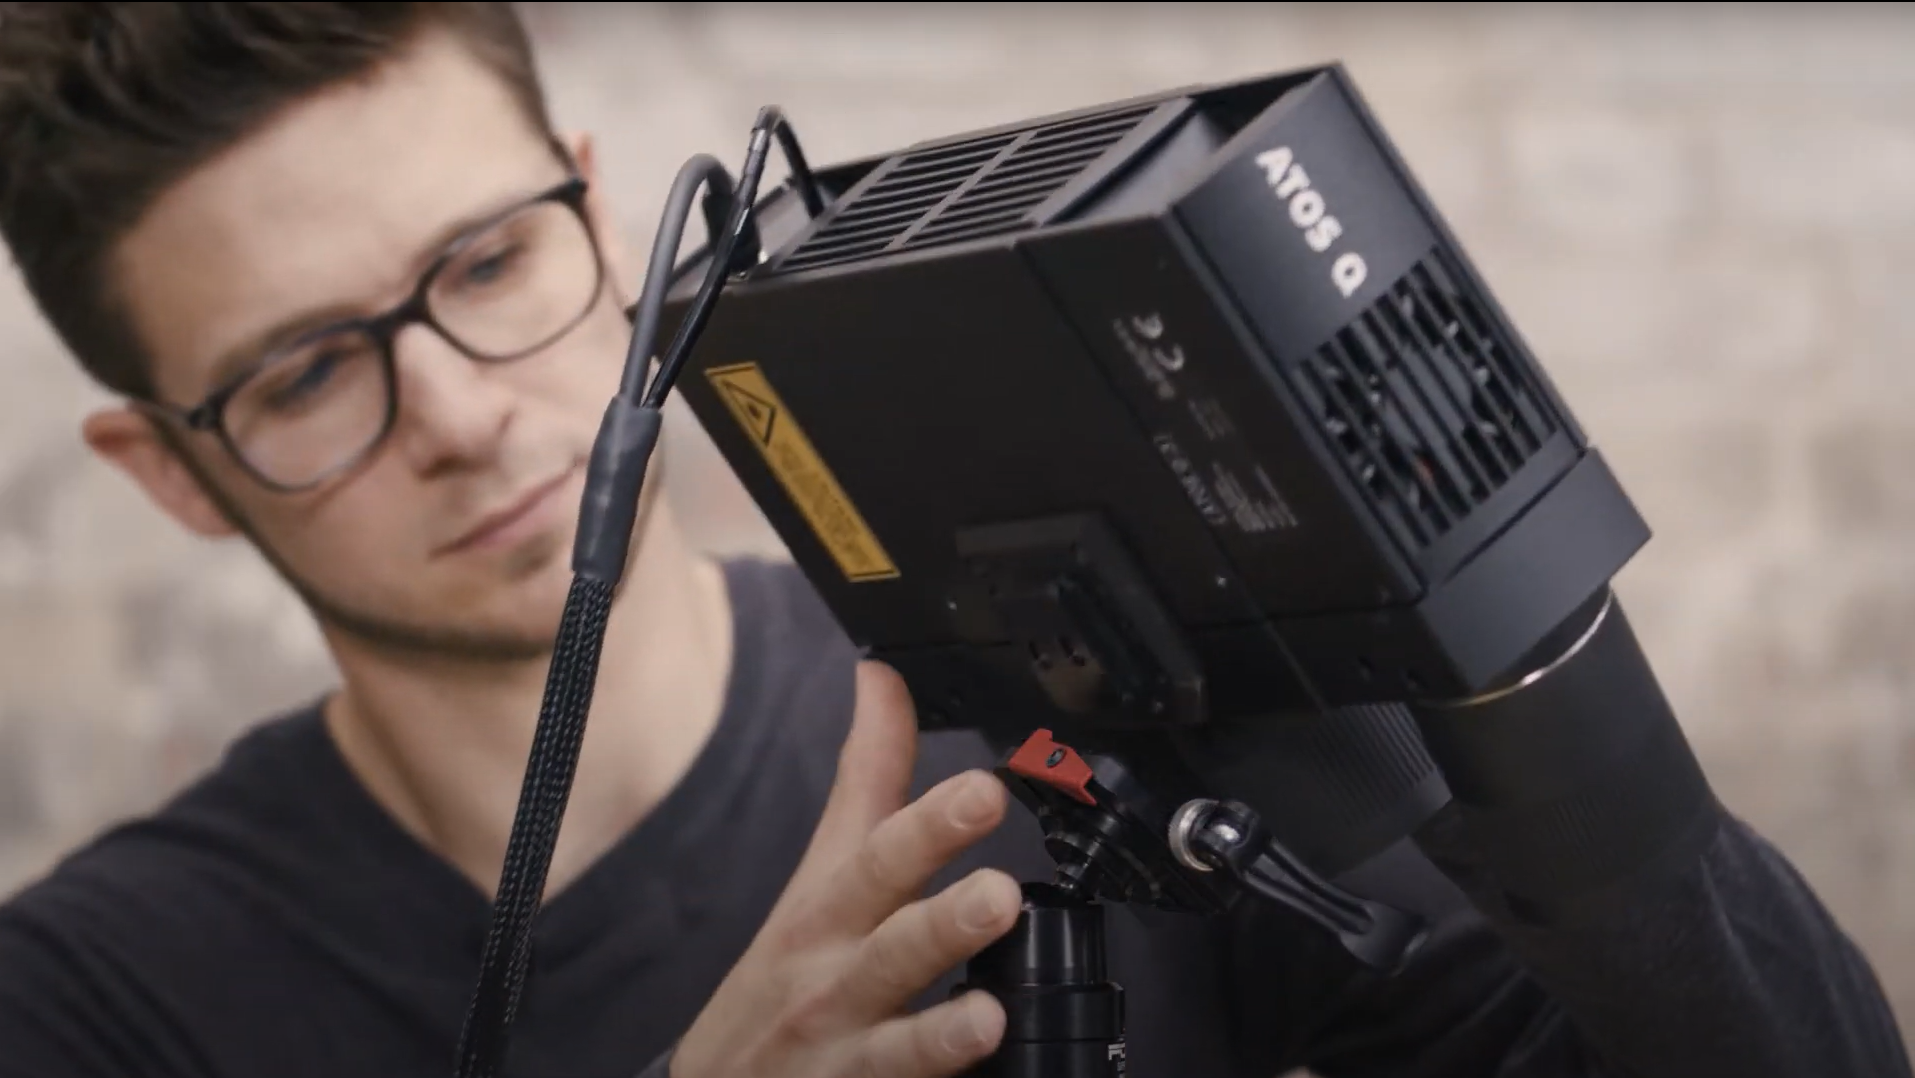
Watch Dokus set up the ATOS Q scanner and connect the sensor to the laptop. From opening up the mobile controller and mounting the sensor on the tripod to plugging in the licence key and connecting the automatic rotation table, he guides you step by step
ATOS Q: Change to a small measuring volume
If you need a high resolution for a small, detailed object, switching measuring volumes is easy with this 3D scanner. Dokus shows you step by step how to prepare and change the lenses, define the measuring volume in ZEISS INSPECT and calibrate the sensor.
